
 English
  Polski
  Deutsch
  Nederlands
  Svenska
  Norsk
Norsk  Dansk
Dansk  Français
  Italiano
  Español
  Português
  Slovenčina
  Suomi
Suomi  Gaeilge
 Why Gardeners Sow Peas in Succession and Why You Should Too
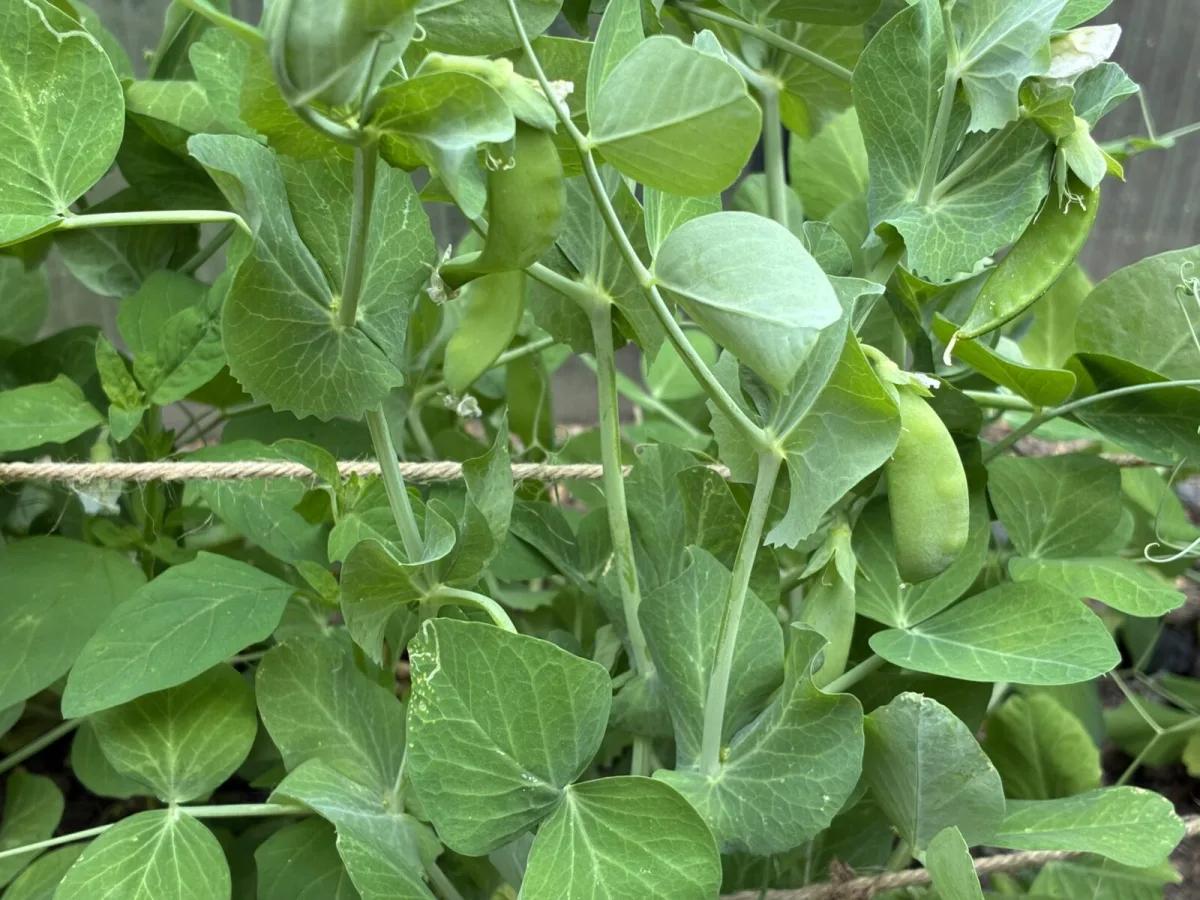
Freshly picked peas are noticeably sweeter and tastier than pods from the supermarket. They’re also a fairly easy vegetable that doesn’t take up much room, especially if you choose climbing varieties and give them support. If you sow little and often, you can harvest all summer and often right into autumn. Regular picking matters, because the plant responds by producing more flowers and pods. A great extra option is harvesting young shoots, which have a pea-like flavour and are perfect in salads or quick hot dishes.
Types of peas and how to choose the right variety
Garden peas are grown in several forms. The most common are shelling peas, then mangetout and sugar snap peas, which are eaten pod and all. They’re grown in much the same way, but differ in when and how they’re harvested. Varieties can be dwarf at around 45 cm, medium, or tall up to about 1.8 m, so it’s best to choose according to your space and the supports you can provide.
With shelling peas you’ll come across smooth and wrinkled seeds. Smooth types tend to be hardier, making them better for earlier sowings. Wrinkled types are usually sweeter and are typically sown later in spring or in early summer. Some varieties produce long pods packed with peas, while others focus more on overall yield.
Varieties are often grouped by earliness. Early types reach harvest more quickly; maincrop varieties usually take longer and are often taller as well. A separate group are varieties grown to full maturity for drying, used later in soups and stews. There are also very small, exceptionally sweet types prized for their delicate peas.
Mangetout and sugar snap peas are harvested before the seeds fully develop and are often considered the easiest to grow. Mangetout has flat, tender pods, while sugar snaps have rounder, fleshier pods. You may also find decorative types with yellow or purple pods and richly coloured flowers. Some mixes are sold mainly for shoot harvesting and can even be grown on a bright windowsill.
Site and soil preparation
Peas do best in a warm, sunny and, if possible, sheltered spot. The soil should be free-draining and not waterlogged. Weed the bed thoroughly in advance and work in plenty of compost or well-rotted manure, roughly at least a few buckets per square metre. Ideally, prepare the soil a few weeks ahead so it can settle. If you garden no-dig, you can use a thicker mulch instead and sow or plant directly into it.
Sowing peas: outdoors and indoors
Starting peas indoors
Starting plants in February or March is useful where spring soil stays cold and wet for a long time, because seeds then germinate poorly and can rot. Sowing under cover also helps protect against mice. Sow into deep modules, pots or even cardboard tubes, using a peat-free multi-purpose compost. The usual sowing depth is about 5 cm. Seedlings need plenty of light and regular watering. Plant them outside when they’re about 20 cm tall, typically in March and April, after hardening off.
Sowing direct into the bed
The main outdoor sowing period is from March to June. It’s worth waiting until the soil has warmed to at least about 10 °C. If spring is cold, covering the bed helps, and after sowing you can give young plants short-term protection. Even so, peas generally thrive in cooler spring weather; it’s just best not to sow into saturated ground.
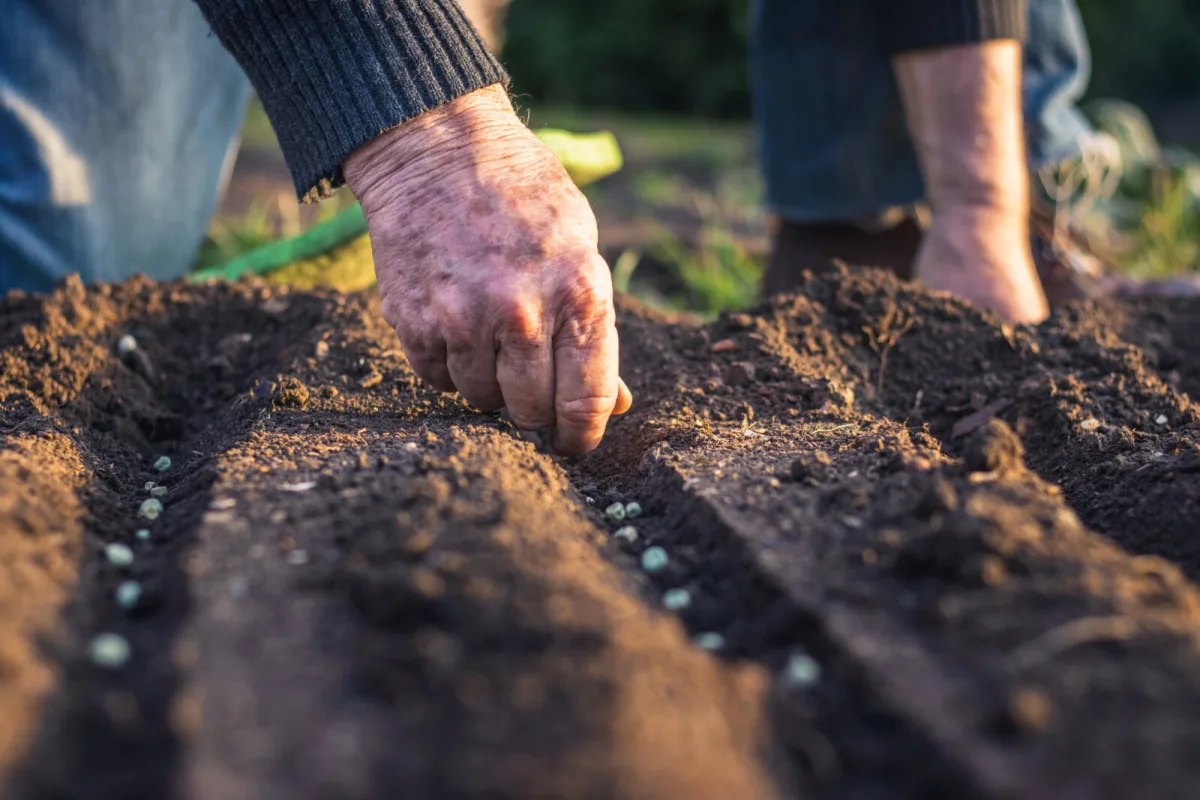
Taller varieties are usually sown about 7.5 cm apart in a single row, or in a double row with about 30 cm between the rows to allow room for supports and good airflow. This also helps reduce powdery mildew. It’s best to put supports in at sowing time, or at the latest when seedlings appear. Dwarf varieties manage with smaller twiggy supports and are often sown in a wider shallow drill as several rows side by side, alternating seeds so plants don’t overlap.
To spread your harvest, sow successively every two to three weeks, or combine early and later varieties that mature at different times.
Growing in containers and sowing for shoots
Peas usually give the best results in the ground, but dwarf and fast-growing varieties can also be grown in a large pot or container. Regular watering is essential because compost dries out quickly. The container should be at least about 45 cm wide, and seeds are sown roughly 7.5 cm apart, about 5 cm deep. Supports can be made from twigs, canes or mesh.
For edible shoots, you can sow almost any time of year in trays or window boxes. Sow the seeds more thickly, to a depth of about 2.5 cm. With enough light and moisture, you can harvest in as little as three to four weeks when shoots are about 10–15 cm tall. If you cut just above the compost, they sometimes regrow and give a second, smaller harvest.
Planting out seedlings and supports
Plant out home-raised or bought-in seedlings from March onwards once they reach about 20 cm. Harden them off first and have the bed ready. Water the plants well before transplanting, space them about 7.5 cm apart, and disturb the roots as little as possible. After planting, gently firm the soil and water again. Adjust row spacing to suit the height of the variety so there’s plenty of airflow.
Most varieties, apart from truly dwarf ones, need support. For tall types, netting or mesh on posts or bamboo canes works well, and it must be sturdy because the plants can be heavy and wind can easily flatten them. With shorter varieties, pushed-in twiggy sticks are often enough for the tendrils to latch onto.
Care through the season
Watering, mulching and feeding
Once peas are established and growing well, they usually don’t need frequent watering, except during prolonged dry spells. Water is most important as flowering begins, and again about two weeks later so the pods fill properly. During harvest, check moisture at the roots and water as needed. It’s best to direct water to the soil and avoid wetting the foliage unnecessarily, because damp leaves encourage fungal diseases. In containers, consistent watering is crucial.
After planting, a generous mulch of compost helps retain moisture and suppress weeds. Peas generally don’t need heavy feeding, but in containers it pays to start feeding from the beginning of flowering, about once every two weeks, using a fertiliser higher in potassium.
Harvesting pods and shoots
With the right mix of varieties, you can harvest from around June through to October. The key is to pick regularly, because leaving over-mature pods on the plant slows further flower production. If you get a big flush, it’s often easiest to harvest everything and freeze the surplus.
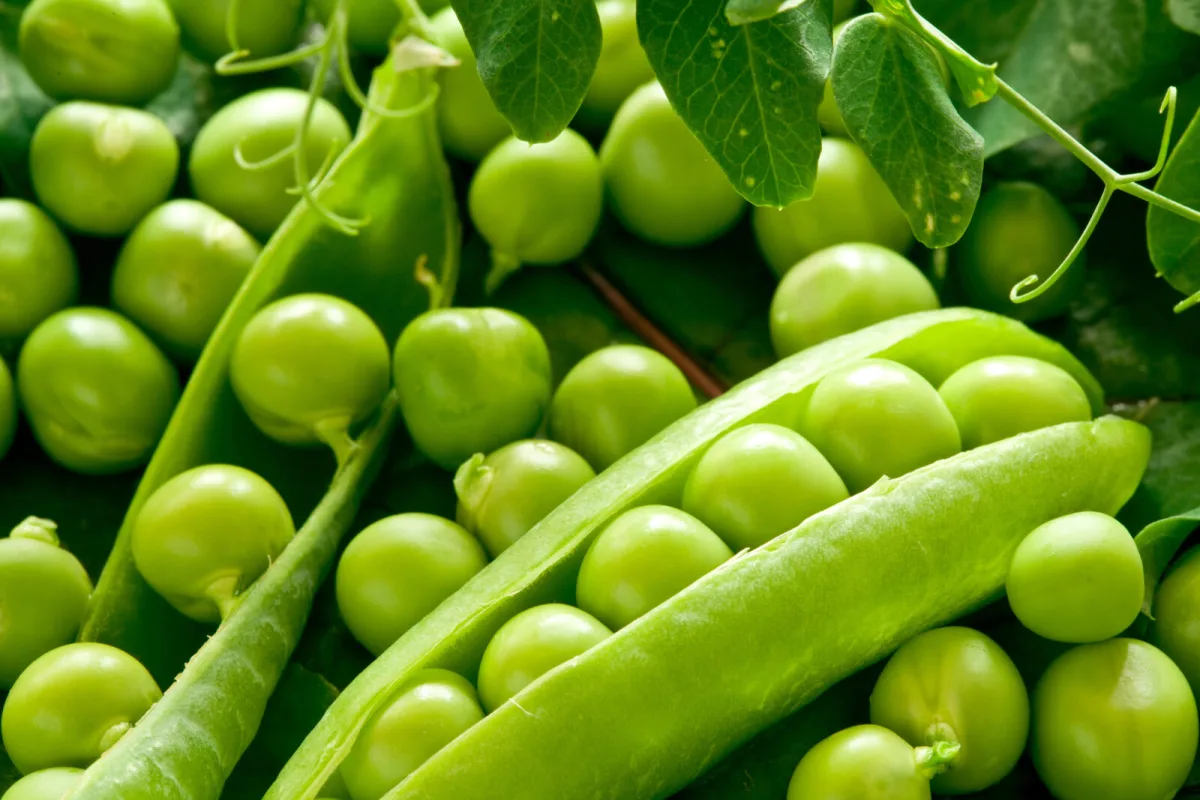
Shelling peas are ready when the pods feel full. Mangetout and sugar snap peas are picked earlier, usually when pods are around 7.5 cm long and the seeds are only just starting to show. Pods form first lower down the plant, so harvest from the bottom upwards.
Harvest shoots sparingly and don’t take too many from one plant, or you’ll reduce later cropping. If you want shoots regularly, it’s best to grow some plants specifically for this harvest.
What to do after harvest and how to prevent problems
When harvesting is finished, cut the plants off at ground level and put the top growth on the compost heap. It’s best to leave the roots in the soil, because peas, as legumes, fix atmospheric nitrogen and leave the bed more fertile for the next crops.
Peas are fairly resilient, but pests and wildlife can be an issue. Freshly sown seeds may be dug up by mice, so starting plants indoors can be more reliable. Young plants can be damaged by slugs, especially in wet weather, and pigeons may peck at leaves and shoots; a suitable protective frame with netting helps. Sensible spacing and good airflow also reduce disease pressure, particularly powdery mildew.
Source: Rhs, Almanac , Pestrazahrada.cz
Related articles
Next year you can harvest better if you don’t sow carrots where they won’t thrive
Carrot root fly can ruin carrots, parsley and celery from the inside out, often without obvious warning until harvest. Better site choice, rotation, later sowing and simple physical barriers can dramatically cut damage next season.
How to Propagate Roses from Cuttings at Home and Fill Your Garden with Blooms Almost for Free
Want more roses without paying for new plants? With a few healthy cuttings and a simple plastic-bottle mini greenhouse, you can root new bushes at home in just a few weeks.
Heathers can cope where other plants won’t, but one soil detail decides everything
Heathers and heaths are tough evergreen shrubs that can flower across the seasons when you choose the right types. Success hinges on matching the plant to your soil pH and ensuring free drainage.
Comments (0)
Be the first to comment.