
 English
 Polski
 Deutsch
 Nederlands
 Svenska
 Norsk
 Dansk
 Français
 Italiano
 Español
 Português
 Slovenčina
 Suomi
 Gaeilge
Lift cannas for winter: mistiming can ruin them and one extra week can decide next season

Cannas are among the most striking ornamental plants, valued for their richly coloured blooms and lush growth. They can overwinter as perennials in warmer areas, but where winters bring prolonged frost, leaving them in the ground often won’t end well. In cooler conditions, the safest approach is to lift the underground parts in autumn, let them dry, and store them in suitable conditions until spring planting.
Gardeners in regions with cold winters usually choose between two options. Either they grow cannas as seasonal plants only, or they keep them to grow again next year. The second option is not only more cost-effective, it also allows you to carry over strong, proven plants that will bulk up again in the following season.
When is the best time to lift them
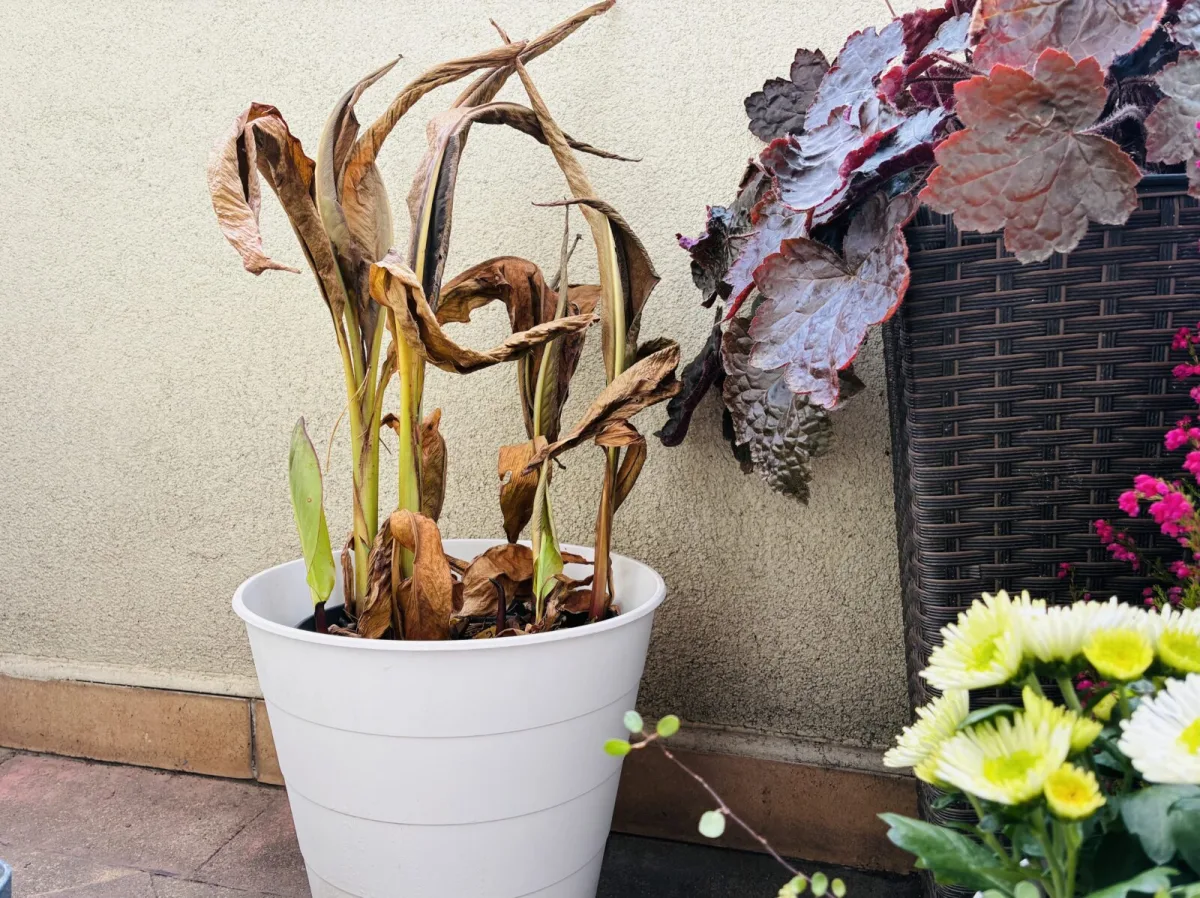
Correct timing is crucial. Cannas are best lifted in autumn when the top growth starts to die back after the first light frosts. There’s no need to rush out at the very first chilly morning, because a light ground frost usually doesn’t penetrate deep enough to reach the rhizomes. On the other hand, it’s not wise to wait for a hard, prolonged freeze, which could damage the underground parts.
Ideally, act when the leaves have lost their freshness and the plant clearly signals the end of its growing season, but the soil is not frozen. In spring, cannas go back outside only once the ground has thawed and the risk of further frosts has passed. In most areas, that means later in spring.
What to prepare before you start
Standard garden tools are enough for lifting. A spade, garden fork, or sturdy hand trowel works best, as the rhizomes sit several centimetres below the surface. You’ll also want newspaper or small paper bags and a dry material to absorb excess moisture, such as peat or vermiculite.
During the season, a single rhizome can thicken significantly and produce additional side pieces. These can be used for propagation. If they are well developed, they can be separated either in autumn while lifting or in spring after bringing them out of storage. If you divide in autumn, it’s a good idea to dust the cut surfaces with a sulphur-based product to help prevent fungal problems during storage.
How to lift cannas safely from the bed
When digging, it’s important not to cut straight into the rhizomes. It’s better to push your tool into the ground a short distance away from the stems and gently lever the soil up. Then you can loosen the clump by hand and free it from the surrounding soil. Cannas are usually planted about 10 to 15 cm deep, so expect the rhizomes not to be right under the surface.
Once the clump is out, there’s no need to strip off soil aggressively. Simply shake off loose soil or remove it by hand. Rough cleaning or damaging the skin can later increase the risk of rot.
Cutting back foliage and gentle cleaning
After lifting, cut the top growth back to a few centimetres above the rhizome. Leaving a short stem stub makes handling and storage easier. You can then lightly rinse the rhizomes or brush off loose soil, but without scrubbing. It’s important not to break the surface, because any wound can become an entry point for rot or mould.
Why the rhizomes must be dried
Before storing cannas for winter, they should go through a short drying period. Most often, about a week in a dry, warm, well-ventilated room is enough. A garage, pantry, or similar space works well, as long as it isn’t damp and air can circulate freely.
This step helps toughen the outer layer of the rhizomes and reduces the likelihood of rotting over winter. If they were stored too soon while still wet, the risk of damage would rise significantly.
The right way to store them for winter
Once dry, it’s best to wrap each rhizome individually in newspaper or place it in a small paper bag. Add a small amount of dry peat or vermiculite. These materials help buffer moisture levels and reduce the danger of rot.
Put the wrapped rhizomes into a cardboard box or larger paper container. They shouldn’t be packed tightly together, so any issue doesn’t spread from one piece to another. The storage spot should be cool, dry, and stable. The temperature should not drop below about 4 °C.
Regular checks through winter
During the winter months, it’s wise to check the rhizomes from time to time. If you notice soft, dark, or foul-smelling areas, remove the damaged part or discard the entire piece. In spring, inspection is even more important. Only firm, healthy-looking rhizomes should be planted, while shrivelled or rotting ones are best thrown away.
Even with careful storage, it’s normal that some rhizomes won’t make it to spring in perfect condition. Keeping most of the stored pieces successfully is generally considered a very good result.
How to handle cannas grown in containers
If your cannas were grown in pots or other containers, the job is even easier. You don’t need to take them out of the pot. Simply cut the foliage down to soil level and move the entire container to a dry, cool place where the temperature doesn’t drop to the point that the rhizomes could be damaged by frost.
A cellar, cool room, or an interior part of the garage works well. Here too, it’s worth checking the compost and rhizomes occasionally so they are neither too wet nor completely dried out.
Bringing cannas back to the bed in spring
Once the weather has settled and the risk of frost is over, the rhizomes can be planted again. Before planting, inspect them, discard any damaged pieces, and if needed separate strong new sections for further propagation. Thanks to timely lifting in autumn and careful winter storage, your cannas have an excellent chance to grow vigorously again and produce bold flowers next season.
Source: The Spruce, RHS , Pestrazahrada.cz

A nurse by profession, she is passionate about healthy living, nature, and everything that benefits both people and the world around them. In her free time, she enjoys gardening, cooking, sewing, and caring for her family. In her articles, she loves combining professional expertise with practical experience from the garden and everyday life.
Related articles

Feed Blueberries in Autumn with a Homemade Mix That Ferments for a Few Weeks and Shows Results in Spring
If you want your blueberries to flower and fruit more heavily next year, try a simple homemade feed made from stale bread and used coffee grounds. Left to ferment for a few weeks, it can gently support soil life and the root zone going into winter.

Stonecrop is the easiest perennial for lazy gardeners but one common mistake ruins it
Stonecrop (Sedum) is a tough, drought-tolerant perennial, but it isn’t indestructible. Give it sun and sharply draining soil, and avoid overwatering to keep it compact and floriferous.

Peonies Can Thrive for Decades, but an Autumn Cut to Ground Level Determines Whether You Lose Next Year’s Blooms
Peonies can sit happily in one spot for years, but what you do in autumn has a big impact on their winter survival and spring flowering. Learn when to cut back, how to divide, and what to feed—depending on the type of peony you grow.
Comments (0)
Be the first to comment.