
 English
  Polski
  Deutsch
  Nederlands
  Svenska
  Norsk
Norsk  Dansk
Dansk  Français
  Italiano
  Español
  Português
  Slovenčina
  Suomi
Suomi  Gaeilge
 Pinch Out the Pumpkin Tip and the Plant Will Put Its Energy into Ripening the Fruit
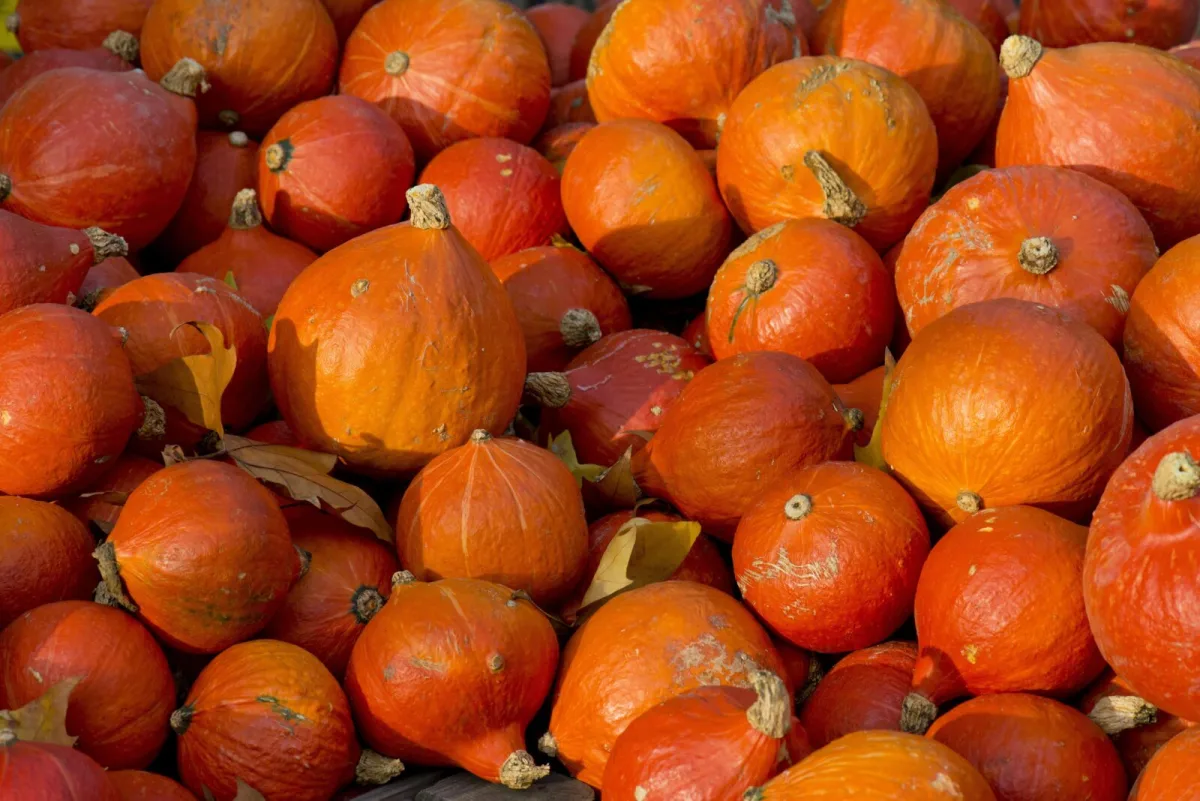
Hokkaido squash, botanically Cucurbita maxima, is one of the most popular winter squashes. It’s valued mainly for its bold flavour and easy cultivation. It originates from Japan’s northern island of Hokkaidō, where historical notes mention that squashes imported from America began spreading in the 19th century. Further breeding produced a cultivar with a more intense aroma and a delicate, often thin skin. In some countries it’s also called chestnut squash, thanks to its pleasant, nutty note. In Japan the name uchiki kuri is used, and you may also see it under that name in seed catalogues.
The plant is an annual, grows vigorously, and trails or climbs—commonly reaching several metres in length. It has large, dark green leaves and in the first half of summer it flowers with striking yellow, funnel-shaped blooms. The fruits are orange to deep orange-red, often with a teardrop shape. One plant usually sets about two to three fruits, typically around 15 cm in diameter and weighing from about half a kilo up to several kilos. The flesh is yellow to orange and becomes pleasantly soft and silky when cooked.
Cultivars and colour variations
The most commonly grown types have orange skin, but there are also cultivars with blue-grey, blue-green, or dark green colouring, especially popular in Japan. When choosing, it pays to consider earliness, fruit size, keeping quality, and vigour, because some types produce fewer but very aromatic fruits, while others crop much more freely.
In seed shops you may come across earlier, high-yielding variants with a more tender skin; blue types that can have slightly firmer skins; or green types known for longer storage. The name Red Kuri is often sold under the label uchiki kuri.
When and how to sow and plant Hokkaido
Hokkaido is a warmth-loving squash and should only go outside once the last frosts have passed. Direct sowing into the bed or planting out raised seedlings usually makes sense from mid-May, depending on local conditions. Because it needs a longer growing season, many gardeners start it off indoors in warmth so the plant has time to set and fully ripen its fruit before autumn temperatures drop.
The key to success is very fertile soil. Squash are heavy feeders, so it helps to enrich the site with well-rotted compost or thoroughly decomposed manure before planting. It also thrives in places rich in organic matter—near the compost heap, for instance—provided it has plenty of sun and space.
Starting plants indoors
Seeds are usually sown from April into individual pots, so the roots are disturbed as little as possible when transplanting. Place the seed on its side, about 2 to 3 cm deep, and cover with compost. After sowing, keep moisture even but avoid waterlogging. A germination temperature of around 20 to 24 °C works well, with emergence typically taking about 8 to 14 days. Before seedlings go outside, harden them off gradually and only then plant them into their final position.
Direct sowing into the bed
If you decide to sow directly outdoors, do so only when there’s no longer any risk of frost. The method is similar to indoor sowing: place the seed on its side, about 2 to 3 cm deep, and keep the soil evenly moist. With both approaches, it’s important to give plants plenty of room because they spread quickly. Spacing of roughly 1.5 m helps reduce later competition for light and nutrients.
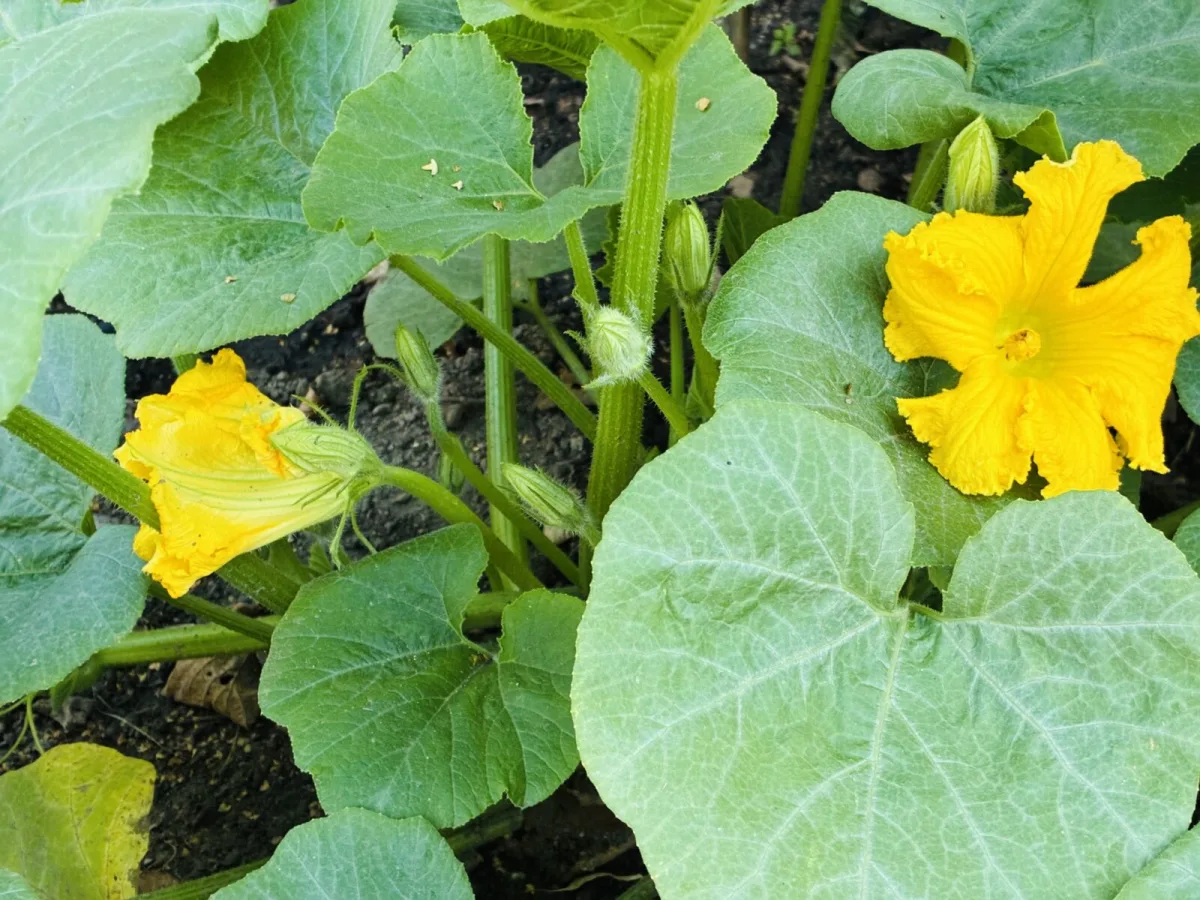
Seasonal care and encouraging fruit set
After planting out, water plants thoroughly and continue watering through summer as the leaf canopy expands and the fruits swell. It’s best to water at the roots and try not to wet the leaves unnecessarily. This reduces the risk of fungal problems. At the same time, the roots shouldn’t be allowed to dry out for long periods, because a stressed plant is more prone to disease and may set less reliably.
Because Hokkaido squash are nutrient-hungry, feeding is beneficial—for example, with a liquid fertiliser at regular intervals during strong growth. Keeping the patch weed-free is just as important, especially early on before the plants cover the ground themselves. A mulch layer can reduce evaporation, help maintain steadier moisture, and also suppress weeds.
In summer, growth can be managed by pinching out. If you want to encourage ripening, it’s often useful to limit excess side shoots and, once a few fruits have set, remove the growing tip. This redirects the plant’s energy into ripening. As the fruits develop, it also helps to gently pull back leaves that heavily shade them so more sun reaches the skin and the fruits colour up properly. It’s practical to place a board, brick, or tile under each squash so it doesn’t sit on damp soil and is less attractive to pests.
Harvesting and recognising full ripeness
It’s best to leave the fruits on the plant as long as possible, because they develop a fuller flavour and ripen better. However, they must not be hit by frost, which they are very sensitive to. From sowing to harvest typically takes around 95 to 120 days, depending on the cultivar and conditions. Ripeness can be judged in several ways: the skin should be hard, the stem gradually becomes woody and dries, and a knock on the fruit often produces a more hollow sound.
Harvest is most commonly from September to November. When harvesting, cut the fruit cleanly and leave as long a piece of stem as possible, as this improves storage life. After cutting, it’s recommended to cure the squash—leave it for at least about ten days to dry and the skin to harden in a warm, bright place where it won’t get wet. This can be a sunny spot outdoors in settled weather, or a greenhouse, polytunnel, or cold frame.
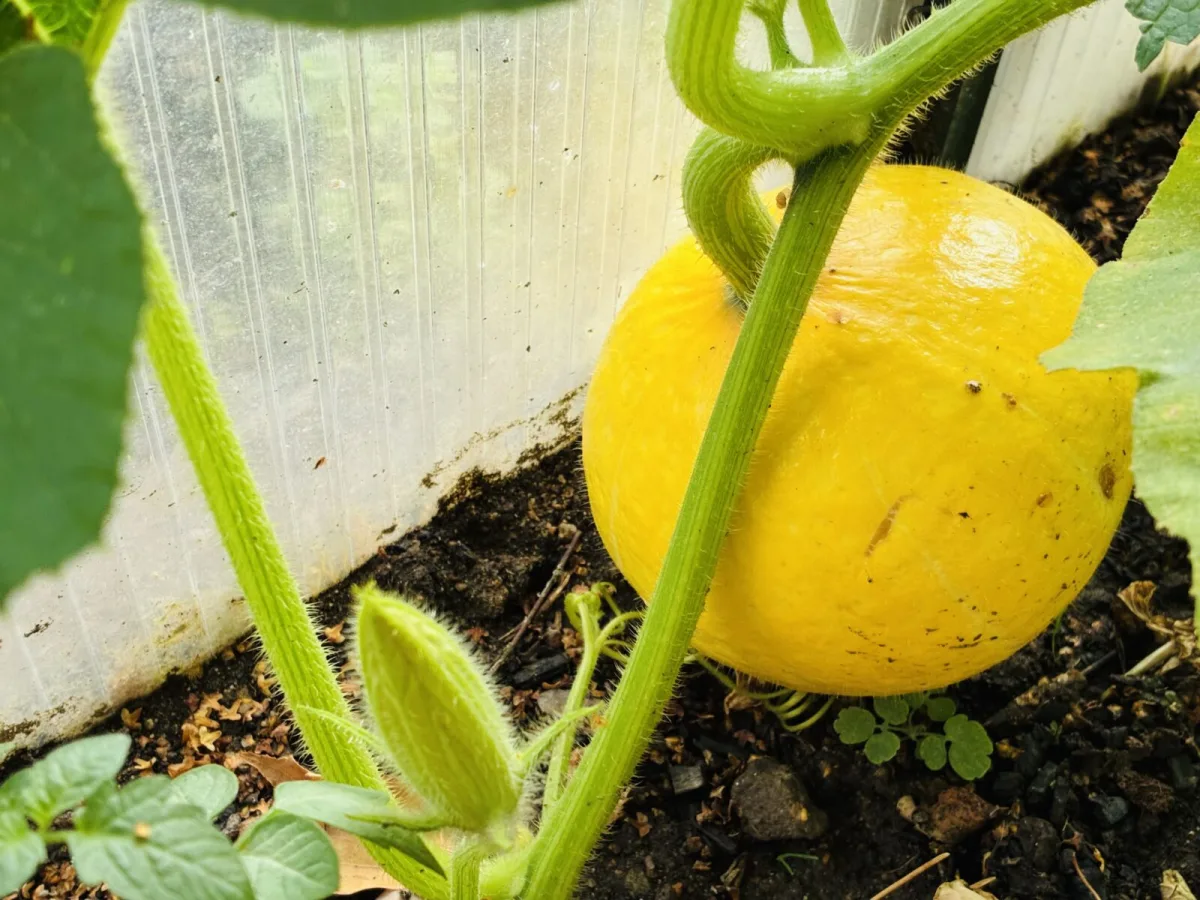
Storage and how long Hokkaido will keep
Properly ripened and well-cured Hokkaido can keep for several months in the right conditions—often up to around half a year. The ideal place is dry and well ventilated, with a temperature of about 12 to 15 °C. If temperatures drop too low, the risk of rot in storage increases, and keeping squash in a space where it may freeze is unsuitable.
It’s better not to stack squash on top of each other. It’s practical to turn them occasionally and check them regularly. As soon as you notice softening or any sign of rot, it’s safer to separate that fruit so the problem doesn’t spread. If you’d like to preserve the harvest in other ways, you can chop and freeze squash either raw or cooked, but be aware it tends to be softer after thawing. Frozen pieces are usually best for soups, purées, or sauces. Other options include bottling, pickling, or turning it into sweet preserves.
Kitchen uses and nutritional benefits
Hokkaido is popular not only for its flavour but also for its nutrition. It contains a range of vitamins—especially B vitamins, as well as vitamins C and E—and provides minerals such as potassium, magnesium, iron, and phosphorus, along with folate. In the kitchen it’s versatile and, thanks to its pleasant texture, easy to work with.
It’s most commonly used in creamy soups, vegetable mixes, stews, and baked dishes. It’s also excellent roasted, which brings out its sweeter notes. Pumpkin purée can be used for dumplings, doughs, and sauces. For baking, it works well in pies and cakes, adding moisture and a gentle flavour that pairs beautifully with cinnamon or ginger.
If you want to store squash for as long as possible, focus on full ripeness, careful harvesting with the stem intact, and curing afterwards in warmth and dryness.
Source: Plantura Magazine, Epic Gardening , Pestrazahrada.cz
Related articles
A Pineapple Top Will Root in Two Weeks, but Success Depends on the Step Most People Skip
Don’t throw away the leafy crown when you cut a pineapple. With the right prep, light, warmth and careful watering, you can root it and grow a houseplant that may eventually fruit.
Overwintering Geraniums in a Box Ensures Stronger Growth and More Abundant Spring Bloom
Many people throw balcony geraniums away after the season, even though they can overwinter very well. Stored correctly in a box in cool, dark, dry conditions, they’ll come back stronger and flower generously in spring.
This perennial flowers when others are finishing, thrives in shade and is still little known in the Czech Republic
Liriope is a tough, evergreen perennial with grassy foliage that comes into its own at the end of summer, when many other plants are fading. It thrives in partial shade to shade, needs little care, and adds structure to borders year-round.
Comments (0)
Be the first to comment.