
 English
  Polski
  Deutsch
  Nederlands
  Svenska
  Norsk
Norsk  Dansk
Dansk  Français
  Italiano
  Español
  Português
  Slovenčina
  Suomi
Suomi  Gaeilge
 Essential conditions for drying mushrooms for quality and long shelf life
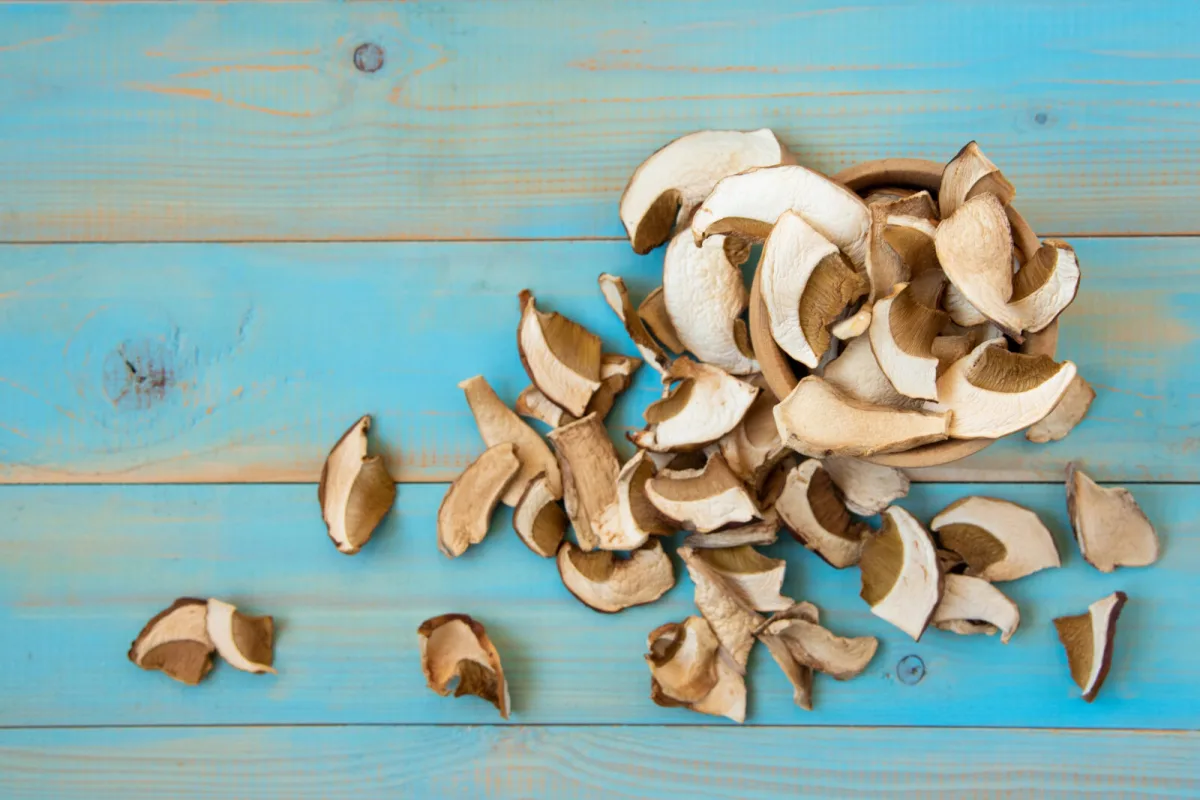
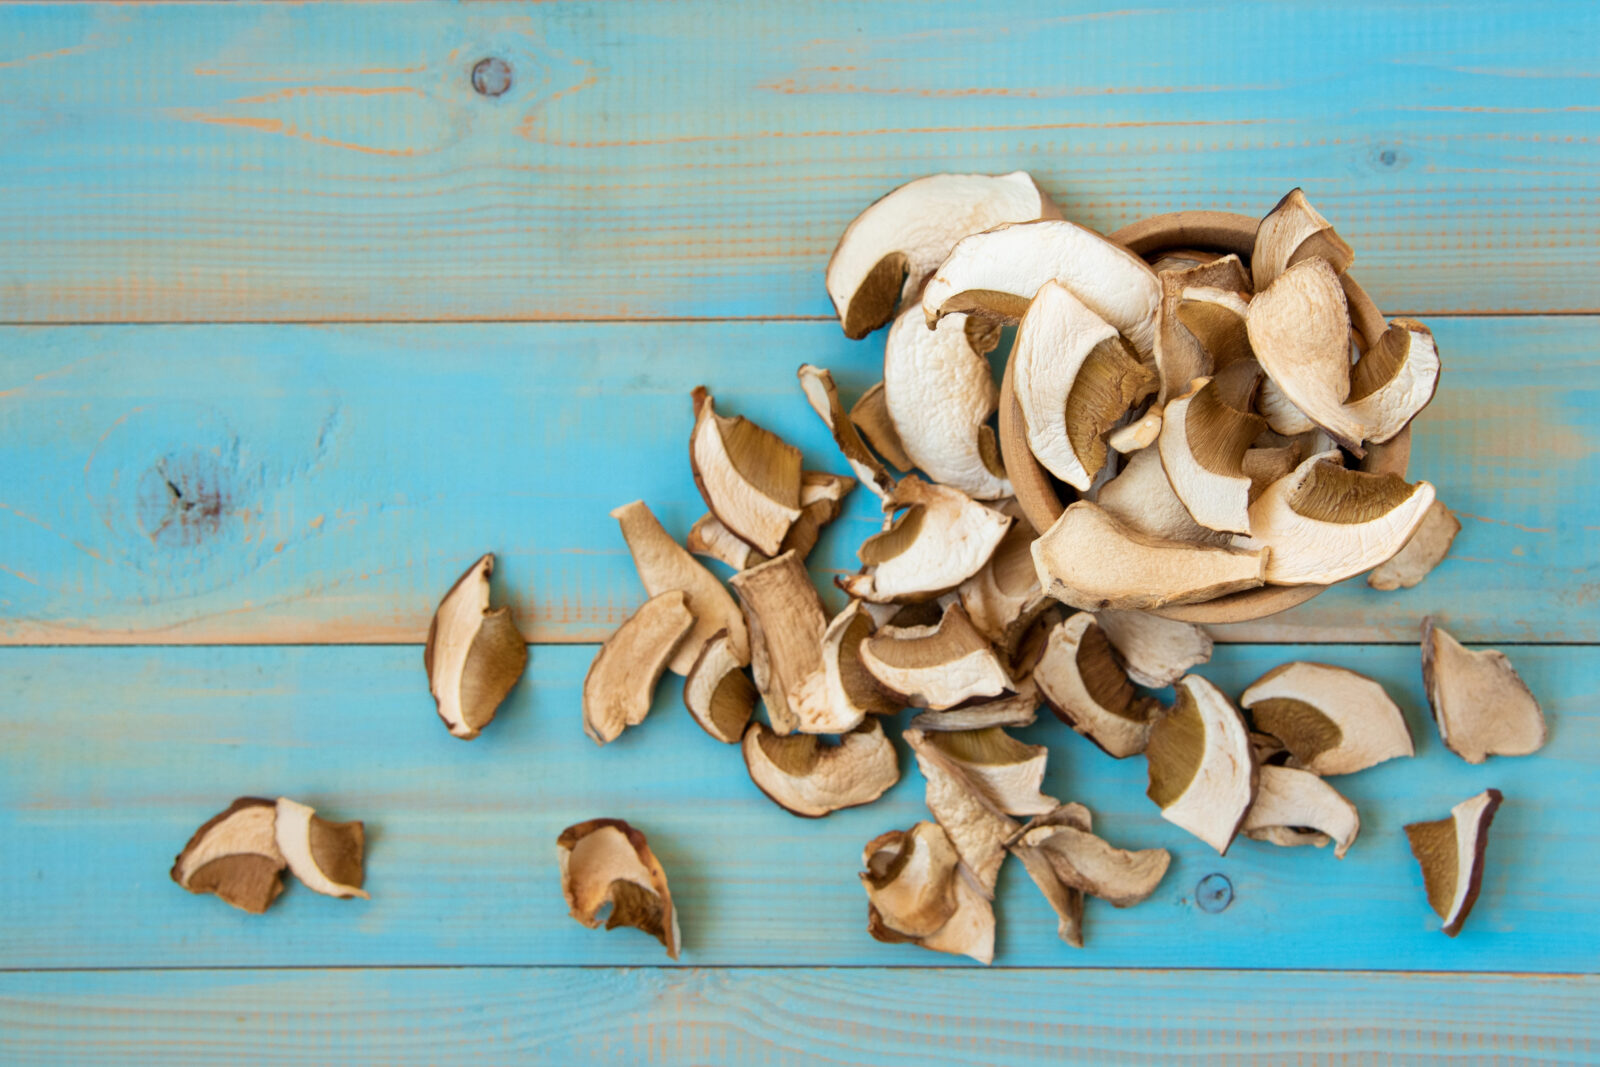
Once mushroom season is in full swing, it’s easy to come home with a basket piled to the brim. Fresh mushrooms are brilliant in sauces, soups, and sautéed dishes, but you won’t always manage to use them all in time. Drying is a simple way to preserve their deep flavour for many months. Properly dried slices can be added at any time to stock, risotto, goulash, or a creamy soup, instantly giving the dish a richer mushroom aroma.
The key is to stick to a few rules. Mushrooms must be sound, properly cleaned, cut into evenly thick pieces, and dried so there’s no moisture left inside. Residual water is the most common reason mould or a musty smell appears later on.
Which species are suitable for drying and which are better avoided
Not every mushroom tastes equally good once dried, and some species can be troublesome because quality deteriorates during the process. It’s generally not recommended to dry what foragers often call “babky” (bay boletes), as parasites can spread during drying and then ruin other mushrooms in the same batch. Polypores, puffballs, honey fungus, and autumnal tricholomas are also not typically chosen for drying.
By contrast, true boletes (porcini/cep) dry exceptionally well, as do parasol mushrooms, orange birch boletes, and saffron milk caps. With these species, the flavour becomes beautifully concentrated after drying and, when stored correctly, they remain usable for a long time.
Correct picking and cleaning before drying
The right kit helps from the moment you’re in the woods. Don’t collect mushrooms in plastic bags, where they quickly sweat and soften. A sturdy basket is ideal: there’s space, air circulates around them, and they stay in better condition longer. For drying, choose only healthy specimens. Skip anything mouldy, maggoty, or damaged in any way, even if only part looks bad. Cutting away a questionable area doesn’t guarantee the rest is truly fine, and one unsuitable piece can spoil the entire batch.
Never rinse mushrooms before drying. Water soaks in easily, raises moisture levels, and increases the risk of mould. Instead, clean them gently with a small knife, or wipe off dirt with a dry cloth or a soft brush.
Preparing slices and the principles of even drying
Whichever drying method you choose, the basics are the same. Slice mushrooms into thin, evenly thick pieces, ideally about 4 mm. You can slice whole mushrooms or separate caps from stems; the result is usually comparable. What matters is arranging the slices so they don’t overlap. If they sit on top of each other, moisture gets trapped between layers and drying takes longer or becomes uneven.
A dehydrator as the most convenient option
The easiest route is an electric dehydrator. It takes very little work and dries mushrooms evenly. Spread the slices on the individual trays, set the temperature to roughly 40 to 50 °C, and dry for about 5 to 8 hours depending on the species and the appliance’s power. With a good-quality dehydrator, you usually don’t need to rearrange or flip the slices because airflow is distributed evenly.
Oven drying step by step
An oven works too, but you need to watch the temperature and allow steam to escape. Lay the slices on a baking tray lined with baking paper so they don’t stick. Start at a low temperature around 20 to 30 °C so the mushrooms don’t sweat. After about two hours, increase the temperature to roughly 50 to 70 °C and, ideally, switch on fan-assisted convection.
If your oven doesn’t have a fan, leave the door slightly ajar while drying so moisture can escape. For an even result, check the mushrooms as you go and turn them after about three hours so both sides dry equally.
A radiator as a household emergency solution
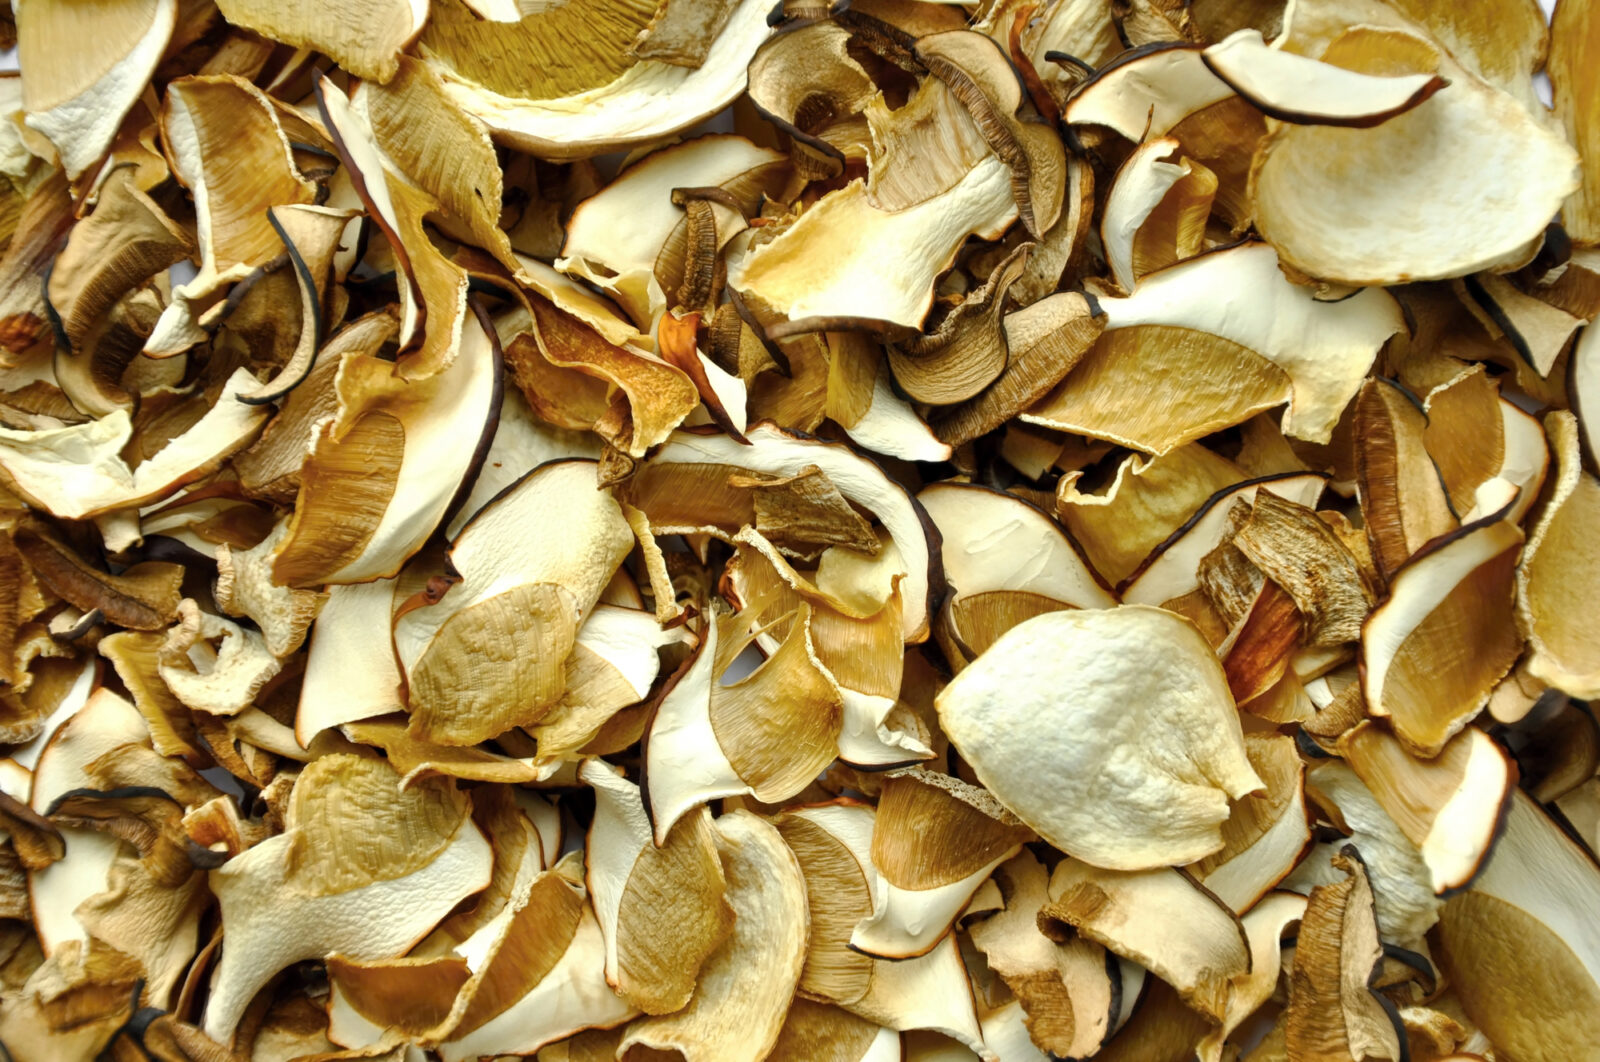
If you don’t have a dehydrator and don’t want to use the oven, you can dry mushrooms on a radiator. This is most useful when the radiator is on and you have enough space to lay everything out safely. Use a tray lined with baking paper; it makes it easy to lift off the slices once they finish drying. Turn the mushrooms during the process and give them time until they’re dry on both sides and no longer feel soft.
How to tell whether mushrooms are dried properly
Finished dried mushrooms are brittle, rustle when handled, and can’t be bent because they snap. If the slices only bend or feel rubbery, there’s still moisture inside and you need to continue drying. This check is crucial for a long shelf life.
Storing them so they last all winter and even for years
After drying, let the mushrooms cool briefly, then store them in airtight jars and seal them tightly. Keep the jars in a cool but dry room where condensation won’t form. An alternative is a cloth bag, but that requires a truly dry, well-ventilated place so the mushrooms don’t absorb moisture from the air. If you maintain a dry environment and a tight seal, quality stays high and your pantry supply can easily last for several years.
Source: Pestrazahrada.cz

A lover of nature, gardens, and everything that moves, blooms, or grows. He literally grows everything, from herbs to rare species, and he enjoys caring for animals just as much. In his work, he connects modern technology with tried-and-tested grandmotherly methods and is happy when both paths lead to the same goal.
Related articles

Fighting moles tempts you into a quick fix that can put you on the wrong side of the law
Fresh molehills can ruin a lawn, but the common mole is a protected species and lethal control can be illegal. Learn how to tell a mole from a vole and which lawful, effective methods actually encourage it to move on.
Why the Tree That Feeds a Family for Generations Is Disappearing from Czech Gardens
The English walnut used to be a staple of larger gardens and farmyards, valued for its nutritious nuts and many practical uses. With the right site and variety, it remains one of the most rewarding long-lived trees you can plant.
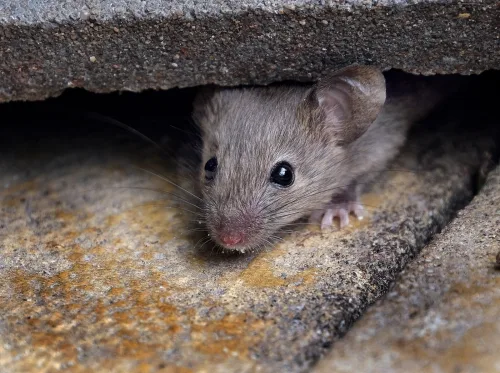
How to Get Rid of Mice and Rats in the House, Loft and Garden Effectively
Mice and rats don’t leave quietly—scratching sounds, droppings and gnaw marks are clear warnings. A lasting solution comes down to three steps: block entry points, remove food sources, then use traps or professional control.
Comments (0)
Be the first to comment.