
 English
  Polski
  Deutsch
  Nederlands
  Svenska
  Norsk
Norsk  Dansk
Dansk  Français
  Italiano
  Español
  Português
  Slovenčina
  Suomi
Suomi  Gaeilge
 Wrong Dilution of Homemade Fertiliser Can Harm Plants More Than You Think
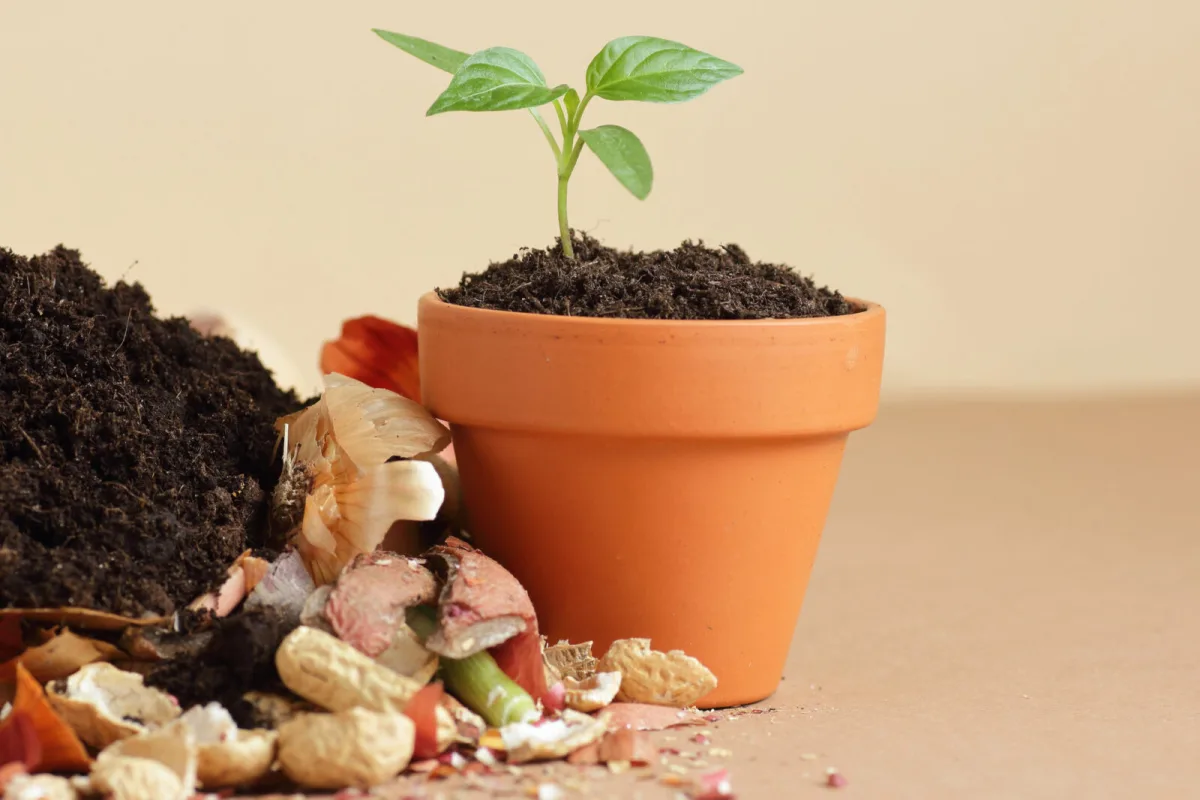
Homemade fertiliser is most often a liquid plant feed you make from readily available organic matter, for example soft green plant growth, weeds, compost or farmyard manure. The principle is simple: as the material breaks down or steeps, nutrients leach into the water; the resulting liquid is then diluted and used for watering. The result is a natural feed with no unnecessary chemical load, and it also supports a low-waste approach to gardening.
The main advantage over shop-bought fertilisers is that the ingredients usually come straight from your garden or household. Industrial production, packaging and transport are avoided. Nutrient levels do vary depending on what you use, but homemade brews can still give plants a useful growth boost, especially during periods of vigorous growth.
What you can make homemade fertiliser from
The base is usually fresh green material with soft stems and leaves. At this stage plants tend to hold the most readily available nutrients. Dried material works too, which you can prepare in summer and use later. Another option is homemade compost or locally sourced manure, both of which can be soaked to draw nutrients into water. Practical sources also include liquids from a wormery (vermicomposter) or a bokashi bin, produced as organic scraps break down.
On the other hand, it’s not worth relying on tough, woody parts or glossy evergreen leaves, which decompose slowly and release nutrients poorly. If you don’t have access to enough green material, you can improvise with hay or with comfrey or alfalfa pellets sold as animal feed.
Which plants are best for making liquid feeds
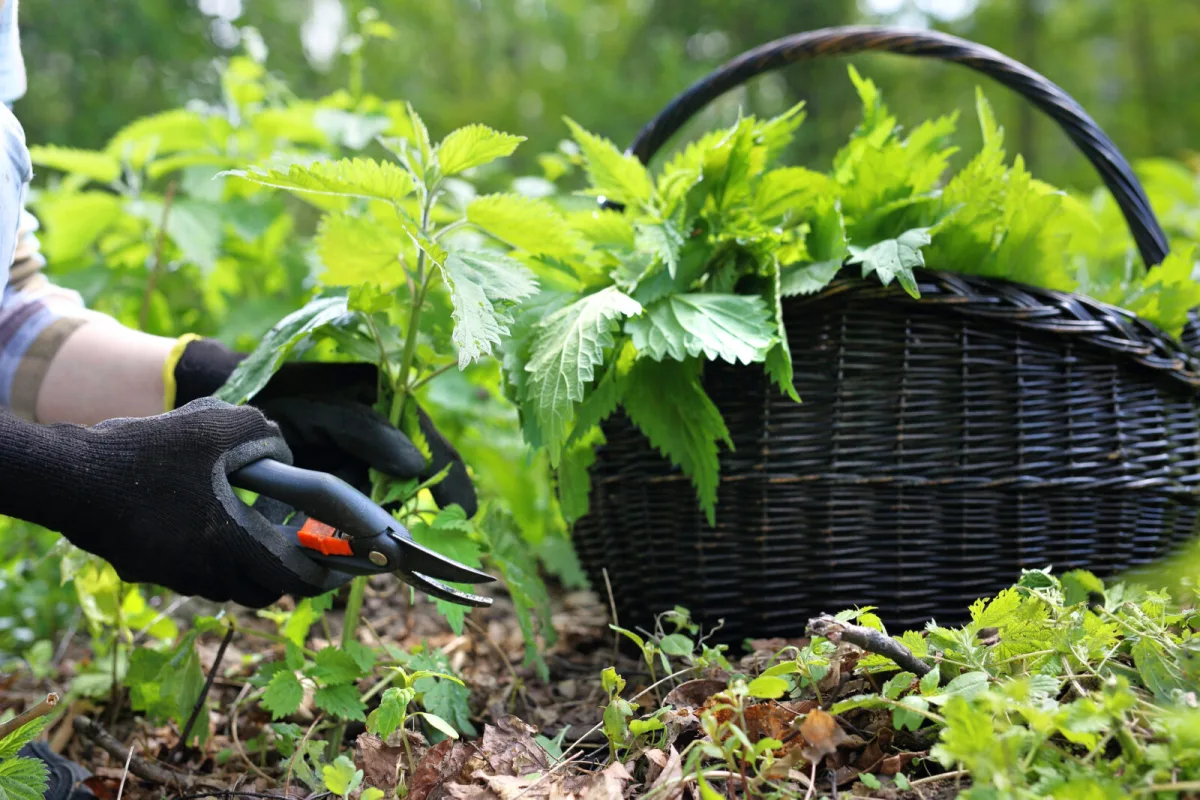
The best choice is whatever you have in abundance and can collect easily. In general, green material is best gathered from mid-summer to early autumn, when mineral content tends to be highest. Reliable favourites include comfrey, often grown in gardens, and nettles, which you’ll find almost everywhere. Gloves are well worth it when harvesting nettles.
Common garden weeds from beds work well too, whether annuals or perennials. In some areas, bracken fern is also used, collected in spring and early summer before it forms spores. Lawn clippings are excellent material as well, if you have a lawn to hand. If you collect anywhere outside your own property, make sure you have the landowner’s permission.
How to make a brew from fresh and dried plants
Prepare a container with a lid, such as a water barrel, a large bucket or a sealable jerrycan. Pack it tightly with freshly collected or dried material, compressing it as much as you can. Close the container so the mix doesn’t dry out and so it isn’t unnecessarily diluted by rain. Check it regularly, ideally once a week. Once the plant matter has collapsed and you see a dark liquid that looks like murky soup, your base concentrate is ready.
Strain the liquid through a sieve, or drain it via a tap if your container has one. Decant the concentrate into sealable bottles and label them clearly. Add the solid leftovers to the compost heap, where they’ll still be put to good use. Only dilute the concentrate with water just before use so it’s safe for plants.
Do you need to add water
With fresh green material, water often isn’t necessary because leaves and stems already contain a lot of moisture. The key is preventing it from drying out, so keep the container covered. With dried plants, hay or pellets, water speeds decomposition and helps nutrients release. In that case, pour in water until the contents are just submerged.
How long it takes and what to expect
Maturing time varies with temperature and the type of material: sometimes a few days is enough, sometimes it takes several weeks. The brew can smell strongly, so it’s more practical to make it outdoors or in a well-ventilated area. Gloves are a good idea not only while making it, but also later when handling the mixture.
Storing finished fertiliser
You can use the plant concentrate right away or keep it for later. Ideally use it within a few months; kept cool and dark it will usually last longer. If a sealed container starts to bulge, carefully loosen the cap to release gases, then reseal. Brews made from compost or manure, however, are best not stored and should be used soon after they’re finished.
How to use homemade fertilisers and how often to feed
Plant-based brews are often weaker than commercial products, so you typically apply them more frequently and in a larger volume. Manure-based brews can be much stronger, so handle them more cautiously and with longer intervals. Always dilute homemade feed and apply it as a soil drench to the roots. Annuals, patio plants and fruiting crops grown in pots or in the ground benefit most, such as tomatoes or strawberries. Mature trees, shrubs and established perennials generally don’t need regular liquid feeding.
Don’t use homemade brews as a foliar spray, to avoid inhaling microorganisms. Wash your hands after handling and don’t eat or drink while working with it.
Recommended dilution for safe use
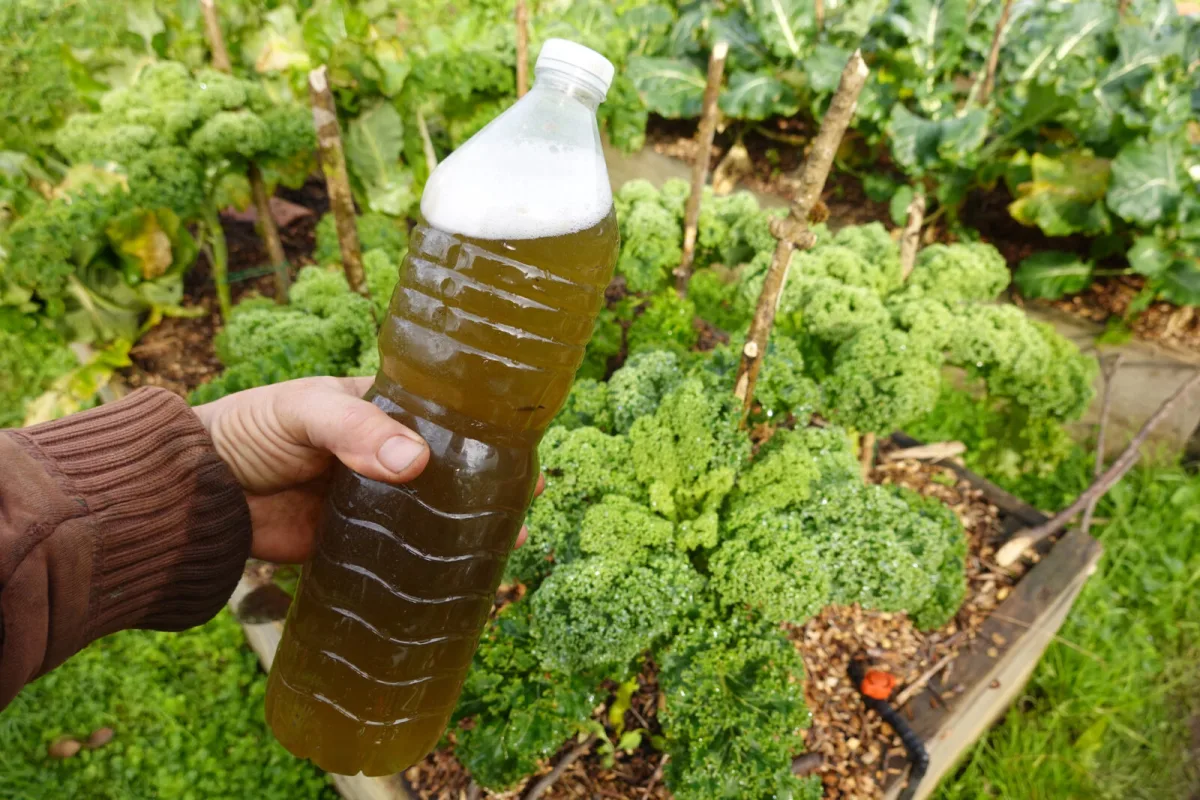
If you made a brew from fresh plants without adding water, dilute it at roughly 1 part concentrate to 20 parts water. For brews where water was added during making, typically from dried material, a ratio of about 1 to 10 is used. A similar 1 to 10 dilution suits manure brews and liquid from a wormery. Bokashi liquid is usually very concentrated, so it’s diluted far more, around 1 to 100. A good check is the colour: once diluted, it should look like weak tea.
Other nutrient sources you can include
Wood ash is a useful add-on: in small amounts it increases potassium, which is especially helpful for flowering and fruiting. Sieve the ash and use it sparingly, because it raises alkalinity. For that reason it’s not suitable for plants that require acidic soil, such as rhododendrons, camellias or blueberries.
In coastal areas, seaweed is traditionally used as a soil improver and nutrient source, but collecting it may be regulated depending on land ownership and local conservation rules. If you’re considering it, it’s wise to check the conditions in advance.
A specific option is human urine. Fresh urine is typically sterile and its nutrient content depends on diet, but it usually supplies nitrogen, phosphorus and potassium. It is used only fresh and is not stored. It must be diluted, for example at 1 to 5 up to 1 to 10, and applied as a soil drench.
Kitchen scraps as quick plant nutrition
Not all homemade fertilisers have to come from long fermentation. Some everyday kitchen leftovers can be used directly. Used coffee grounds add organic matter and nitrogen to the soil and can also improve structure and water retention. The key is to use brewed grounds; fresh ground coffee can be too acidic for sensitive plants.
Eggshells are valuable mainly for their calcium. You can crush them and lightly work them into the surface, or grind them into a fine powder that becomes available in the soil more quickly. Banana peels are often soaked in water and the resulting liquid used for watering. Among household remedies, Epsom salts (magnesium sulphate) are sometimes used to encourage greener growth and support uptake of some nutrients, but they should be used sparingly and at sensible concentration.
A simple homemade recipe for a quick liquid feed from the kitchen
If you want to combine several sources in one, you can make a mix of brewed coffee grounds, crushed eggshells, pieces of banana peel and a small amount of Epsom salts, cover everything with water and leave it to stand for a few hours. Then strain the liquid and use it as a drench. With this type of fast homemade feed, the same rule applies as with the rest: weaker and more often is better than a single overly strong dose.
It’s best to treat homemade feeding as ongoing fine-tuning of plant care, not as precisely dosed chemistry. Watch how your plants respond, adjust both frequency and strength, and use what you have to hand—whether from the garden or the kitchen.
Source: Rhs, Gardening Know How , Pestrazahrada.cz
Related articles
Ten Minutes in Autumn Decide Your Currant Crop
Currants crop best on younger wood, while old stems drain the plant and shade out productive new growth. A quick autumn prune keeps the bush open, healthy, and reliably fruitful next season.
White Painted Trunks in Orchards Protect Trees from a Hidden Winter Threat
Whitewashing tree trunks in winter isn’t decoration. It helps prevent bark cracking caused by sharp day-to-night temperature swings and reduces the risk of disease entering through wounds.
What to do for currant bushes in October so they’re loaded with fruit next year
October is the best time to set currant bushes up for a strong spring and a heavy crop. With the right pruning, protection and autumn feeding, you’ll encourage more flower buds and better winter hardiness.
Comments (0)
Be the first to comment.