
 English
  Polski
  Deutsch
  Nederlands
  Svenska
  Norsk
Norsk  Dansk
Dansk  Français
  Italiano
  Español
  Português
  Slovenčina
  Suomi
Suomi  Gaeilge
 Runner beans can crop more if you avoid these growing mistakes
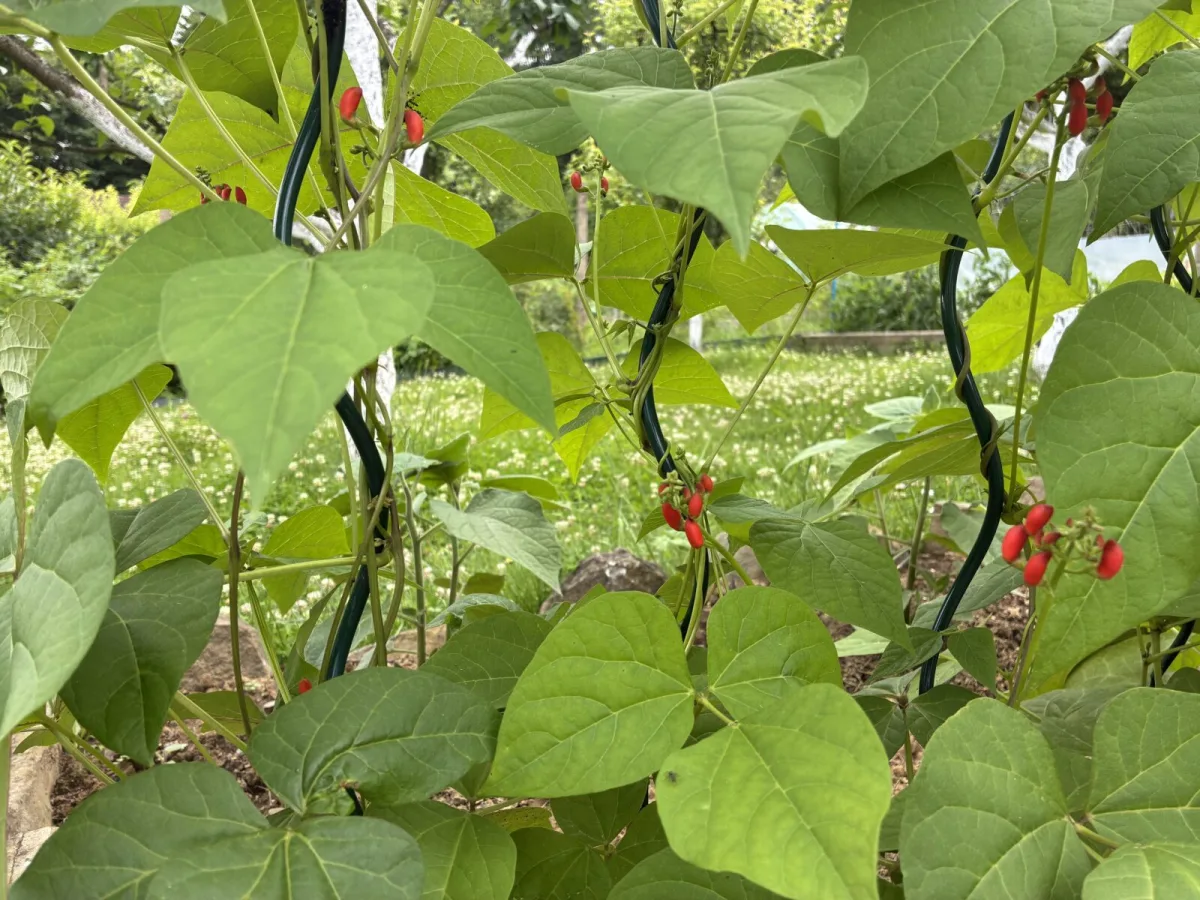
Runner bean is one of the most popular vegetables for the productive garden because it’s easy to grow and, with good care, delivers plenty of long green pods. Harvesting usually starts in mid-summer and, with regular picking, continues right into early autumn. As well as being useful, it’s also attractive: climbing types carry showy flowers in red, pink, white and bicolour shades, followed quickly by whole clusters of pods.
It does best in sun, in fertile soil and with plenty of moisture. Interestingly, it often performs well even in cooler, wetter summers, when other crops stall. The key to a long season is to pick the pods young and tender so the plant keeps producing flowers and new pods.
Choosing a variety and how to grow it
Most runner beans are climbers, so they need a tall, sturdy support. The reward is a high yield in a small footprint, because the plant grows upwards. There are also bush (dwarf) forms that grow to about 45 cm. These suit places where there’s no room for structures, or for containers and more exposed sites, but they usually crop less.
Climbing varieties tend to get going a little more slowly, but they crop for longer. In hot summers, varieties with some genes from French bean can be an advantage, as they often set pods better in warmer areas. When choosing, it’s worth looking at pod characteristics too—some are thicker, others finer, and flavour varies as well. For the most reliable results, choose proven varieties from good-quality seed.
Preparing the site and soil
A sunny, sheltered spot is best, so plants aren’t needlessly battered by wind. The soil should be thoroughly weeded and enriched with plenty of compost or well-rotted manure. Ideally, work organic matter in ahead of time so the bed can settle. If you garden no-dig, you can mulch the surface and plant straight into the mulch layer—just make sure seeds and roots reach a moist, nutrient-rich zone.
Supports for climbing plants
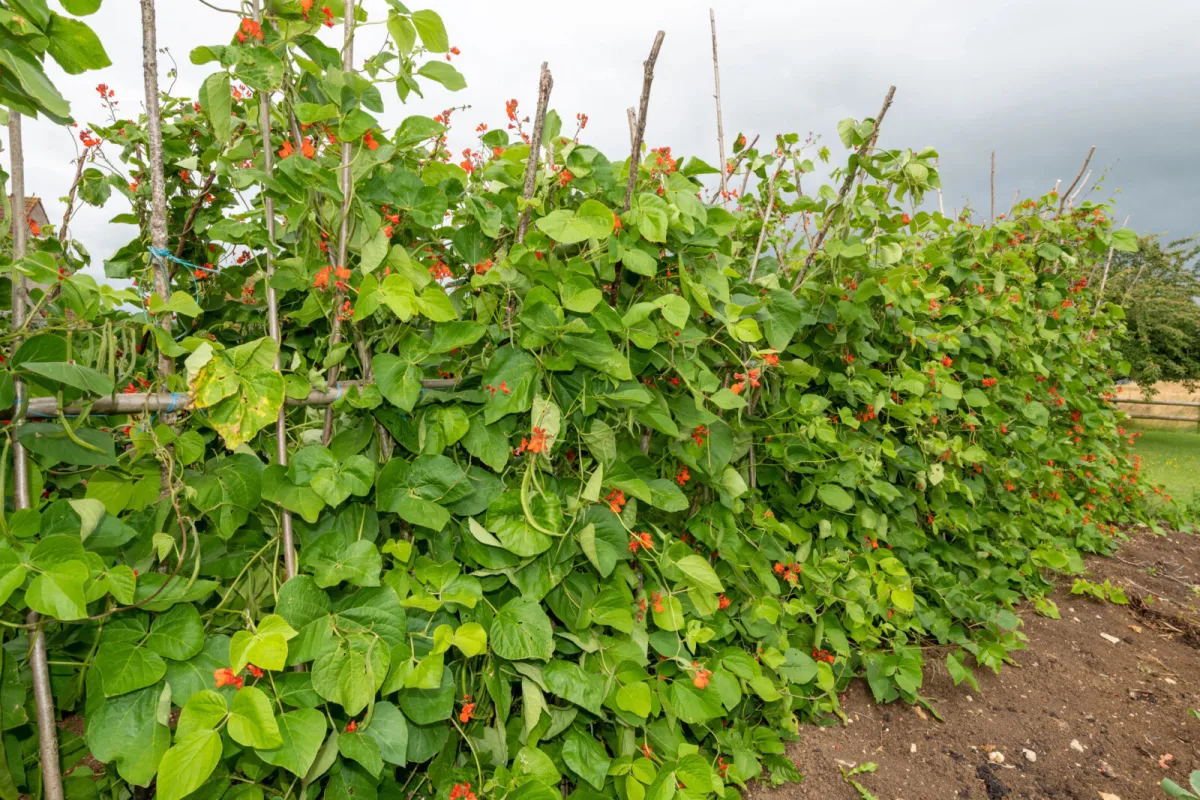
Climbing runner beans need a support about 2.5 m tall. The most common method is to build two opposing rows of canes with a gap of about 45–60 cm between them. In each row, canes are spaced roughly 15–30 cm apart and angled inward, then tied together at the top and braced with a horizontal pole to make a stable frame. If you build several double rows, leave enough space between them for access and picking.
An alternative is a criss-cross arrangement, where canes cross roughly in the middle. Picking is often easier because pods are more within reach, but stability can be lower unless the joins are well reinforced. For smaller spaces, a wigwam (several canes tied together at the top) also works well. It looks decorative even in an ornamental border or in a large container on a patio. Runner beans can also be trained up wire mesh, a trellis, or over an arch above a path, provided the structure can carry the weight of the crop.
With dwarf types, it’s worth pushing short twiggy sticks in among the plants to give support and keep pods off the soil.
Sowing and germination temperature
Runner beans don’t tolerate frost, so timing is crucial. For an earlier crop you can sow indoors in the second half of spring, which is also useful in cooler areas where a direct outdoor start would shorten the season. Direct sowing outside is possible from late spring to mid-summer, but only once the soil has genuinely warmed up.
Sowing indoors
Sow the seeds individually into small pots or deep modules so the roots have enough room. Sow about 5 cm deep into moist, good-quality peat-free compost. Place containers in a bright spot with temperatures above 12 °C. Seedlings grow quickly and need regular watering so they don’t dry out. Transplant outdoors only after the risk of frost has passed—usually late May to early June—and harden them off gradually beforehand.
Direct sowing outdoors
Outdoors, seeds germinate reliably once there’s no frost risk and the soil is at least around 12 °C. With climbing beans, it’s common to sow two seeds at the base of each cane to cover any losses, then thin after germination to keep the stronger plant. For bush types, aim for about 30 cm between plants and roughly 50 cm between rows.
Growing in containers
Runner beans can be grown in containers too, but you need enough volume and stability. Dwarf varieties usually manage with a container about 30–45 cm wide. Climbing types need far more space—ideally around 75 cm wide and about 45 cm deep—and the container must be heavy enough that the plant growth won’t tip it over. Use a good-quality compost, ideally a peat-free multipurpose or a loam-based mix. Install supports at sowing or planting time so you don’t damage roots later.
Planting out and protecting young plants
Home-raised plants and bought-in seedlings should be planted out only after the last frosts. Hardening off matters, because a sudden move outside can check growth. After planting, place the plant right at the base of the support, water well, and loosely tie in the shoot so it catches properly. With bush varieties, it’s helpful to reduce pod contact with soil and make weeding easier, for example with a suitable mulch. At this stage, protecting against slugs is also essential, as young plants are at their most tempting.
Watering, mulching and feeding
Runner beans are thirsty plants and need the most water from the start of flowering through to pod formation. In drought, without regular watering, flower set and pod size drop quickly. In containers, compost dries out much faster, so water more often and more thoroughly, ideally at the roots.
After planting, a layer of compost or well-rotted manure spread around the plants helps. Mulch retains moisture, reduces weed germination and stabilises soil conditions. When grown in the ground, extra feeding usually isn’t necessary because the plant is vigorous and makes good use of organic matter in the bed. In containers, though, it pays to feed about once every two weeks once the first flowers appear, using a fertiliser higher in potassium.
Training plants and pinching out the tops
As shoots extend, guide them onto supports and retie any that come loose. With climbing varieties, it’s useful to pinch out or cut back further growth once they reach the top of the structure. The plant then produces more side shoots lower down, pods are easier to reach, and the top growth is less likely to become overloaded.
Harvesting for the biggest crop
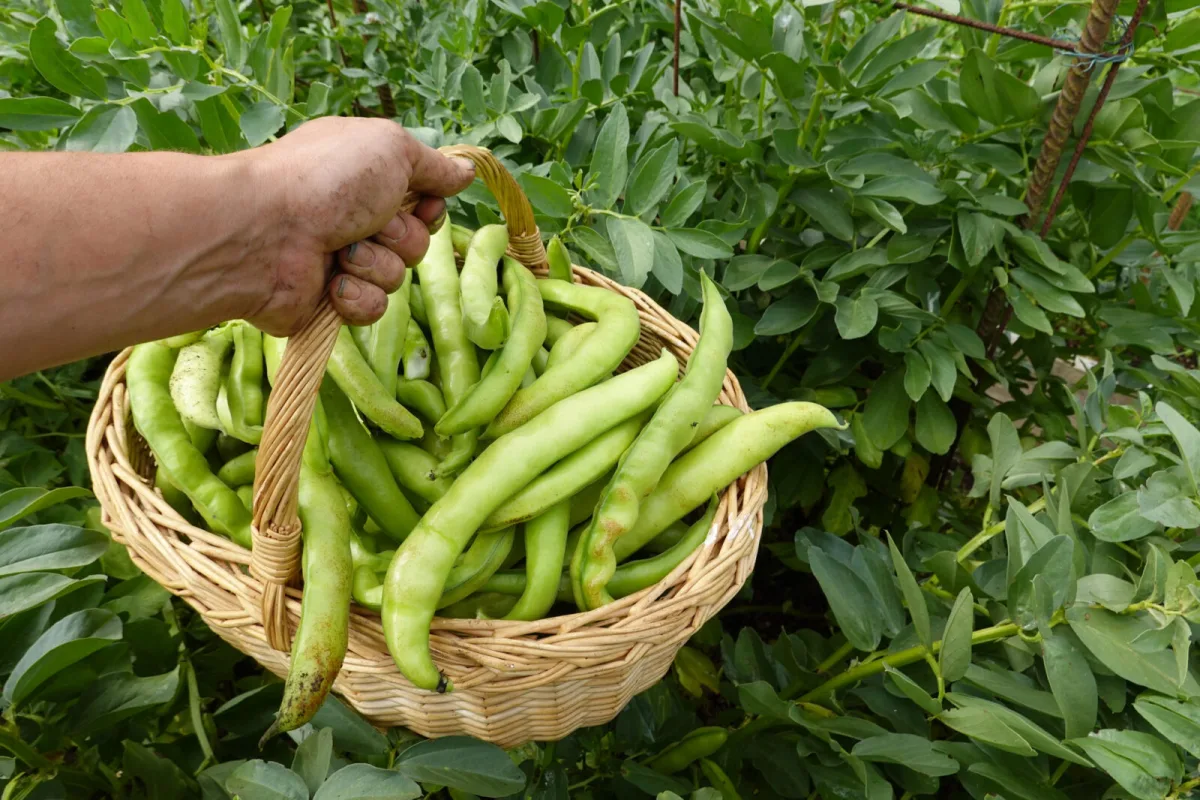
The first pods usually appear in mid-summer, depending on sowing time and variety. With regular picking, the plant can crop for eight weeks or longer. The best pods are young, tender and stringless, often around 20–25 cm long. You’ll know they’re ready because they snap easily and the seeds inside are still small and pale.
The most important rule is to pick often, ideally every two to three days. If pods are left to mature, the plant diverts energy into seed, flowering slows, and new pod production drops sharply. When harvesting is finished, remove the top growth and compost it, but it’s worth leaving the roots in the soil—legumes fix nitrogen, and the remaining roots help improve bed fertility.
Common problems and prevention
They’re generally easy to grow, but a few issues come up repeatedly. The crucial point is not to expose plants to frost, because even a brief cold snap can damage them. Another risk is slugs, which can destroy young seedlings in a single night. Aphids sometimes gather on shoot tips, especially dark-coloured types, weakening the plant and distorting growth.
Large plants need a steady supply of moisture or they set pods poorly. Hot weather can also reduce flowering and pollination, lowering the harvest. Leaf diseases can occasionally appear, such as rust or bacterial leaf spot, and in warm, dry summers spider mites can be a problem. The best defence is prevention: a suitable site, regular watering, an airy canopy, timely harvesting, and quick action at the first signs of pests or disease.
Source: Rhs, Almanac , Pestrazahrada.cz
Related articles
The Christmas Amaryllis That Can Bloom for Years but Most People Throw It Away After Flowering
Hippeastrum is a spectacular winter-blooming bulb that, with the right care, will flower again year after year. Learn how to plant it correctly, look after it after flowering, and bring it into dormancy so it reliably reblooms.
How to Grow Winter Garlic for a Much Bigger Harvest
Autumn planting is the key to strong, healthy winter garlic, but the details make all the difference. With the right timing, bed choice, seed-clove treatment and a simple bicarbonate trick, you can noticeably boost yield.
A tree or shrub planted properly in autumn can outpace spring stock and improve fruiting
Many fruit trees and soft-fruit shrubs establish better when planted in autumn, because roots keep growing while the top is dormant. Done well, this head start means stronger spring growth, less watering, and a healthier first year.
Comments (0)
Be the first to comment.