
How to Propagate Fruit Trees for a Better Harvest and Reliable Results
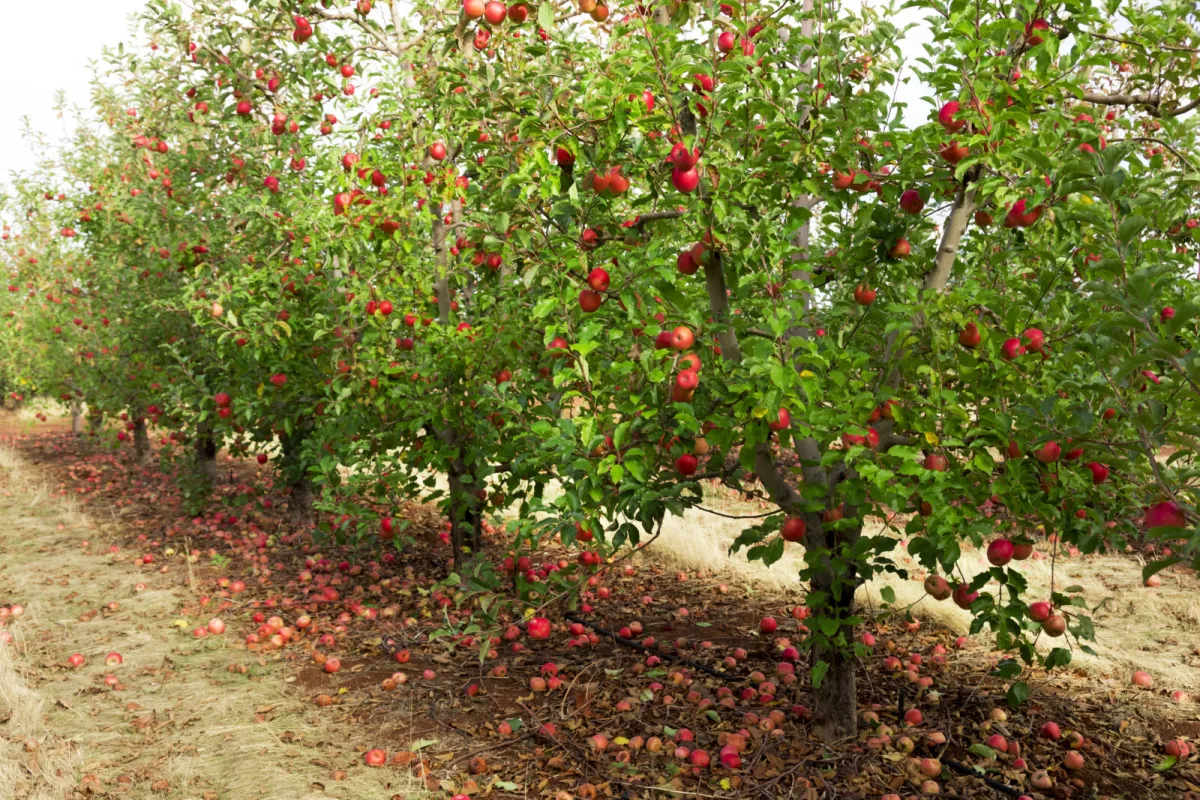
Growing fruit trees from seed is slow and often brings surprises that aren’t welcome. Not only might you wait many years for the first fruit, but there’s no guarantee the new tree will keep the characteristics of the parent plant. The result can be a different type with smaller fruit, poorer flavour, or even fruit that isn’t suitable for eating at all. If you want predictable crops and consistent quality, it’s more practical to work from an existing tree and propagate it using a technique that preserves its strengths.
The right approach helps you achieve the same qualities you appreciate in the original tree, such as earlier fruiting, more uniform fruit quality, or better resilience. What matters is sticking to the right timing and working cleanly and precisely, so cuttings and graft unions aren’t damaged and don’t pick up infection.
When is the best time to propagate fruit trees
Timing depends on the method and the tree species. The most common approaches are cuttings, grafting and air layering. Each one is done at a different time of year, because wood and plant tissues behave differently as the seasons change.
Taking cuttings by wood type
Soft green cuttings are usually taken in early spring, before the new growth really gets going. They’re suitable for plants such as mulberry or elder, where young shoots root readily. Semi-ripe cuttings are taken in summer, when this year’s growth starts to mature and firm up, typically with citrus. Hardwood cuttings are taken during dormancy, most often from late winter to early spring before buds break, for example with fig, apples, pears, pomegranate, cherries and plums.
Grafting and air layering
Grafting is usually done while trees are dormant, from late winter into early spring. Air layering is best started in early spring as the tree wakes up and sap begins to flow again, which encourages root formation at the prepared site.
Important notice: Propagating cultivars protected by a patent or trademark may be illegal, even for home use. Check in advance that it’s an unprotected cultivar or an old heritage/local variety.
Which method to choose for a particular fruit tree
For beginners, cuttings are often the simplest route, but not every fruit type roots reliably this way. With apples, pears and stone fruit, grafting is often chosen because it delivers consistent results, but it does require accuracy. Air layering works well for citrus, fig and pomegranate, and many growers consider it an easier alternative to grafting because it avoids the tricky matching of cut surfaces.
What to prepare before you start
Whatever technique you choose, the basics are clean tools and the right materials. In practice, sharp, disinfected secateurs, rooting hormone, fresh compost and clean pots are useful. For grafting you’ll also need a rootstock, grafting tape and a very sharp knife. For air layering, sphagnum moss is used because it holds moisture well, along with plastic film to seal the wrap.
How to take cuttings step by step
Choosing the right shoot
Select a healthy twig about pencil- or finger-thick, with no cracks, spots or signs of damage. With soft and semi-ripe cuttings, a length of about 15 cm is typical; with hardwood cuttings, roughly double that is more practical so they have enough buds and stored energy.
Making the cut and short-term storage
Make the lower cut on a slant at about a 45° angle to create more surface area for root formation. Trim the top with a straight cut just above a bud. If you can’t pot the cutting immediately, keep it cool, for example in the fridge, so it doesn’t dry out and lose vigour.
Rooting and potting on
Dip the lower slanted end into rooting hormone and insert it into a container of perlite, which drains excess water well. Keep conditions evenly moist but not waterlogged, as standing water encourages rot. Once roots appear, pot the cutting into a growing compost. Let the young tree strengthen for at least one season and build a solid root system. Only then is it suitable to plant out in a permanent position, ideally in autumn as the plant goes dormant.
Grafting as a route to reliable results
The principle of grafting is to join a piece of the desired cultivar, which will form the canopy and bear fruit, to a hardy rootstock of the same species. If the cuts are clean and the tissues match closely, the two parts knit together and function as a single tree. The best period is late winter to early spring, while plants are still dormant.
Choosing the rootstock and scionwood
Select a good-quality rootstock of the same species, which you can buy from garden centres or specialist suppliers. The scion, taken from the cultivar with the traits you want, should be collected from a healthy tree. Make a clean, slanted cut, similar to cuttings, to create a suitable surface for the join.
Accurate joining and aftercare
On the rootstock, make a cut that matches the scion’s cut surface as closely as possible. Accuracy is crucial, because it’s the contact between the living layers that determines whether the graft takes. If you’re new to this, practising on spare twigs helps. Bind the union with grafting tape to hold the parts together and prevent drying out. For extra protection, seal the join with grafting wax or tree wound sealant to reduce moisture loss.
After grafting and planting out
Plant the grafted young tree carefully into a nursery pot and place it in a bright, sheltered spot, such as a greenhouse or a sunny garage. Once the union is stable and the plant has taken well, you can transplant it to its permanent position.
Air layering for citrus, figs and pomegranates
In nature, some woody plants reproduce when a low-hanging branch touches the ground, roots, and puts on new growth. Air layering uses a similar principle, but roots are encouraged to form directly on the branch without bending it down to the soil.
Creating a site for roots
Choose a healthy branch at least several десятens of centimetres long and roughly pencil- or finger-thick. Don’t cut the branch off. At the chosen spot, remove a strip of bark to create a ring about 2–3 cm wide around the branch, exposing the inner tissue layer. Work with a sharp knife so the cut is clean and doesn’t crush the edges.
Sphagnum, film and patience
Moisten sphagnum moss and wrap it firmly around the exposed area. Then cover it with plastic film to maintain steady moisture. Roots can take several months to form, so check regularly that the wrap hasn’t dried out. Once the root ball is substantial, cut the branch below the rooted section and pot the new plant into compost.
What determines success and a heavier harvest
With all methods, a healthy parent tree, clean tools and the right timing make the biggest difference. Cuttings need steady moisture without waterlogging; grafting demands extremely accurate cuts and protection of the union from drying out. Air layering depends on keeping the sphagnum consistently moist over a long period. If you follow these principles, you’ll produce new trees with proven traits and greatly improve your chances of regular, high-quality crops.
Source: Orchand People, Bitter Sweet, Pestrazahrada.cz

A lover of nature, gardens, and everything that moves, blooms, or grows. He literally grows everything, from herbs to rare species, and he enjoys caring for animals just as much. In his work, he connects modern technology with tried-and-tested grandmotherly methods and is happy when both paths lead to the same goal.
Related articles
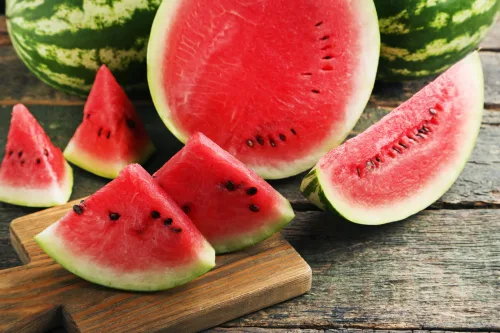
How to Choose the Perfect Watermelon Every Time
A great watermelon should be sweet, juicy and crisp, not bland and mealy. Learn the simple visual and touch-and-sound cues that help you pick a truly ripe melon at the shop or market.
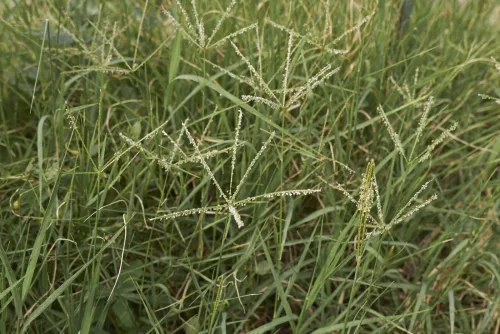
Once You Let This Weed Into Your Garden, You’ll Regret Hesitating
Crabgrass may look harmless at first, but given a little time it can quickly take over beds and lawns. Catching it early and removing it properly is far easier than dealing with a full-blown invasion later.
Climate Change Threatens Harvests and Is Changing Fruit in Czech Gardens
Climate change is increasingly reshaping fruit growing in Czech gardens, from damaging spring frosts to summer heat and drought. Many familiar fruit crops now yield less reliably, and gardeners are adapting with smarter watering, protection, and hardier varieties.
Comments (0)
Be the first to comment.