
 English
  Polski
  Deutsch
  Nederlands
  Svenska
  Norsk
Norsk  Dansk
Dansk  Français
  Italiano
  Español
  Português
  Slovenčina
  Suomi
Suomi  Gaeilge
 How to Harvest, Cure and Store Onions So They Stay Fresh as Long as Possible
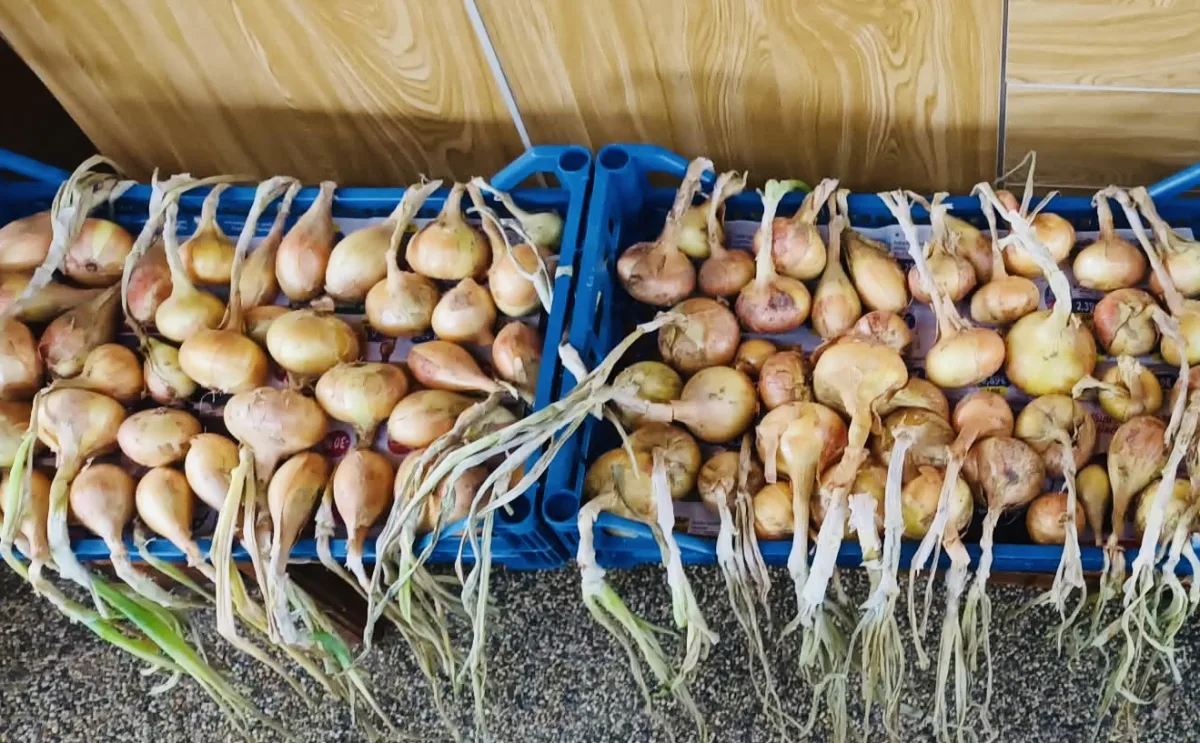
Onions are one of the most widely used foundations of cooking worldwide. That’s why it’s so frustrating when you reach for the last one and it’s soft inside, mouldy, or already smells off. If you grow your own onions, you have a big advantage in flavour and freshness, but you also need to master the correct harvest, proper curing, and the right storage. These steps are exactly what determines whether you’ll have good onions for just a few weeks, or comfortably all winter right up to the next season.
How to tell when onions are ready to harvest
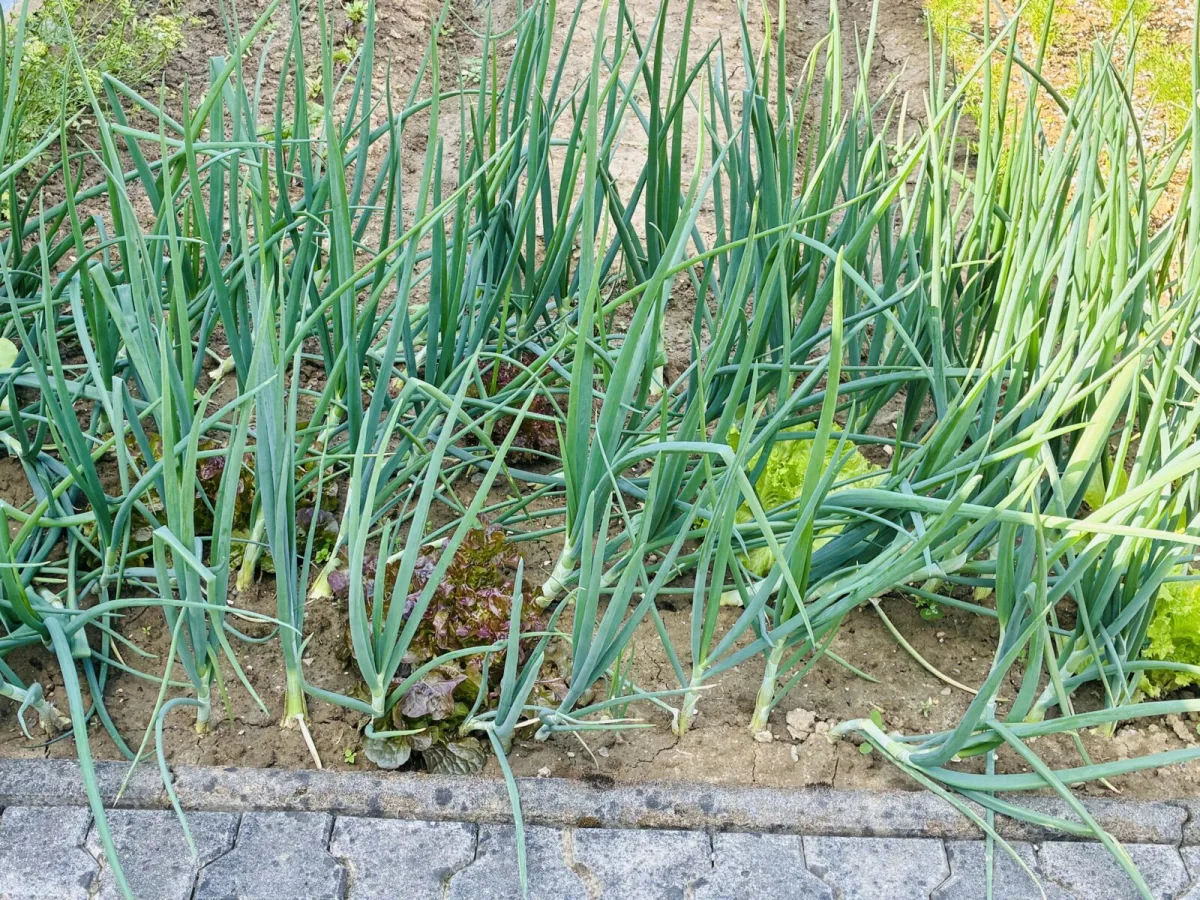
Harvesting standard round onions follows much the same rules regardless of variety. Through summer you can pull individual bulbs as needed for immediate use, but for long storage it’s important to hit the right moment for the main harvest. The plant itself sends clear signals that it has stopped growing and is starting to prepare for dormancy.
The tops bend and fall over
Once the tops stop standing upright and begin to flop over towards the ground, it’s usually the first clear sign the onion is maturing. At this stage the plant is no longer pushing as much energy into the leaves, and the bulb is far better suited to longer-term storage.
The neck softens
The point where the leaves join the bulb, known as the neck, becomes softer and gradually starts to dry down. Softening and then drying of the neck is crucial, because this is exactly where moisture can easily enter during storage and trigger rot.
Leaves turn yellow, brown and dry down
Towards the end of summer or at the start of autumn, the foliage visibly changes colour, shifting to yellow or brown and losing its sap. Once the plant is drying down like this, it’s best to harvest soon. Waiting too long can reduce storage life, especially if wet weather arrives.
How to harvest onions so they don’t start rotting
When the time is right, it pays to handle them gently. First, carefully loosen the soil around the onions with a garden fork or similar tool so the bulbs aren’t yanked out by force. Then lift the onions by the tops, but without unnecessary tugging. The key is not to damage the bulb and to keep the neck and tops as intact as possible, because wounds are a common starting point for rot during storage.
If it’s dry and there’s no risk of frost, you can leave the onions lying on the bed briefly, typically for a day or two. This mainly helps them dry off on the surface. If it’s wet, dew lingers for a long time, or there’s a risk of ground frosts, move the onions straight to a sheltered place. A garage, open shed or covered veranda works well, as long as rain can’t reach them and air can circulate.
What curing onions means and why it matters
Curing, or drying down before storage, is the process in which the outer layers gradually dry and tighten around the bulb. This creates a firmer, papery skin that protects the onion both from drying out and from microorganisms. At the same time, the neck seals properly, making it harder for moisture to get inside. The result is a firmer, longer-lasting crop.
How to cure onions properly so they last for months
Curing is technically simple, but it requires the right conditions and patience. The basic rule is: you need to dry onions, not sweat them. That means they must have space around them and good airflow. Lay the onions out in a single layer so they’re not touching if possible, and gently turn them every few days so they dry evenly. The surface can be paper, cardboard, wood or even a clean floor; what matters is that the onions aren’t sitting in damp.
The ideal environment is warm, dry, well ventilated, and out of direct sun. Strong sunshine isn’t needed for curing and can overheat the surface unnecessarily. Gentle handling is also key, because bruising and knocks often only show up weeks later in storage.
When curing is finished
During curing, the neck gradually wilts, dries down, and the skins tighten into a firm papery wrapper. Once the neck is completely dry and tight and the tops contain no moisture, you can finish preparing the onions for storage. The roots can be trimmed with scissors close to the base of the bulb. The tops can be shortened so a small stub remains above the onion. Onions with a still-green neck, or any bulbs that are damaged or bruised, are best set aside for quick use.
Where and how to store onions so they don’t go mouldy
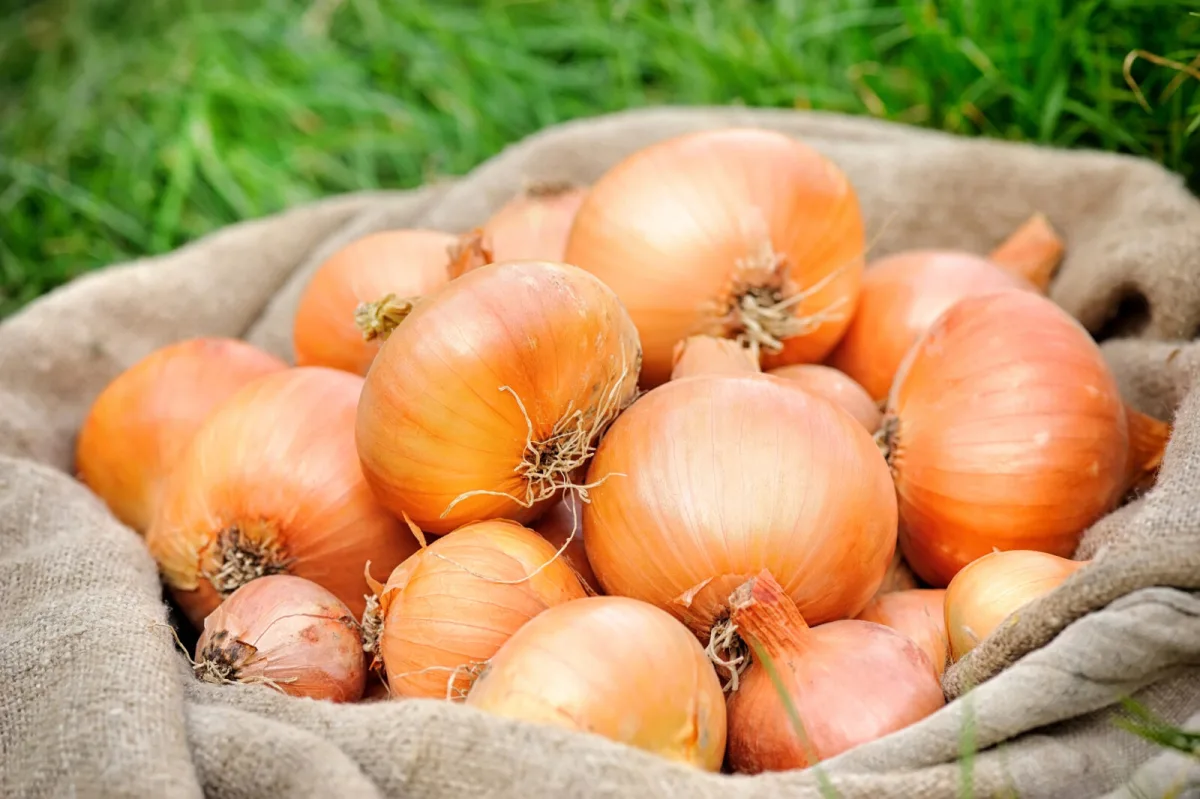
Onions keep best in cool, dry, dark conditions. Suitable places include a cellar, a cool garage or a garden shed, as long as they’re also well ventilated and not humid. Air movement is essential, because stagnant moisture encourages rot and sprouting. That’s why it’s practical to store onions in mesh bags, ventilated crates, wooden shelves, or a box with holes that allows air circulation. If you pile onions into an airtight container, the risk of spoilage increases dramatically.
How long onions keep, depending on type
Storage life varies greatly by variety. In general, onions fall into mild, sweeter types and stronger storage types. Milder onions tend to be juicier and are excellent raw, but they don’t suit long storage. Sharper onions, by contrast, contain more sulphur compounds, which among other things naturally slow breakdown and infection.
Mild and sweet onions
Sweeter, mild varieties often have larger bulbs, thicker and juicier layers, and their skins peel away easily. They’re great in salads, on sandwiches and for onion rings. In storage, though, they usually keep for a shorter time, often only a few weeks to a couple of months even in good conditions. If you grow several types, it makes sense to start by using the mild ones first. Any bigger surplus can also be used for pickling, chutneys, salsas, or slowly caramelised onions.
Pungent storage onions
Sharper onions are often smaller, with firmer skins and thinner layers, and they usually sting your eyes more when chopped. The same compounds that make you tear up also help limit rot, which is why these varieties are the most reliable for winter storage. To last as long as possible, they need to cure thoroughly after harvest, typically for several weeks depending on conditions. When curing and storage are done correctly, a good storage onion can keep its kitchen quality for a very long time, even close to a year.
A practical check during storage
Even with good technique, it’s worth checking your supply regularly. If you find a softer bulb, an onion with a suspicious neck, or a dark spot, separate it and use it quickly. One spoiling bulb can worsen conditions for the others in a poorly ventilated space. Properly cured and stored onions have a firm bulb, a dry neck, and clean papery skins that rustle when squeezed.
The more it stings when you cut it, the longer it usually keeps in storage.
Source: Gardeners, Grow Veg , Pestrazahrada.cz
Related articles
Why the Tree That Feeds a Family for Generations Is Disappearing from Czech Gardens
The English walnut used to be a staple of larger gardens and farmyards, valued for its nutritious nuts and many practical uses. With the right site and variety, it remains one of the most rewarding long-lived trees you can plant.

How to Get Rid of Mice and Rats in the House, Loft and Garden Effectively
Mice and rats don’t leave quietly—scratching sounds, droppings and gnaw marks are clear warnings. A lasting solution comes down to three steps: block entry points, remove food sources, then use traps or professional control.
Two Mistakes When Harvesting Onions Can Cut Your Supply by Months
With good growing and the right handling, onions can turn into a near year-round pantry staple. These simple harvest and curing steps determine whether they keep for weeks or for months.
Comments (0)
Be the first to comment.