
How to Grow the Best Peas and Prevent Disease and Deter Pests
Peas are among the most rewarding vegetables for your first gardening successes. They thrive in the cooler part of the year, usually suffer fewer pests than many other crops, and when harvested at the right time they taste exceptional. Freshly picked pods are sweet and juicy and often disappear before they ever make it to the kitchen. This article walks you through everything from choosing the right type of pea, through sowing and care, to harvesting and storage.
Types of peas and how they differ
Before you choose seed, it helps to know what kind of peas you actually want to harvest. The different types vary in whether you eat the pod, how quickly they become over-mature, and which one is the most practical for cooking.
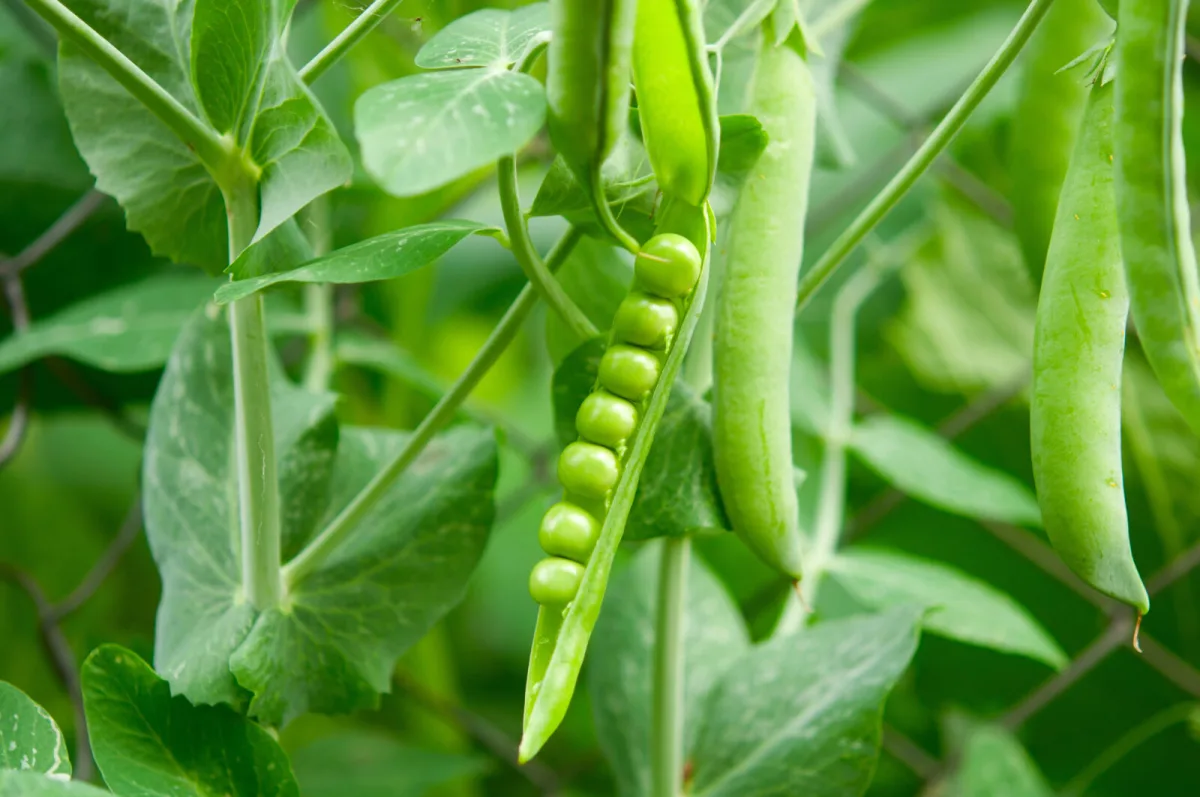
Shelling peas
This type has sweet peas inside, but the pod is tougher and isn’t usually eaten. The right moment is when the pod is full, nicely rounded and deep green. If left too long, the peas turn floury and lose their sweetness.
Snap peas
With snap peas, you eat the whole pod with the peas inside. The pods gradually thicken, staying crisp and juicy. They’re ideal for quick cooking, salads, and snacking straight from the bed.
Snow peas
Snow peas also have edible pods, but they stay flat. The flavour is usually milder and less sweet than snap peas. Harvest when you can see the first small peas starting to form inside, while the pod is still mostly flat.
When to sow peas for the best start
Peas are a classic cool-season crop. It’s best to sow as early in spring as you can, as soon as the soil can be worked. The earlier they get growing, the better they tend to use winter moisture and avoid later heat, which can reduce flowering and pod set.
In areas with a mild autumn, you can also try a late-summer sowing for an autumn harvest. The timing has to be spot on, though, so plants have enough time and light to grow and set pods before cold weather arrives. If you’re new to peas, spring sowing is the safer option.
Step-by-step sowing
Soil preparation and the right pH
Peas do best in humus-rich, free-draining soil. The ideal soil reaction is roughly pH 6.5 to 6.8. If you can, adjust pH and improve the bed in advance, even in autumn. Well-rotted compost helps by improving structure and moisture retention.
An important note is nitrogen. Peas can supply some of their own nitrogen, so it usually doesn’t pay to add high-nitrogen fertilisers. Plants may put on lots of leafy growth at the expense of flowers and pods.
Seed inoculation and why it makes sense
With peas, inoculation is often used: treating seed with beneficial bacteria that support the formation of nodules on the roots. These nodules fix nitrogen, which can lead to more vigorous plants and better yields. It also improves the soil for the crop that follows peas in the rotation.
In practice it’s straightforward. Put the seeds in a container, moisten them very lightly, and mix with the inoculant according to the manufacturer’s instructions so the seeds are gently coated. There’s no need to soak them; the goal is simply to help the powder stick to the surface.
Sowing depth, spacing and density
Peas are worth sowing fairly densely, as they often perform better in a stand. Seeds are typically sown about 2.5 to 5 cm apart, at a depth of around 1 to 2.5 cm. With taller varieties grown on supports, leave wider row spacing to allow room for the structure and for harvesting.
If you’re growing shelling peas in a small space, such as a raised bed, you can plant more intensively. In that case, it can help to give individual plants a little more room so you can work around them easily and they get enough air movement.
Support for climbing types
Snap and snow peas are often taller, and without support they readily flop onto the ground, where they suffer from damp, get dirty and are harder to pick. It’s best to put a trellis in place at sowing time or immediately afterwards, so you don’t damage roots later. Most dwarf shelling pea varieties manage without support, or with only minimal guidance.
Watering and mulch to suppress weeds
After sowing, it’s crucial to keep the soil evenly moist so the seed germinates well. Once plants are established, a light mulch helps reduce weeds and smooth out moisture swings. Don’t overdo it, though, as heavy mulching can keep the soil unnecessarily cool in spring.
Some recommendations suggest soaking peas before sowing to speed germination. In practice it isn’t necessary, and with more sensitive seed, over-soaking can do more harm than good. The benefit is usually only a slight head start.
The most common pea pests and diseases
Aphids and how to manage them without chemicals
The most common pest is aphids, which cluster mainly on the undersides of leaves and along stems. In many cases they don’t cause serious damage, especially when plants are growing strongly. If you spot them, you can knock them off with a jet of water. It’s not a permanent fix as aphids often return, but it gives the plants some relief.
Patience often pays. In a garden with a healthy balance, aphids are usually soon targeted by natural predators, especially ladybirds and their larvae, and the population drops significantly on its own.
Powdery mildew and prevention as the best strategy
The most typical disease is powdery mildew, a fungal problem that looks like a white, floury coating. With heavy infection, plants weaken, yields drop, and the crop finishes earlier. Once powdery mildew really takes hold, it’s usually too late in that season to look for a miracle cure. In practice, prevention is what works: choose more resistant varieties, ensure good air flow, and avoid overcrowded, overwatered growth.
How to recognise the right time to harvest
Shelling peas
Harvest when the pod is filled out, nicely rounded, firm and deep green. Once it starts to pale and thin, and the peas are strongly outlined through the pod, it’s usually over-mature. Over-mature peas are tougher and less flavourful.
Snap peas
With snap peas, watch for the peas inside beginning to swell and the pod rounding out into a fuller shape. It doesn’t have to be as perfectly round as a shelling pea pod; what matters is picking while the pod is still tender and sweet.
Snow peas
Snow peas stay flat, but you can still judge maturity by the faint outline of the peas starting to form inside. Harvest earlier than snap peas, because once pods get too large the texture deteriorates quickly.
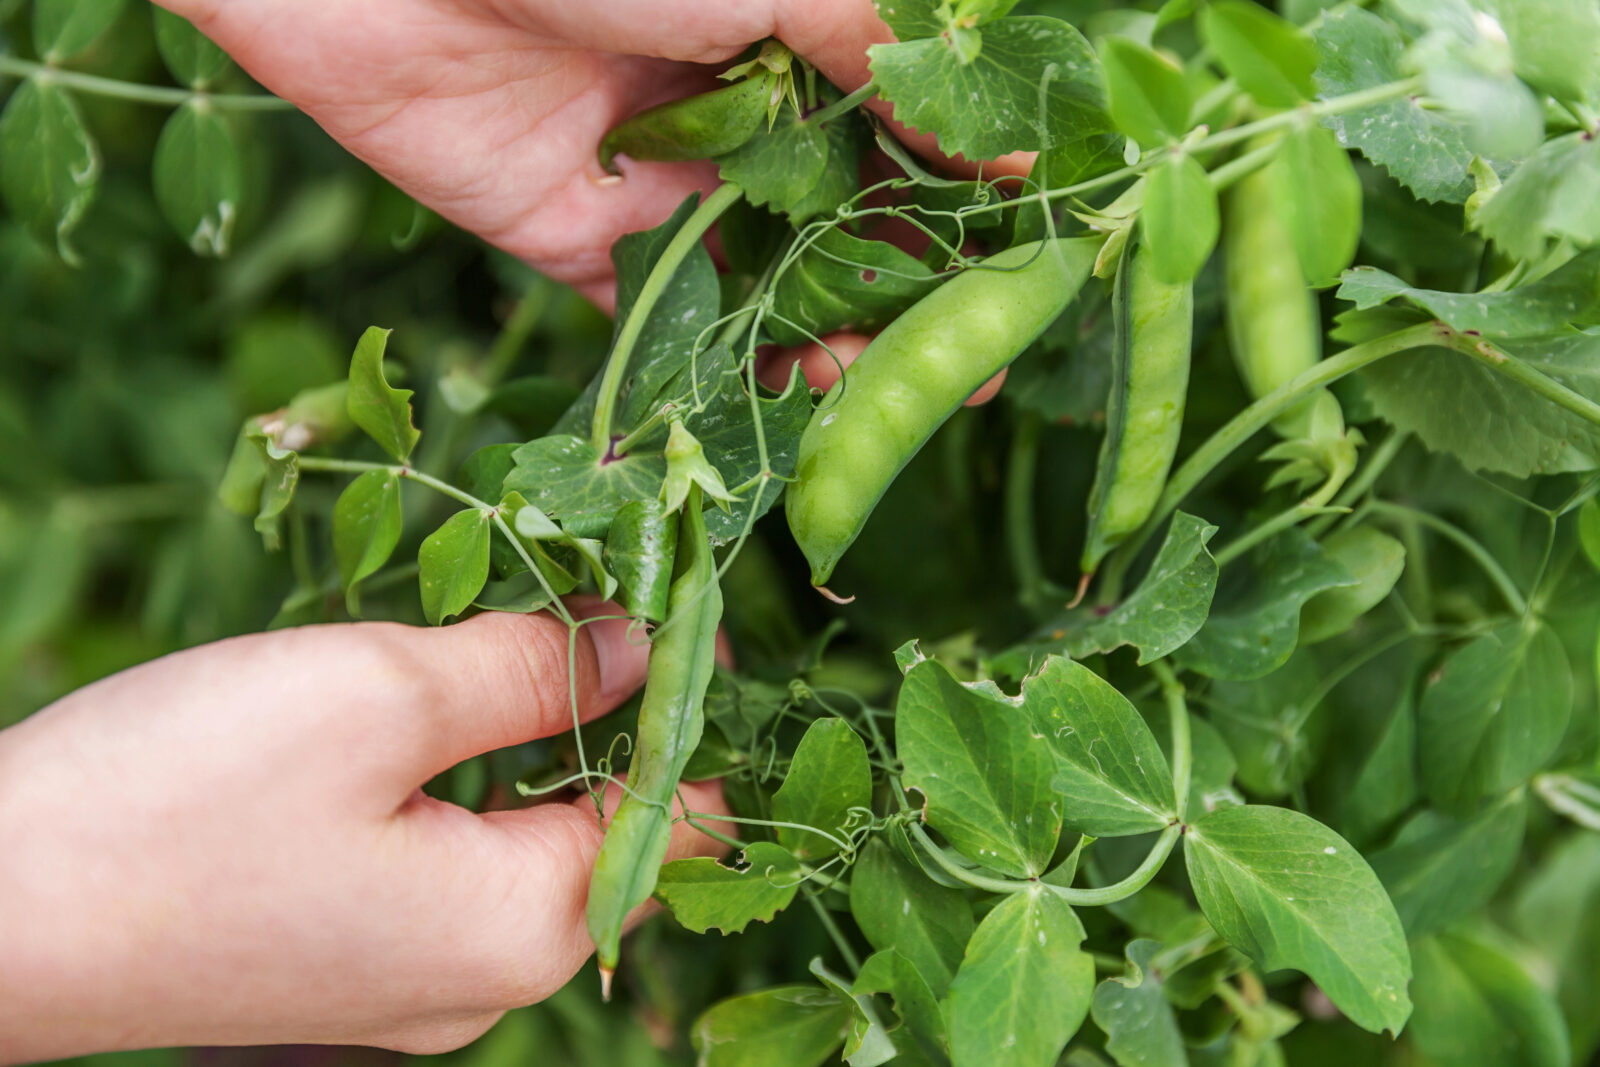
How to pick so the plant keeps producing
You can snip pods off with scissors close to the stalk, which is gentle on the shoots. Another option is to gently pinch and snap the stalk with your thumb and pull the pod off by hand. Sometimes this also pulls away tougher strings, which can be unpleasant to eat in some varieties.
Strings can also be removed after harvesting. It mostly comes down to what’s most convenient for you when prepping and which type of pea you’re growing.
Which support to choose and what to watch out for
For taller peas, a sturdy structure that can carry the weight of the growth and makes harvesting easier is the most practical. Good options include metal panels fixed to stakes, a frame with netting attached, or simple teepee-style supports made from canes. What matters is that the tendrils have something to grab onto, so the mesh openings shouldn’t be too large, and the material should stay stable in wind.
Storing your crop for later use
The simplest way to preserve flavour and texture is freezing. It’s fast, practical and works for most households. Peas can also be fermented, dried, freeze-dried or canned, with canning mainly used for shelling peas. Each method gives a different result, but if you want the closest thing to fresh taste, freezing is usually the sure bet.
If you’re expecting a bigger harvest, it’s worth picking more often. Regular harvesting encourages further flowering and extends the cropping period.
Source: Mein schöner Garten, The Seasonal Homestead, Pestrazahrada.cz

A lover of nature, gardens, and everything that moves, blooms, or grows. He literally grows everything, from herbs to rare species, and he enjoys caring for animals just as much. In his work, he connects modern technology with tried-and-tested grandmotherly methods and is happy when both paths lead to the same goal.
Related articles
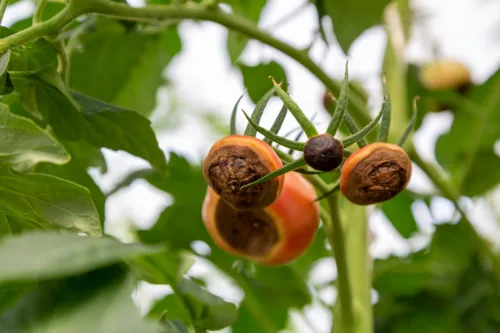
Black Spots on Tomatoes Alarm Growers but It’s Not a Disease
Dark, sunken patches on the blossom end of tomatoes look like a serious disease, but they’re usually a physiological disorder called blossom end rot. The key is steady moisture and sensible feeding so calcium can reach developing fruit.
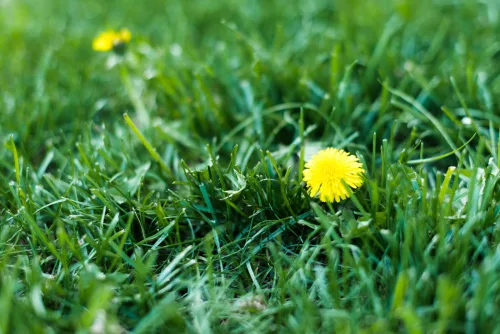
Ten Proven Steps to a Thick Lawn Without Unnecessary Expense
A dense, deep-green lawn isn’t about luck or pricey products—it’s about consistent, season-long habits. Follow these proven steps to thicken turf, improve rooting, and boost drought and weed resistance.
Pickling cucumbers are one of the most rewarding vegetables, with big harvests and great flavor
Pickling cucumbers are easy to grow and incredibly productive when given warmth, moisture, and rich soil. With the right variety and regular picking, you’ll enjoy crisp cucumbers for salads as well as jars.
Comments (0)
Be the first to comment.