
What to Put in the Planting Hole for Tomatoes for a Bigger Harvest and Stronger Plants
Tomatoes are among the most popular vegetables, but without good soil preparation and well-planned feeding, a generous harvest is hard to achieve. They are a fairly demanding crop: they take up a lot of nutrients and can also be sensitive to diseases and pests. That’s why it pays to think not only about what to feed during the season, but especially what to put into the planting hole so transplants root quickly and have the strength to set plenty of fruit.
Bed preparation starts earlier than spring
Planting itself happens in spring, but the biggest favour you can do your soil is to prepare it in autumn or very early after winter. At this stage you top up nutrients that have time to work into the ground by spring and create a steady reserve for your tomatoes. A well-nourished bed is the foundation that later determines both the size and the flavour of the crop.
Minerals the soil almost always needs
In the preparation phase, fertilisers with phosphorus and potassium are useful. Phosphorus supports root development and potassium later shows up in flowering, fruit set and overall resilience. Application is straightforward: spread the fertiliser over the surface and work it into the soil. If your soil is on the acidic side, it makes sense to adjust it with liming so nutrients are used more efficiently.
Organic matter, compost and ash as a reliable base
Tomatoes also benefit from organic matter. You can use well-rotted manure or properly aged material that’s no longer “fresh”. A handy trick is to add superphosphate along with the organic matter, improving nutrient availability and giving the root system a broader range of elements. Compost also helps lighten the soil, improve structure and increase aeration. Wood ash can be beneficial too, mainly supplying potassium and other minerals.
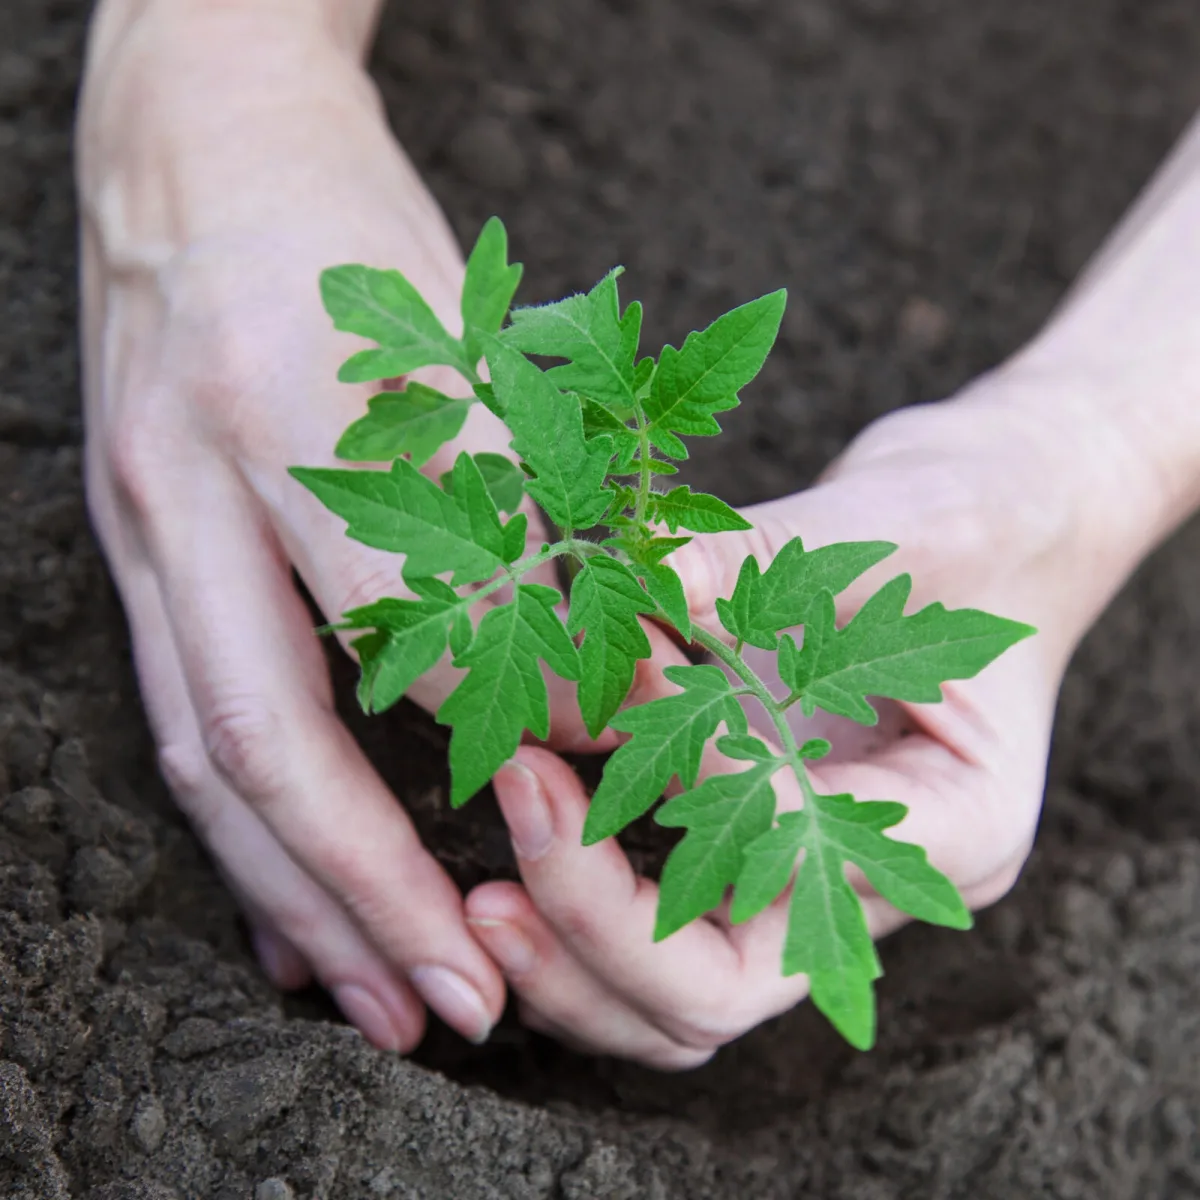
What to add to the hole when planting transplants
Once the bed is ready, spring planting is the final step. About 24 hours before planting, you can water the soil with a weak solution of potassium permanganate, which acts as a disinfectant. A yeast solution also works well, made from 10 g of fresh yeast per 10 litres of settled water, because yeast encourages soil microorganism activity and plants often respond with faster growth.
Yeast as a quick starter
At planting time, you can pour yeast feed into each hole, roughly about 220 ml. It’s not an overnight miracle, but it helps plants get going, so the transplant usually copes better with the stress of moving and establishes more quickly.
Eggshells for nutrition at the roots
You can also add crushed eggshells to the planting hole. They break down gradually in the soil and help top up minerals right in the root zone, which is practical for a young plant.
Ash as a source of potassium
Potassium benefits both roots and future fruit. An easily available source is dry ash from burnt straw, dried grass or even sunflower stems. Add about 100 g of dry ash to a hole and mix it with soil so it isn’t in direct contact with roots in one concentrated layer.
How to feed tomatoes after planting
After transplanting, consistency and timing are key. About 14 days later, you can apply a complete tomato fertiliser, roughly one teaspoon per 900 ml of water. Later on, you can cautiously repeat treatment with a weak potassium permanganate solution combined with NPK nutrients, applied around the base of the plant. After another roughly 14 days, a mix with superphosphate and potassium can follow, around 100 g per plant, depending on plant strength and soil fertility.
Chicken manure and ammonium nitrate, used sensibly
Well-rotted chicken manure should only be used diluted, commonly at a 1:15 ratio. It’s also helpful to lightly sprinkle ash around the plants. About three weeks after planting, you can also use ammonium nitrate, for example 25 g per 8 litres of water, but always with care so plants don’t put on excessive leafy growth at the expense of flowers and fruit.
From the first flowers, continue at intervals
As soon as the first flowers appear, it’s time for feeding that supports blooming and fruit set, for example a combination of manure and an NPK component at about 20 g per 8 litres of water. After that, feeding is usually repeated several more times at intervals of roughly 14 to 20 days.
Onion skins as simple prevention
Onion skins work as a versatile add-on for nutrition and basic pest prevention. Just tuck a few skins under each plant; they add compounds that support vitality, and thanks to their aromatic components they may deter some pests. During the season, you can repeat feeding with onion skins two to three times.
An infusion for watering and spraying
For an infusion, use about 300 g of onion skins, pour boiling water over them and leave to steep for about 10 hours. Then dilute the solution, for example 4 litres of infusion to 20 litres of water. For more targeted use at the roots, you can make a stronger version by pouring 1 litre of boiled water over 100 g of skins and leaving it for about 20 hours. Two sprays during the growing season, often during flowering, can help reduce the risk of fungal issues.
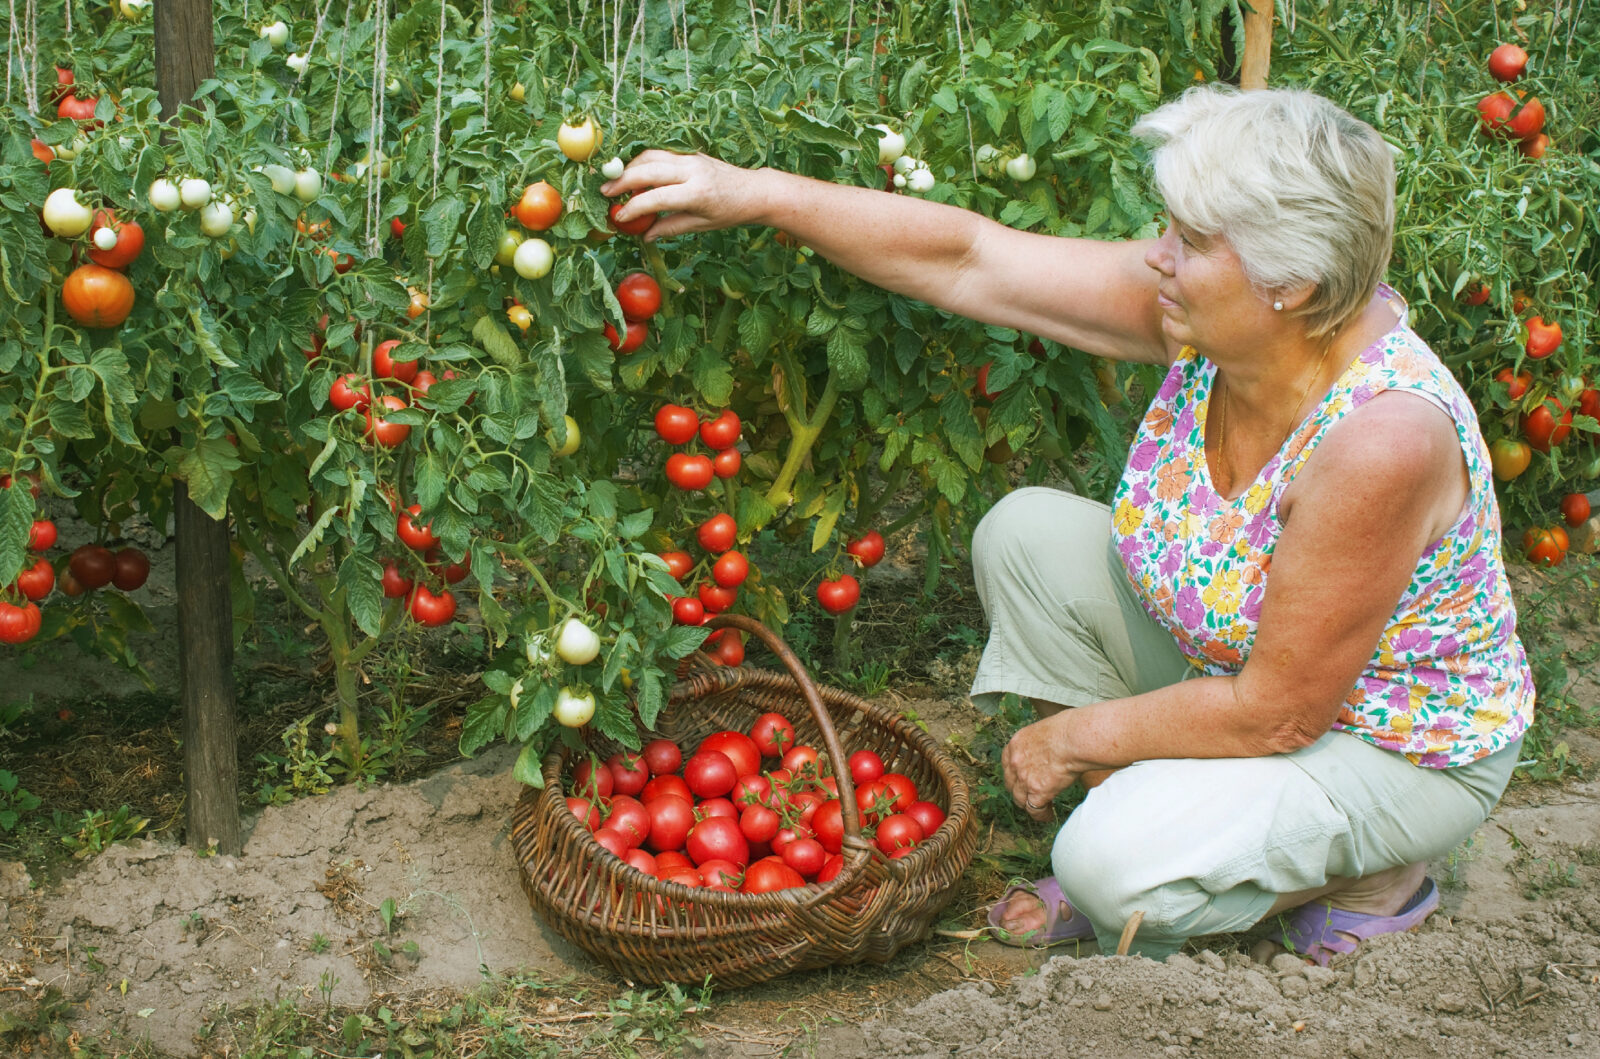
More practical tips for more fruit and less splitting
Once trusses form and fruit starts to ripen, usually around late July and early August, it’s worth significantly cutting back watering. Too much water often leads to split tomatoes. Water in the evening and aim it at the roots. To encourage faster ripening, some gardeners add a small amount of ammonia solution to a bucket of water, roughly 2 to 3 ml. In June and July you can also occasionally use a yeast drench, for example 50 g of fresh yeast per bucket of water, about 1 litre per plant.
Bread ferment and fish scraps as nutrient sources
Dry bread can be soaked, left to ferment in the sun for two days, and then the liquid used to water around the base of the plant. Plants often respond with firmer leaves and better vigour. Fish scraps are another interesting option, such as heads or bones, which can be buried in the soil around plants at planting time or during the season. They’re a natural source of phosphorus that releases slowly and can support both roots and fruiting.
Source: That’s an Idea, The Spruce, Pestrazahrada.cz

A lover of nature, gardens, and everything that moves, blooms, or grows. He literally grows everything, from herbs to rare species, and he enjoys caring for animals just as much. In his work, he connects modern technology with tried-and-tested grandmotherly methods and is happy when both paths lead to the same goal.
Related articles
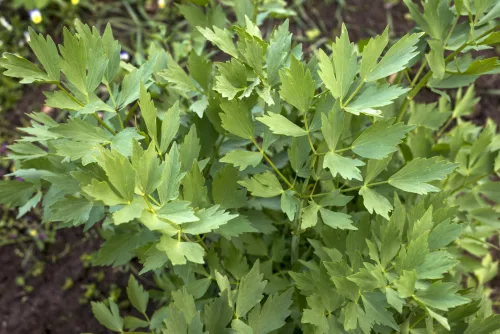
Homegrown Lovage Is Not Just for Soup
Lovage is a hardy perennial herb with a bold, celery-like flavour and plenty of uses beyond stock and soup. Learn where it thrives, how to propagate it, and how to harvest and use every edible part.
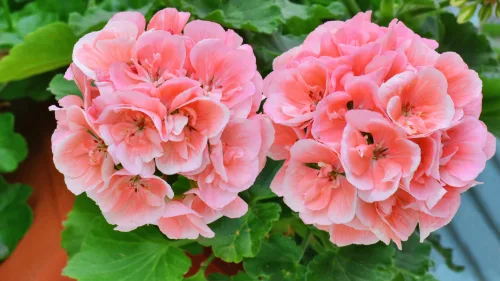
This Plant Repels Mosquitoes, Scented Summer Evenings and a Prettier Balcony
Scented pelargoniums can help make evening seating areas less appealing to mosquitoes while adding fragrance and colour to balconies and patios. Plant them in late spring for the strongest growth and best effect through summer.

Canadian Blueberries With Giant Fruit and How to Harvest Bigger, Sweeter Berries
Highbush and rabbiteye blueberries can produce cherry-sized berries, but size and sweetness depend as much on soil acidity, moisture, pruning, and pollination as on the cultivar itself. Learn which varieties to choose and the key growing steps that reliably improve berry size and flavour.
Comments (0)
Be the first to comment.