
 English
  Polski
  Deutsch
  Nederlands
  Svenska
  Norsk
Norsk  Dansk
Dansk  Français
  Italiano
  Español
  Português
  Slovenčina
  Suomi
Suomi  Gaeilge
 Propagate Currants in Just a Few Weeks
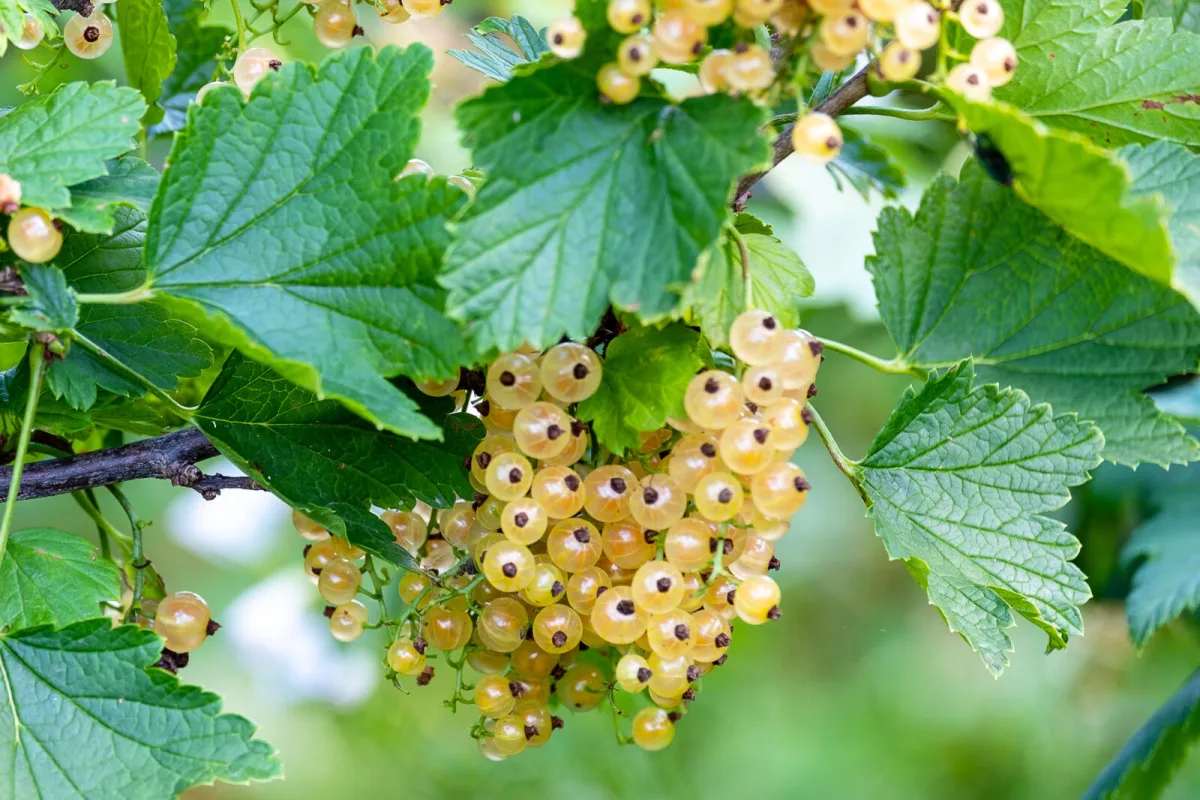
Currants are among the most commonly grown fruit bushes, and if you already have a plant in the garden that crops reliably and you like the flavour, there’s no need to buy new plants. Propagating currants from cuttings is a simple, time-tested method you can do without special tools or expensive products. A major advantage is that the new plants will have the same characteristics as the parent bush, so you keep your favourite variety. From one vigorous bush you can also raise several young plants and save both money and the time spent tracking down nursery stock.
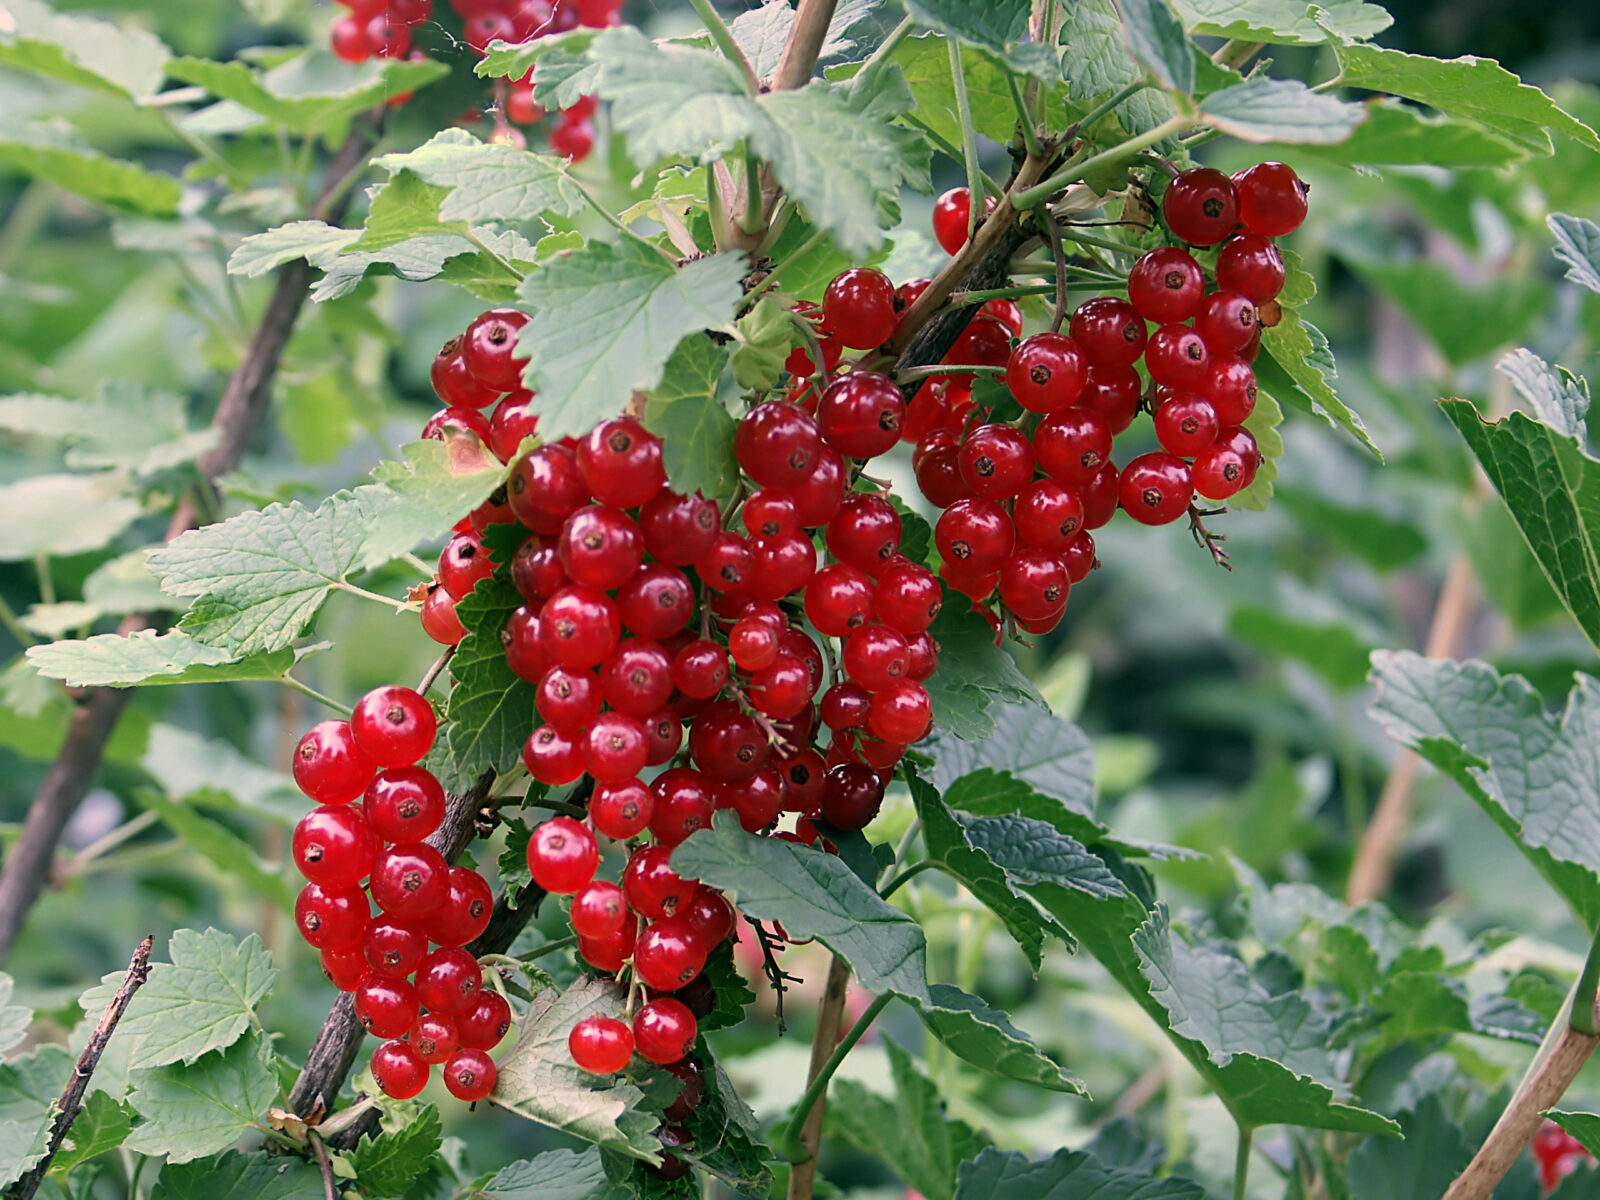
This method works for redcurrants, whitecurrants and blackcurrants. If you follow a few basic rules, you can have strong young plants ready for transplanting as early as next season.
When cuttings are best taken
The best period is the second half of summer through early autumn. One-year shoots are sufficiently ripened by then, yet they still have time to form roots before winter. You can also take cuttings during dormancy, but rooting in late summer and early autumn is often very successful if you keep a close eye on moisture.
How to choose the right shoots
Success starts with good material. Take only healthy, strong one-year stems with no damage, no pests and no signs of disease. The ideal shoot is about pencil-thick, with firm, intact bark, and comes from a bush that has cropped well over the long term. Avoid weak, dried-out or snapped twigs, as they root far more poorly and are more likely to rot.
Preparing cuttings step by step
Cut the selected shoots into pieces roughly 15 to 20 cm long. Each cutting should have about 4 to 6 healthy buds. Make the bottom cut just below a bud, and the top cut about 1 to 2 cm above the highest bud. This style of cutting helps the piece start rooting faster while also reducing the risk of the top drying out.
The best spot and soil for rooting
Choose a place where the cuttings won’t be scorched by direct sun for long during the hottest part of the day. Light partial shade helps maintain steady moisture, which is crucial for rooting. The soil should be loose, free-draining, rich in organic matter and able to hold enough moisture. Before planting, loosen the bed thoroughly and work in compost or well-rotted humus, then water generously.
Planting the cuttings correctly
Plant the cuttings at a slight angle, roughly 45 degrees. Insert the lower part so that 2 to 3 buds are below the soil, leaving 1 to 2 buds above the surface. Firm the soil gently around each cutting so there are no air pockets, then water thoroughly again. If you’re planting multiple cuttings, keep a spacing of about 15 to 20 cm so they have room for roots and subsequent growth.
Mulch as a simple safeguard against drying out
Cover the soil surface with a layer of mulch to reduce evaporation, slow weed growth and create a more stable environment for new roots. You can use grass clippings, straw, compost, mature humus or fine woodchip. The key is that the mulch mustn’t form an airtight crust, and the soil underneath shouldn’t stay permanently waterlogged.
How to care for cuttings while they root
The most important thing is to make sure the soil never dries out completely. In hot weather, water regularly, but avoid waterlogging, which can cause the base of the cutting to rot. Weed as you go too, because weeds steal water and nutrients from young plants. If extreme heat arrives, temporary shading with horticultural fleece can help.
How you’ll know the cuttings have taken
After a few weeks, the cuttings will start to form their first roots, and then young shoots will appear. That’s the most reliable sign that rooting is going well. By autumn, the plants will strengthen and build a decent root system. You’ll usually transplant them to their permanent position in the spring of the following year, once the weather warms and the soil is fit for planting.
Home-made rooting boosters without chemicals
Willow infusion
Willow contains natural growth hormones and compounds that encourage root formation while also helping to limit rotting. Prepare 8 to 10 young green or yellow willow whips and 1 litre of water. Chop the whips into pieces about 2 to 5 cm long, pour over 1 litre of boiling water and leave to steep for 24 hours. Then strain the infusion.
Soak the base of the currant cuttings in the infusion for 12 to 24 hours, then plant them using the usual method. You can water the cuttings after planting with the remaining infusion to encourage faster water uptake and root growth.
The honey option
If you don’t have willow whips, honey works too. Stir 1 teaspoon of good-quality honey into 250 ml of lukewarm water and soak the base of the cuttings for 6 to 12 hours. Honey has natural antibacterial properties and can create a more favourable environment for rooting to begin.
A cinnamon tip
Some experienced gardeners, after soaking in the willow infusion, lightly dust the bottom cut with cinnamon. Cinnamon is used as a natural aid against fungal problems and can reduce the risk of rot in the first few weeks.
With these simple steps, you can significantly boost the success rate of currant propagation without chemical rooting stimulants and raise new, healthy-growing bushes within a single season.
Source: To je nápad, GrowVeg, Pestrazahrada.cz

A lover of nature, gardens, and everything that moves, blooms, or grows. He literally grows everything, from herbs to rare species, and he enjoys caring for animals just as much. In his work, he connects modern technology with tried-and-tested grandmotherly methods and is happy when both paths lead to the same goal.
Related articles
The More Often You Harvest, the Longer Plants Keep Cropping
With fruiting vegetables, frequent picking keeps plants flowering and producing for longer. A few crops, such as aubergines, are tastiest when harvested slightly earlier rather than fully mature.
Wasps Aren’t Just a Barbecue Menace They Can Ruin Your Garden Woodwork Too
Weathering isn’t always the main culprit behind damaged outdoor timber. Wasps can scrape fibres from boards and beams surprisingly fast, leaving grooves that soak up water and accelerate decay.
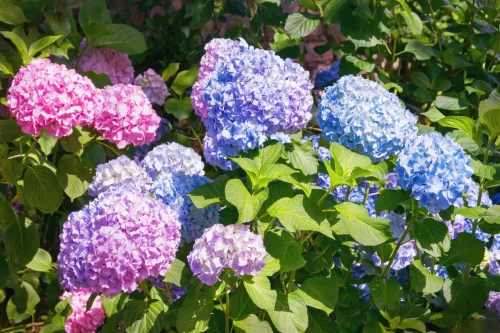
Why hydrangeas wilt in summer even when watered and how to save them fast
Hydrangeas can look limp in hot weather even if you’ve been watering faithfully. The key is to check what’s happening in the root zone, then adjust watering, shade and mulching so the plant can actually use the moisture available.
Comments (0)
Be the first to comment.