
Plant Tomatoes Smarter for a Bigger Harvest
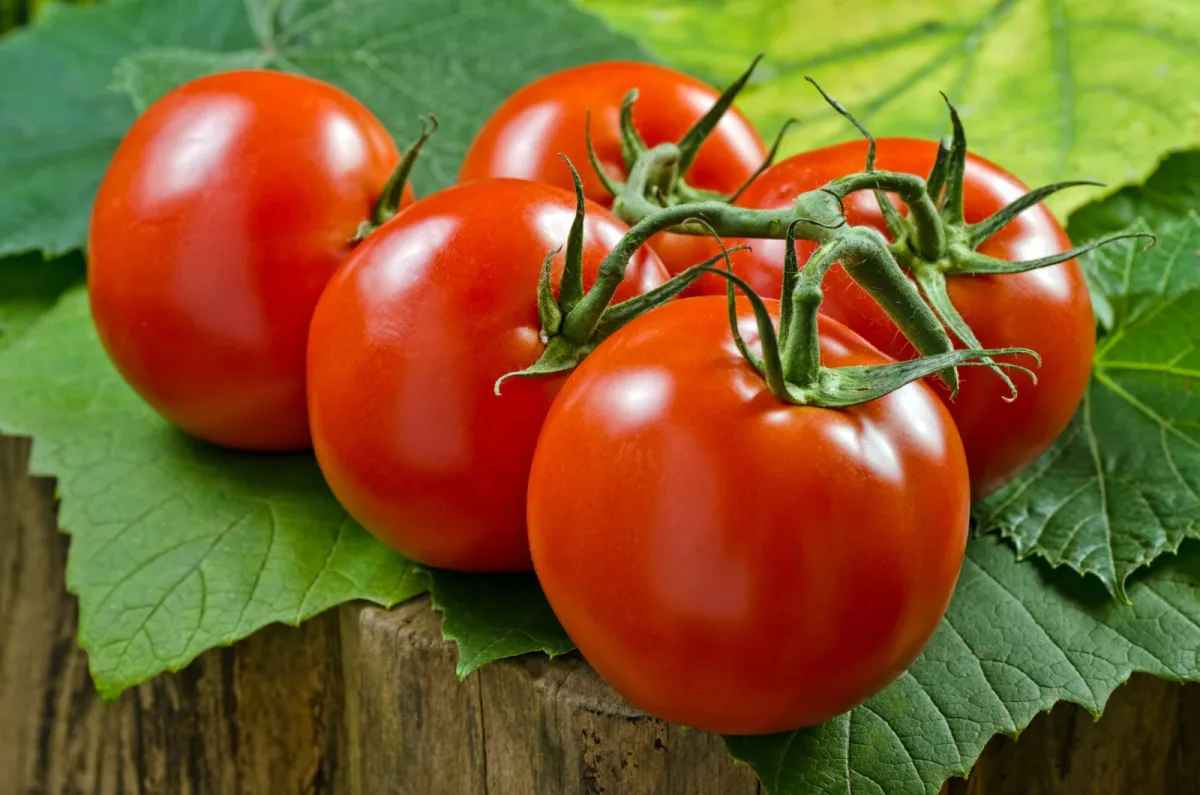
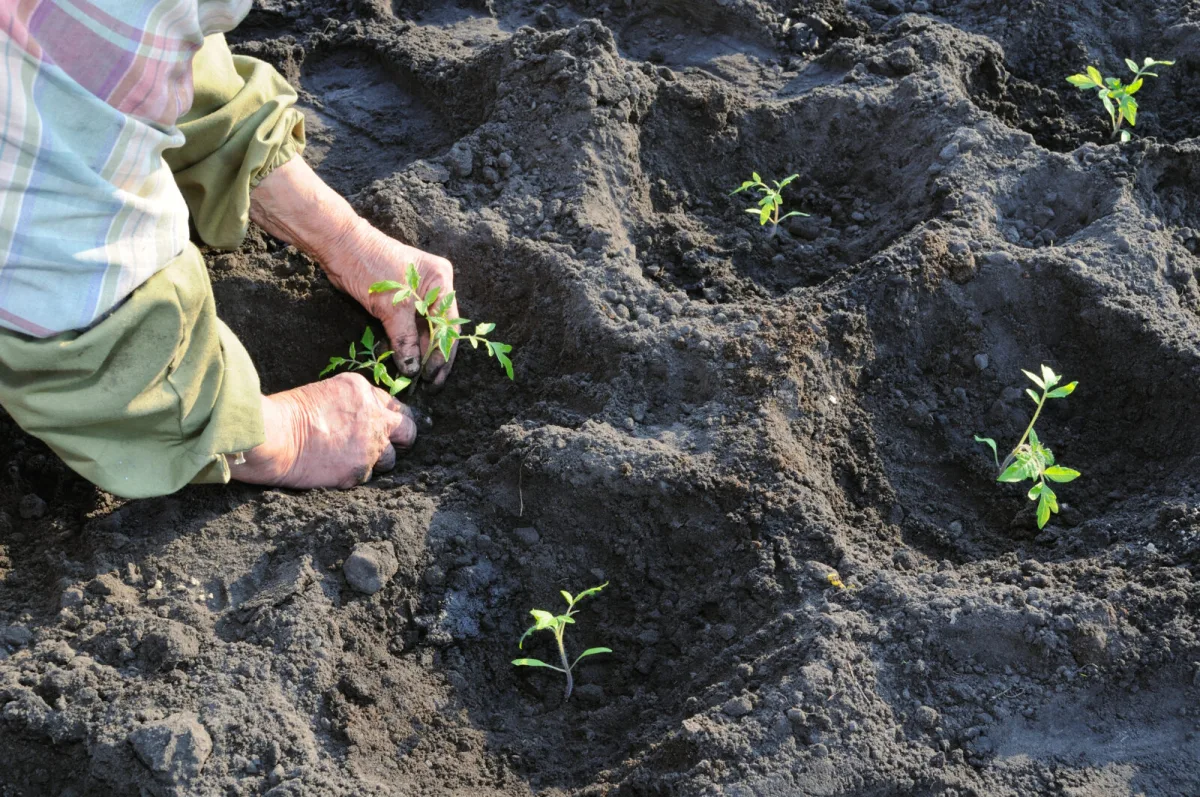
Plenty of gardeners dream of harvesting basket after basket of homegrown tomatoes. But tomatoes can be sensitive to care and often react to weather swings, uneven watering, and overheated soil. One of the simplest methods that can noticeably ease the strain on plants and improve growing conditions is mulching. It’s not a complicated technique, just covering the soil around the plants so the roots and lower stem are protected and the soil keeps a more stable balance.
Mulch works as a protective layer between the soil and the surrounding environment. In practice that means fewer sudden temperature changes, less water evaporation, and cleaner leaves, because soil doesn’t splash up onto them as much when it rains or you water. The result is often faster development, more even growth, and for many people a heavier fruit set, because the plant isn’t constantly stressed by drying out and overheating.
What benefits mulch brings directly in the bed
The main benefit of mulching is stability. Soil under a cover layer stays moist longer, so you don’t have to water as often and roots have better access to water. At the same time, mulch prevents the sun from baking the soil on hot days, and on cooler nights it cushions sharp temperature drops. Tomatoes can then use nutrients more efficiently and their growth is less erratic.
Another important advantage is weed suppression. When the soil is covered, germinating weeds have poorer access to light and often don’t break through at all. That saves time weeding, and weeds don’t steal water or nutrients from your tomatoes. Mulch can also support soil life, because the ground doesn’t dry out deep down and microorganisms and earthworms have better conditions.
A simple cardboard trick anyone can do
A very easy way to mulch is to use cardboard. The principle is simple: cardboard creates a continuous barrier that slows water loss and shades the soil so weeds can’t push through. The method is low-effort and suitable even for those just starting out with growing.
Lay pieces of cardboard on the soil around the plants so the sections overlap and no gaps are left between them. It’s practical to leave the area right next to the stem a little more open so the base of the plant doesn’t sit in constant damp. Then soak the cardboard thoroughly so it clings to the surface and the wind can’t lift it. It’s a good idea to weigh down the edges with stones or clods of soil to keep the layer stable.
Why it’s worth covering the cardboard with another layer
Cardboard on its own works, but it’s even better when you add a thin top layer of another material, such as straw or bark. That keeps the cardboard from drying too quickly, helps it hold its shape, and looks more natural. It also improves soil insulation and reduces light reaching any small cracks where weeds might germinate.
Which cardboard is safe and what to avoid
Not all cardboard is suitable for the garden. Some packaging can contain unwanted substances from inks, glues, or surface treatments. With some industrial boxes there may also be concerns about traces of heavy metals or microplastics, which is exactly what you don’t want to add to soil around edible crops.
In general, it’s wiser to choose cardboard that falls under stricter production standards, typically food-grade packaging. Even then, it’s best to remove heavily printed sections, plastic tape, film, and staples. The cleaner and simpler the cardboard you use, the lower the risk of introducing something unsuitable into your soil.
What you gain when you use cardboard as mulch
Cardboard is rich in cellulose, and as it gradually breaks down it adds organic matter to the soil. That’s especially helpful in light or tired soils that need improved structure. Organic material supports soil life and attracts earthworms, which naturally loosen, mix, and enrich the ground. In practice, water infiltration and the overall vitality of the bed can improve.
At the same time, a cardboard layer suppresses weeds, so tomatoes face less competition and can use nutrients more easily to form flowers and fruit. If the goal is strong plants with steady moisture and less stress, this is one of the cheapest steps you can take almost immediately.
Other materials suitable for mulching tomatoes
If you don’t want to use cardboard, or you want to supplement it, you can reach for other types of mulch. A common choice is straw, which helps keep the soil moister and cooler and also reduces soil splashing onto leaves, which can indirectly lower the risk of certain fungal problems. It’s important to use clean straw, ideally seed-free, so you don’t introduce extra plants into the bed.
Grass clippings also work well, but only when dried. Fresh grass in a layer can rot easily and may go mouldy, so it’s better to let it wilt and apply only a thinner layer. The advantage is that grass contains nitrogen, but for that very reason you shouldn’t overdo it, so the mulch doesn’t start heating up unpleasantly.
Wood chips or bark last a long time and hold moisture well. With tomatoes they’re usually used more sparingly and more as a top layer over another base, because as they decompose they can temporarily tie up some nitrogen in the soil. Compost is also very practical as a top dressing: it both mulches and feeds, and it’s often combined with straw for better stability.
At certain times of year you can also use dry leaves. They’re easy to come by, but it’s best to apply them in a sensible layer, because a thick layer breaks down more slowly and can compact. As a temporary mulch, however, they work well, especially when you need to cover soil quickly and protect it from drying out.
How to maintain mulch during the season
Once the mulch is down, it pays to check occasionally whether any gaps have opened where weeds are pushing through, or whether the cardboard is lifting. After heavy rain or windy weather, you may need to weigh down the edges again. It’s also best to water directly at the roots, so the leaves don’t get soaked unnecessarily and the mulch can do its job of holding moisture.
If you choose a combination of cardboard with a top layer, the protection usually lasts for much of the season. By the end of the year, leftover material often partly breaks down and is incorporated into the soil naturally. That’s the magic of mulching: it’s not only immediate protection for your tomatoes, but also gradual improvement of the soil you’ll benefit from in the years to come.
Source: To je nápad, Gardener’s World, Pestrazahrada.cz

A lover of nature, gardens, and everything that moves, blooms, or grows. He literally grows everything, from herbs to rare species, and he enjoys caring for animals just as much. In his work, he connects modern technology with tried-and-tested grandmotherly methods and is happy when both paths lead to the same goal.
Related articles
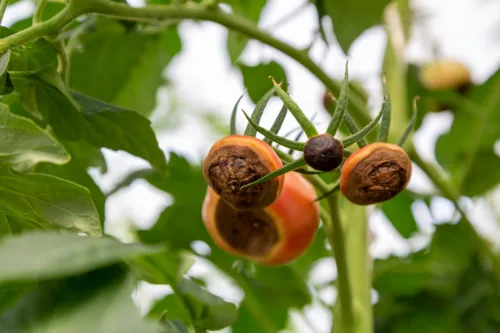
Black Spots on Tomatoes Alarm Growers but It’s Not a Disease
Dark, sunken patches on the blossom end of tomatoes look like a serious disease, but they’re usually a physiological disorder called blossom end rot. The key is steady moisture and sensible feeding so calcium can reach developing fruit.
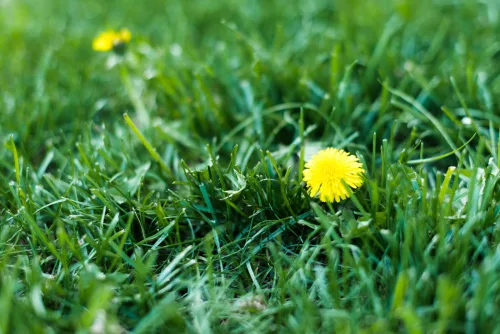
Ten Proven Steps to a Thick Lawn Without Unnecessary Expense
A dense, deep-green lawn isn’t about luck or pricey products—it’s about consistent, season-long habits. Follow these proven steps to thicken turf, improve rooting, and boost drought and weed resistance.
Pickling cucumbers are one of the most rewarding vegetables, with big harvests and great flavor
Pickling cucumbers are easy to grow and incredibly productive when given warmth, moisture, and rich soil. With the right variety and regular picking, you’ll enjoy crisp cucumbers for salads as well as jars.
Comments (0)
Be the first to comment.