
 English
  Polski
  Deutsch
  Nederlands
  Svenska
  Norsk
Norsk  Dansk
Dansk  Français
  Italiano
  Español
  Português
  Slovenčina
  Suomi
Suomi  Gaeilge
 How to Harvest, Cure, and Store Onions So They Last All Winter
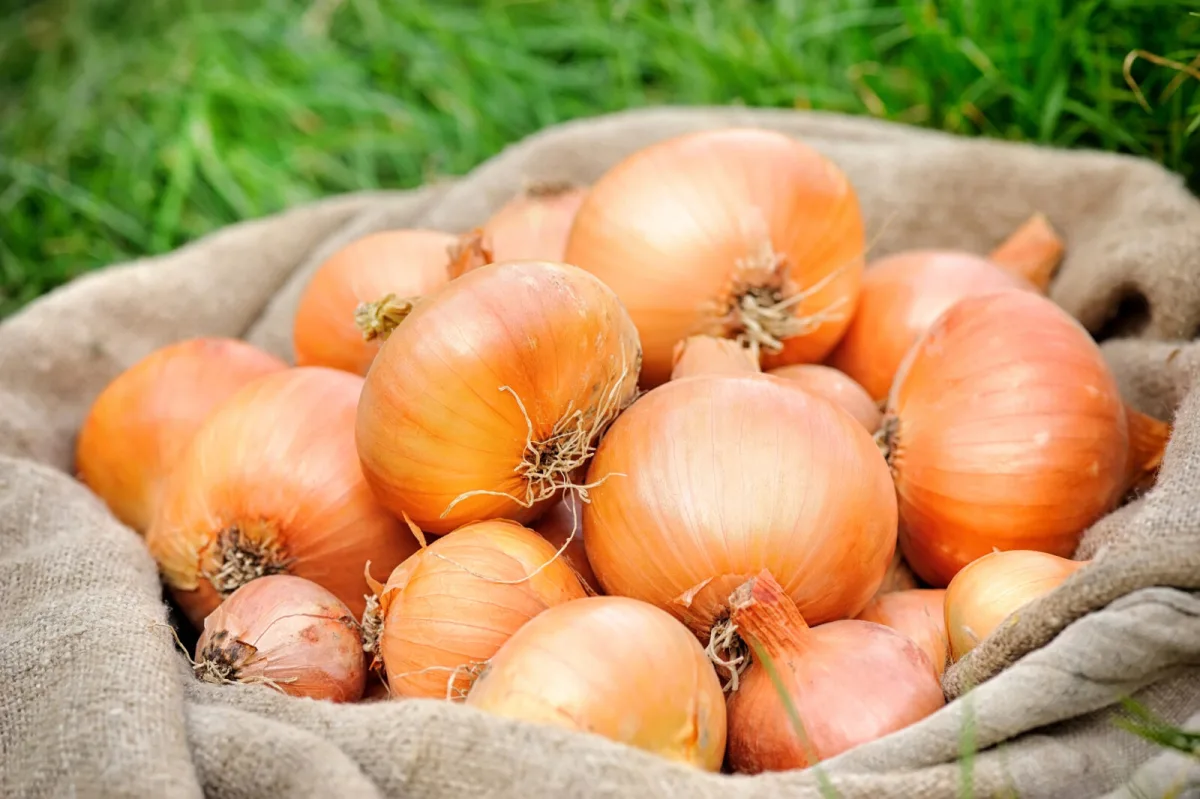
Onions are one of the most rewarding vegetables to grow, and it pays to plant them in quantity. When the harvest goes well, most of the crop can be put into storage, so even in January or March you can cook with your own onions instead of buying them at the store. The biggest challenge usually isn’t growing them, but keeping onions for as long as possible without rot or premature sprouting. The key is harvesting at the right time, handling them gently, curing them thoroughly, and storing them under suitable conditions.
Before you start storing, the variety matters too
Long keeping quality starts with variety selection. Some onions are mainly meant for quick use; they tend to be milder, sweeter, and juicier, but that higher water content also means they don’t store as well. It’s best to plan these types for summer and autumn cooking and expect a few months of usability rather than long storage.
If, on the other hand, you want onions to last in the cellar as long as possible, choose storage varieties. With good curing and correct storage, they’ll keep for many months, and some can get very close to a year’s supply. It makes sense to grow more than one variety, but keep them separated during harvest and curing so you can later see which one holds best.
How to tell when it’s time to harvest
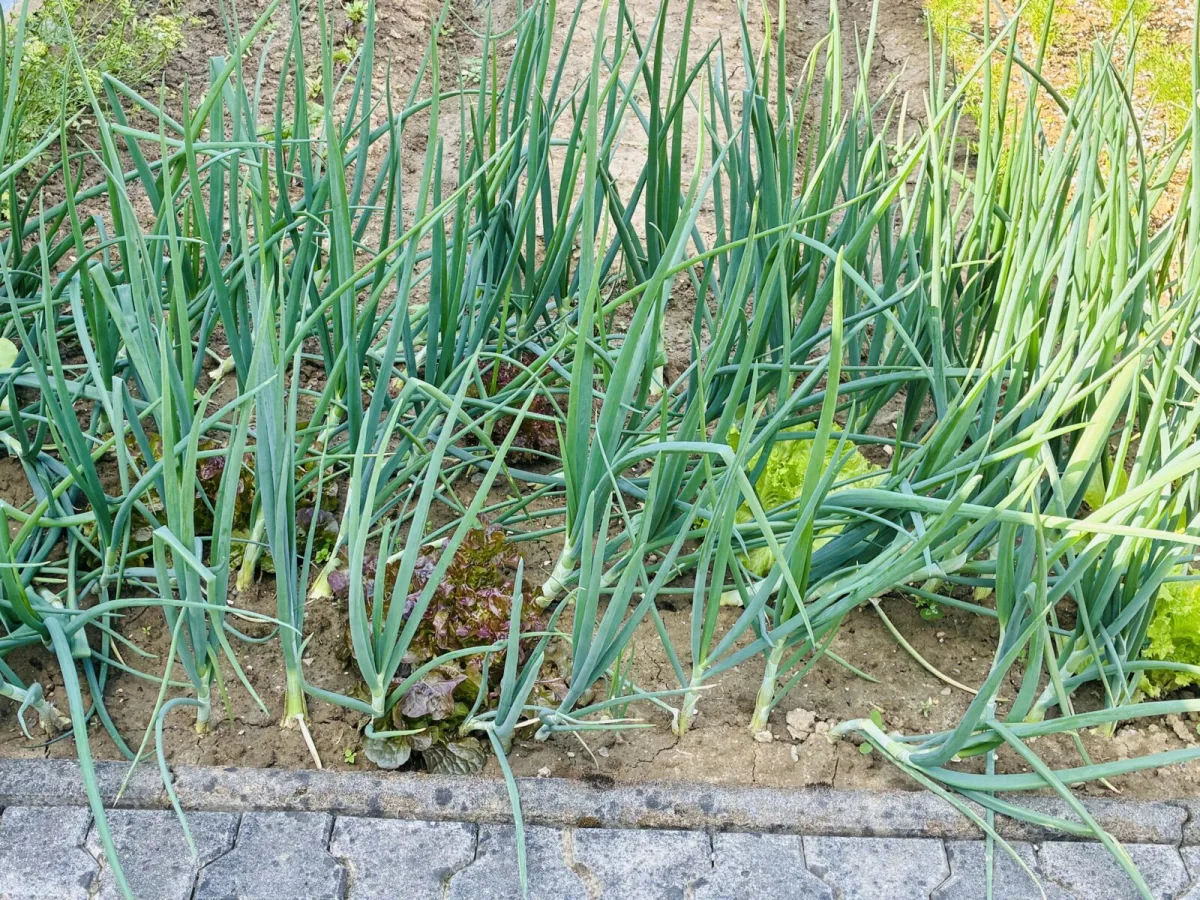
Through summer, pay closest attention to the tops. Once an onion reaches its final size, the foliage will gradually start to flop over. The leaves bend at the neck where the bulb meets the greens. That’s not a coincidence; it’s a signal that the plant is finishing growth and the bulb is beginning to seal and prepare for drying down. The flopping doesn’t happen all at once either, as each plant works on its own schedule.
Ideally, harvest shortly after most of the onions in the bed have fallen over. Don’t leave them unnecessarily long in the ground where intense sun alternates with rain. Waterlogging or prolonged baking on the bed can significantly worsen storage life. The goal is to get the crop into conditions where it can cure in a controlled way as soon as possible.
How to lift onions gently from the soil
Onions usually have shallow roots, so you can often pull them by hand. The important thing is to work carefully, because bruised or scraped bulbs spoil faster in storage. After lifting, gently tap or wipe excess soil off the roots. Try not to toss onions into a heap; when carrying them, place them into a crate, basket, or wheelbarrow so they don’t get unnecessarily squashed.
If you’re growing multiple varieties, it’s worth harvesting them separately. Put each group in its own box and label it clearly. Later in storage, you’ll easily see which variety sprouts sooner and which lasts the longest, and you can adjust next year’s planting plan accordingly.
Curing is half the battle
Freshly harvested onions don’t yet have the perfectly dry, papery skins you know from the store. Curing is what dries those outer layers and creates a protective wrapper. This limits moisture loss, reduces the risk of infection, and significantly extends storage life.
Cure onions in a place out of direct sun and, above all, dry. A garage, shed, covered porch, or any shelter where rain can’t reach and air can move is ideal. The point isn’t to bake onions, but to let them dry slowly and evenly.
What to cure onions on, and why they need airflow
A setup that allows air to circulate around the bulbs works best. A metal rack, drying screens, old window screens set on sawhorses, or slatted crates all do the job. What matters is that onions aren’t sitting in dampness and that stale, trapped pockets without airflow don’t form between bulbs.
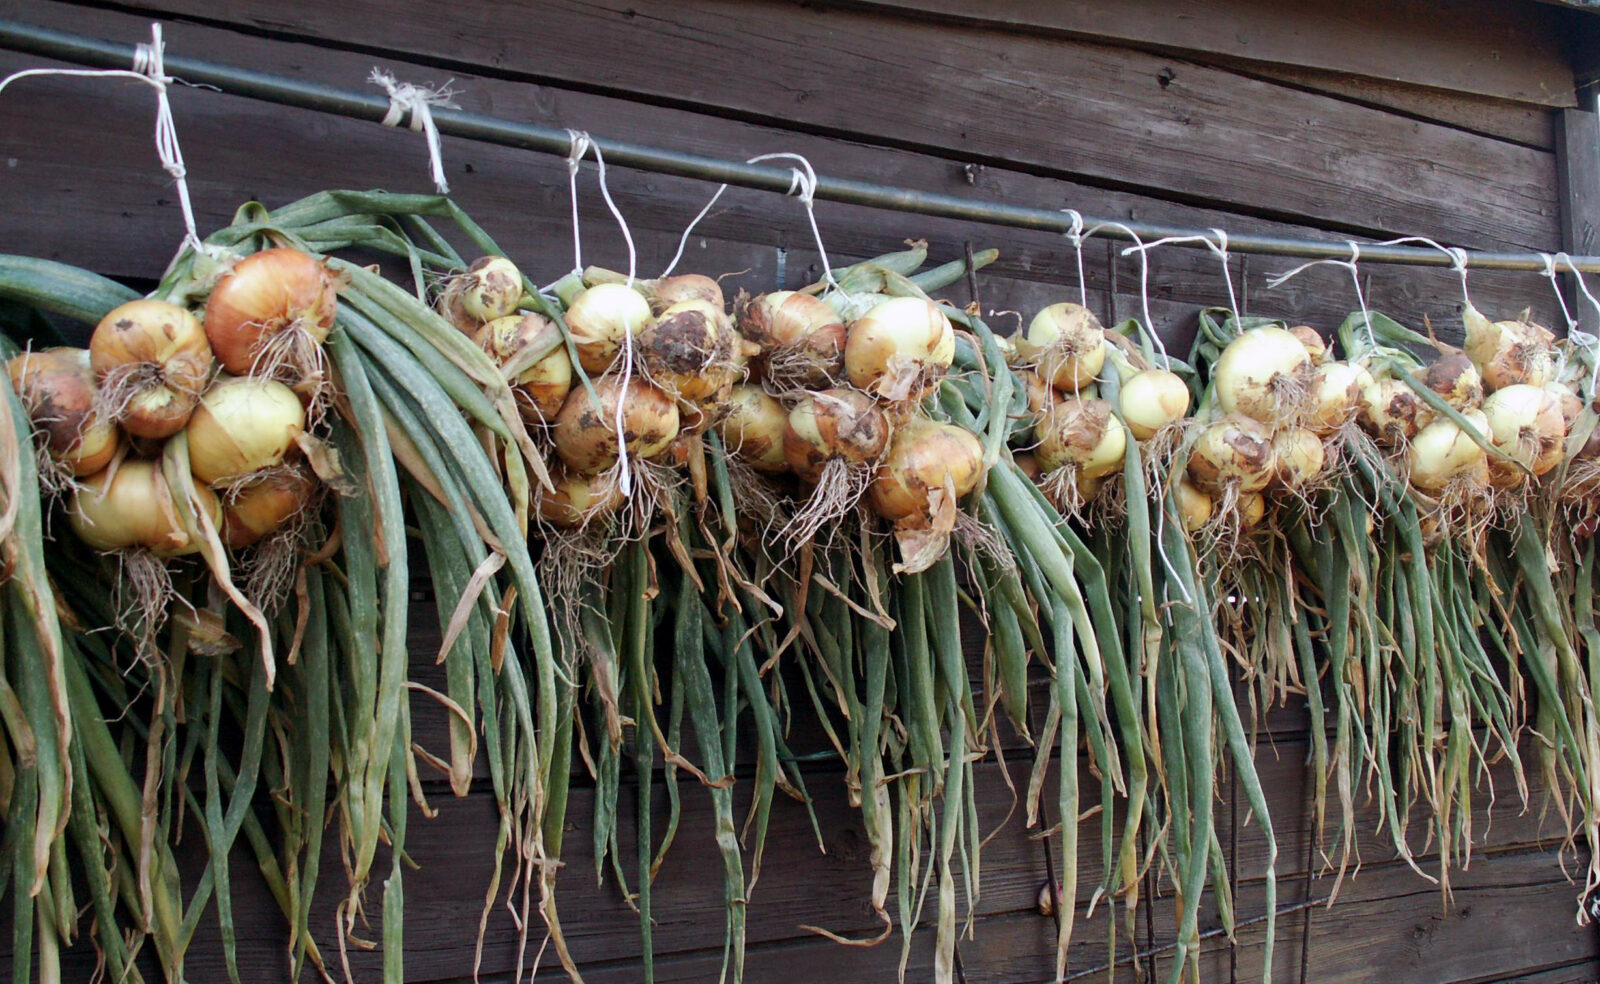
Don’t remove the leaves during curing. The tops help the onion naturally seal the neck. Some growers gently bend the neck and spread onions in a single layer; others hang them by their tops. Choose a method that suits your space—the important result is dry skins and completely dried-down tops.
How long to cure onions
Plan on about 4 to 6 weeks depending on temperature and humidity. You’ll know they’re ready when the tops are brown, brittle, and papery, and the skins on the bulbs are dry and firm. During curing, you can absolutely use some onions as you go—fresh harvest has wonderful flavor. For long storage, though, only select bulbs that are fully cured.
Preparing for storage after curing
Once the tops are completely dry, it’s time to tidy them up. Take scissors or pruners and trim the roots and the tops. Leave a short stub at the neck so the bulb stays sealed. Then gently clean off any loose dirt, but don’t peel down to live tissue—those protective layers should remain.
If you only have a small amount for quick use, you can store onions in a bowl in the kitchen, ideally in a cupboard or pantry out of the light. For larger supplies, crates, slatted boxes, open cartons, or wire baskets are better so air can keep moving. Stackable crates are handy because they hold their shape and are easy to carry.
Ideal conditions for storing onions
Onions keep longest in cool, dark, dry conditions. The target temperature is as low as possible without freezing. A cool cellar, an unheated pantry, or a dark corner in a basement that works like a simple home root cellar usually performs well. Light and warmth encourage sprouting, while dampness increases the risk of rot, so it’s worth choosing a spot where these factors are minimized.
Regular checks through winter
Even with good technique, you need to keep an eye on your stores. Check onions weekly, or at least regularly. If some bulbs start to sprout and green shoots push from the neck, pull them out and use them first. If you find an onion that’s softening, smells off, or is rotting, remove it immediately so the problem doesn’t spread to other bulbs in the crate.
When part of the crop isn’t suitable for storage
Sometimes a few bulbs get bruised at harvest, skins get damaged, or you have more sweet varieties that are meant for quicker use. In those cases, it’s worth preserving part of the crop in another way so it doesn’t go to waste. It’s also useful toward the end of winter, when onions sprout more often even under good storage.
Quick pickling in a vinegar brine
Onions are excellent for quick pickling. Slice them, cover with a simple brine, and let them sit briefly in the fridge. Prepared this way, they’re great in salads, wraps, with meat, or on eggs—and they tend to disappear in a few days because the flavor is bold yet fresh.
Freezing as an easy backup
Freezing onions is surprisingly easy and saves time. Peel, chop, and pack into bags or containers in the freezer. When cooking, just grab a handful and tip it straight into a pan with oil. The flavor works great for cooked dishes, and it’s a reliable way to use up bulbs that wouldn’t last long in the cellar.
What to remember so onions really do last
The most important things are harvesting at the right moment, handling onions carefully, and not underestimating several weeks of curing in dry conditions with good airflow. After that, it’s mainly about cool temperatures, darkness, and ongoing checks. Once you get this process down, it’s entirely realistic to have your own onions all winter and keep store-bought purchases to a minimum.
Source: Creative Vegetable Gardener, Gardeners , Pestrazahrada.cz
Related articles
Why the Tree That Feeds a Family for Generations Is Disappearing from Czech Gardens
The English walnut used to be a staple of larger gardens and farmyards, valued for its nutritious nuts and many practical uses. With the right site and variety, it remains one of the most rewarding long-lived trees you can plant.

How to Get Rid of Mice and Rats in the House, Loft and Garden Effectively
Mice and rats don’t leave quietly—scratching sounds, droppings and gnaw marks are clear warnings. A lasting solution comes down to three steps: block entry points, remove food sources, then use traps or professional control.
Two Mistakes When Harvesting Onions Can Cut Your Supply by Months
With good growing and the right handling, onions can turn into a near year-round pantry staple. These simple harvest and curing steps determine whether they keep for weeks or for months.
Comments (0)
Be the first to comment.