
 English
  Polski
  Deutsch
  Nederlands
  Svenska
  Norsk
Norsk  Dansk
Dansk  Français
  Italiano
  Español
  Português
  Slovenčina
  Suomi
Suomi  Gaeilge
 After a Heatwave, Tomatoes Benefit from the Right Pruning and a Protective Mulch Layer
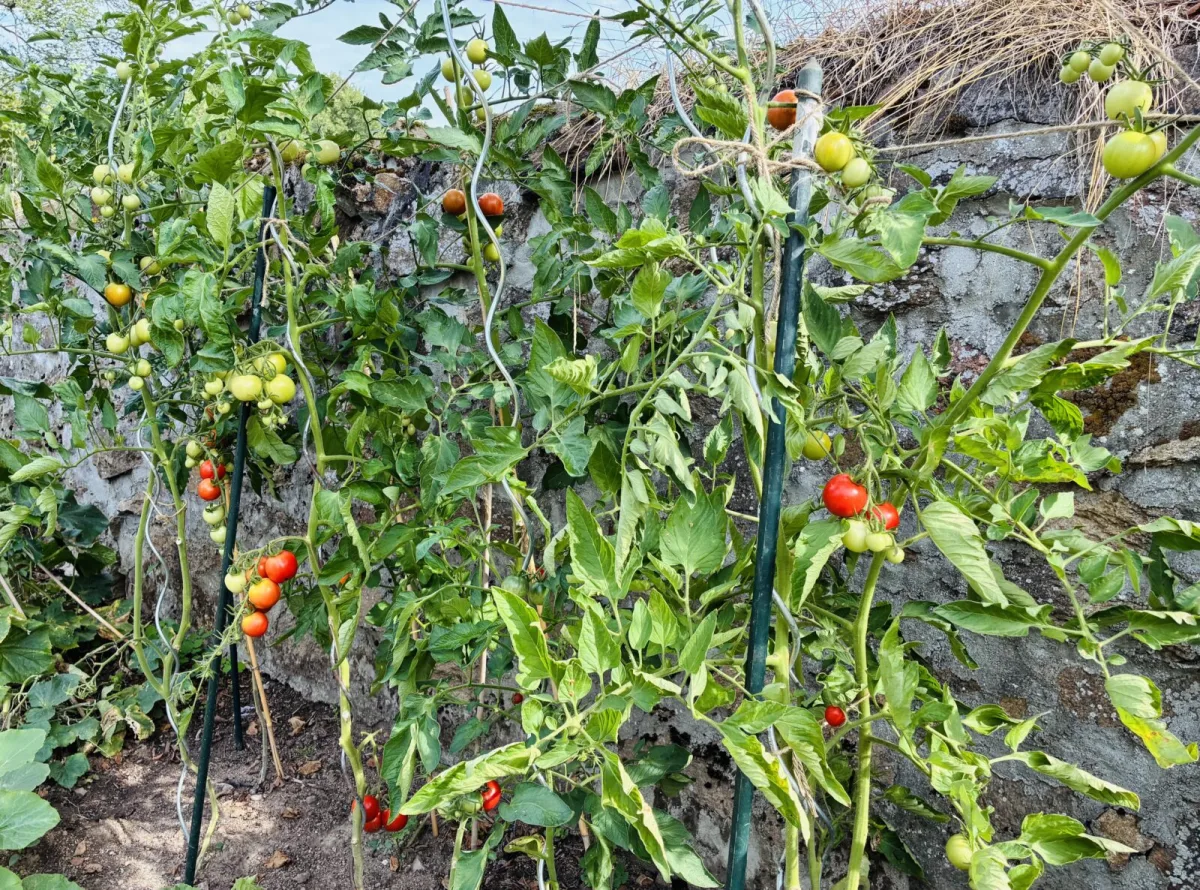
In hot and muggy weather, tomato plants transpire intensely through their leaves. When the air is heavy, there’s no breeze, and the foliage is pressed down near damp soil, moisture doesn’t evaporate from the canopy easily. A warm, wet microclimate develops that encourages fungal diseases to spread. The problem often doesn’t start because you water too little or too much, but because after rain, dew, or watering, the leaves stay wet for a long time and humid air lingers inside the plant.
The quickest route to healthier plants isn’t complicated. The key is to get more light and airflow into the plant so the leaves dry quickly after getting wet. You can achieve this by sensibly removing a few types of leaves that, during periods of high humidity, do more harm than good. And if you add one simple trick at soil level, you’ll significantly reduce the pressure from diseases that can otherwise ruin your crop.
Why the lowest part of the plant matters most
Many tomato diseases get going from the bottom and gradually move upward. The lowest leaves hang just above the soil—or touch it directly. And it’s in the soil that fungal spores often persist, then get splashed onto the first available leaves by rain or watering. A few drops hitting bare soil are enough for tiny particles carrying infection to end up on the bottom tier of the plant. From there, trouble spreads: leaves yellow, spots appear, and eventually the upper part of the plant can be affected too.
Airflow is just as important. An unpruned tomato can turn into a dense wall of leaves, where the interior stays damp long after the outer leaves have dried. When you gently open up the plant, air can move through the center and the leaves dry much faster after dew or rain. A dry leaf is far harder for many pathogens to infect. The goal isn’t to turn the plant into a bare stick, but to give it room to breathe.
Three types of leaves to cut off first
Not every leaf needs to stay on the plant. In muggy spells, it pays to focus on three groups that most often trap moisture, create shade, and also act as an easy entry point for disease. Make clean cuts as close to the main stem as possible so you don’t leave unnecessary stubs. It’s worth keeping tools clean and sharp, because a smooth cut heals better than torn tissue.
The lowest leaves in the band just above the ground
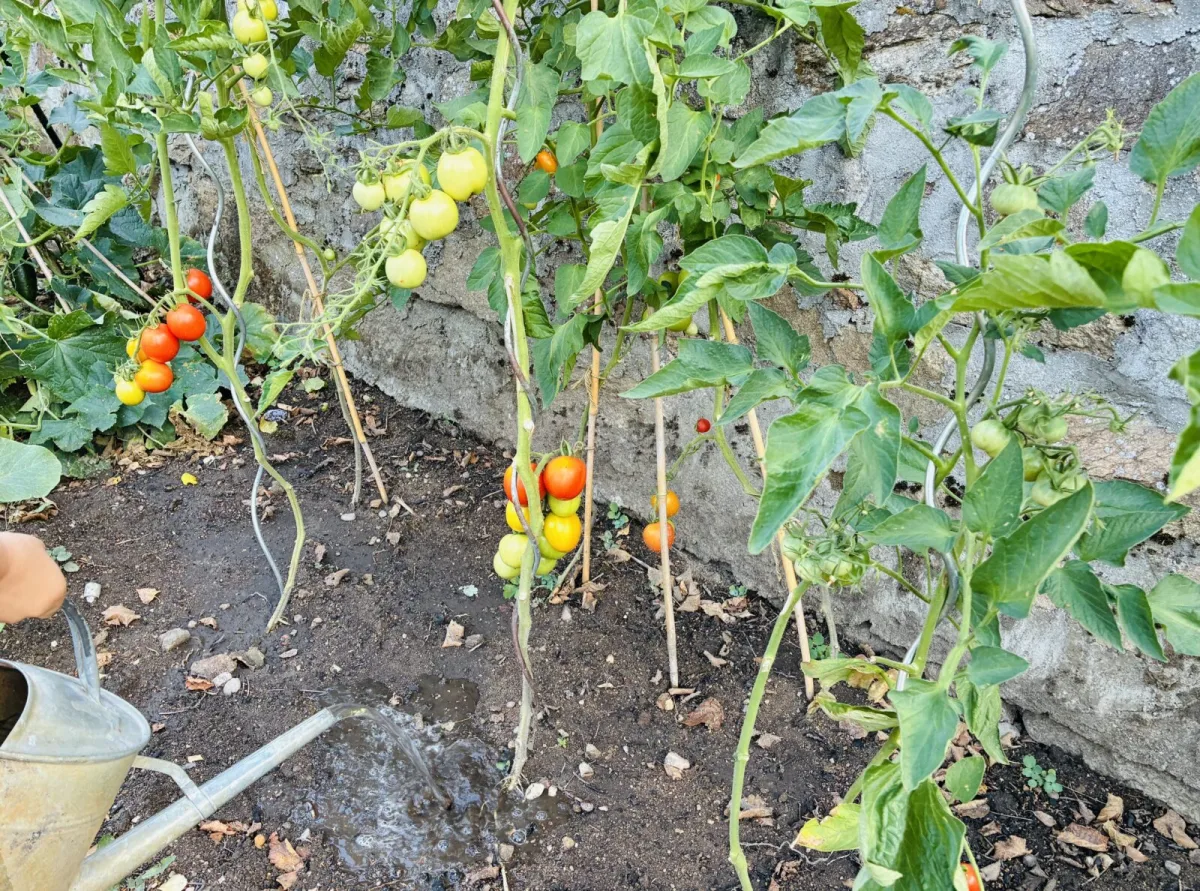
Start right at the bottom. Everything in roughly the 15 to 30 cm band above the soil surface is usually the highest risk. These leaves catch soil splash first, they’re often older, shaded, and contribute less to the plant than the upper, healthy foliage. Once a tomato is well rooted and beginning to set fruit, removing this lower tier won’t harm it. On the contrary, you create a clean section of stem that stays less dirty, dries faster, and is less likely to hold onto infection.
Yellowing or spotted leaves
A leaf that’s turning yellow or developing spots usually isn’t doing much useful work anymore. If disease is the cause, it also becomes a source for further spread. It’s best to remove these leaves as soon as you notice them, rather than waiting for the next scheduled pruning. A yellow leaf low down can be the first sign that something is happening in the planting. By cutting it off promptly, you tidy up the problem area and buy time to watch whether symptoms reappear on other leaves.
The crowded interior of the plant
Inside a large plant, leaves often overlap, with too little light and air reaching the center. These are the spots where moisture lingers the longest, and diseases can take off there without you noticing right away. Carefully opening up the middle helps create a channel for airflow. Remove a few leaves that are pressing over one another inside the plant and remain in deep shade for long periods. The aim is to be able to see small gaps through the plant so it doesn’t form one continuous green wall that holds dampness.
The secret trick that reduces disease pressure
Once the lower leaves are gone, there’s a simple step many growers underestimate. Around the base of the plant, create what’s essentially a “skirt”—a protective ring on the bare soil. This can be a layer of mulch or a barrier made from a suitable material. The idea is practical: between the soil, where disease spores may be present, and the leaves above it, you create a physical break. Water hits the mulch or cover and doesn’t splash as much dirt back onto the plant. That greatly reduces the risk of infection starting right from the first lower leaves.
Straw works, as does shredded bark, or a combination of paper and compost. If you want something that lasts longer, you can also use landscape fabric. Besides reducing splash, this approach has another benefit: mulch slows evaporation, so the soil holds moisture more evenly and roots don’t suffer from rapid drying. The leaves also stay cleaner and less spattered with mud.
But there’s an important condition. Pull the mulch or covering material in so it stays about 2 to 5 cm away from the stem. If you pack material right up against the stem, excess moisture can linger there, increasing the risk of rot and damage at the base of the plant.
How to tell you’ve pruned correctly
A well-managed tomato doesn’t look stripped—it looks lighter and more open. The lower stem is clean, leaves aren’t touching the soil, and the center of the plant isn’t completely clogged. After rain or morning dew, the foliage should dry faster than before. If you notice water still lingering mainly in the interior, that’s a sign you need to open the middle a little more and remove a few overlapping leaves. Combined with a mulch skirt, you’ll create conditions where disease is slower to get started, giving tomatoes a better chance to stay healthy even in a hot, humid summer.
Source: A Way to Garden, Gardenary , Pestrazahrada.cz
Related articles
Indoor Bonsai Dies from a Mistake People Think Is Care
Indoor bonsai can thrive for years, but only if you balance light, watering, humidity and pruning. The most common “well-meant” mistake is poor watering practice and drainage, which often shows up only when it’s already too late.
Autumn strawberry care takes an hour and you will be rewarded with plants laden with fruit with just three steps
After fruiting, strawberries benefit from a few timely autumn jobs that help them winter well and bounce back strongly in spring. A simple trim, the right feed, and a protective mulch can mean bigger, tastier berries next season.
Christmas cactus will bloom again even after years if you avoid one common mistake
A Christmas cactus can look perfectly healthy yet refuse to flower for years. With the right light, temperature, watering, and a gentle boost, it can set buds again and bloom reliably.
Comments (0)
Be the first to comment.