
 English
  Polski
  Deutsch
  Nederlands
  Svenska
  Norsk
Norsk  Dansk
Dansk  Français
  Italiano
  Español
  Português
  Slovenčina
  Suomi
Suomi  Gaeilge
 Why Garlic Leaves Turn Yellow and How to Tell the Right Harvest Time
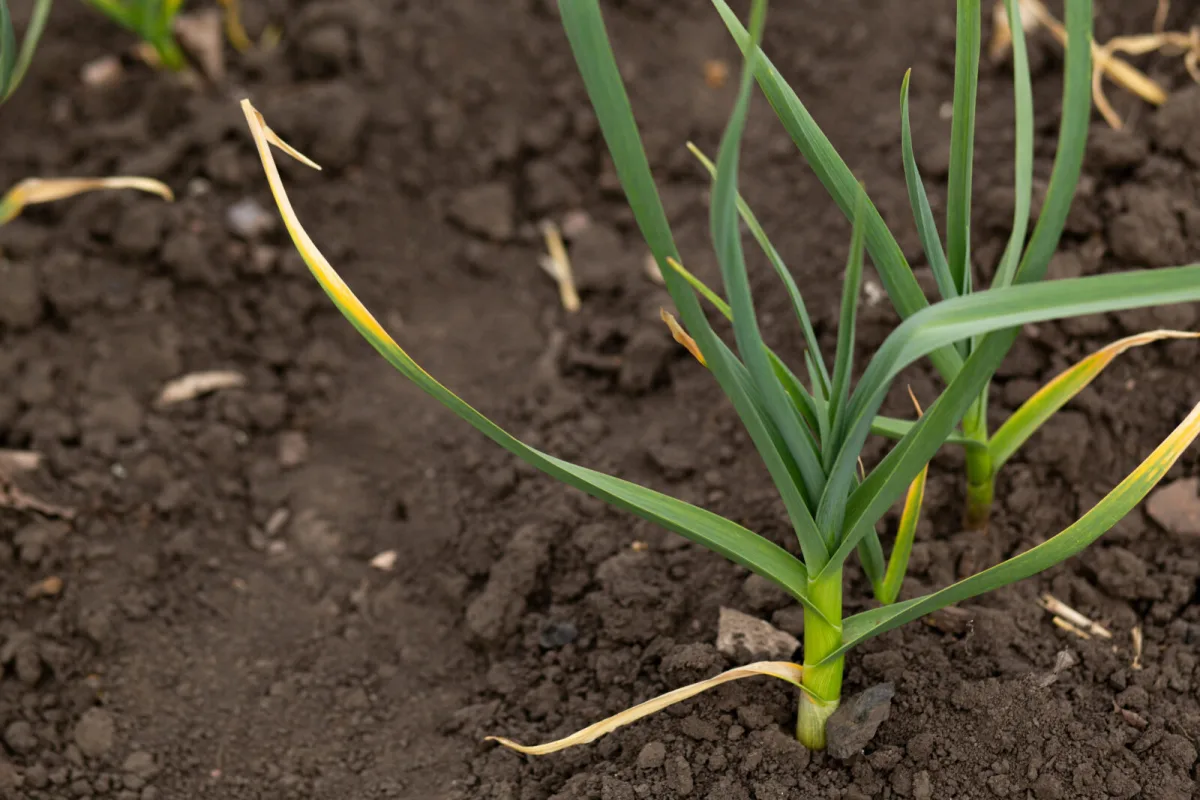
Growing garlic takes many months. You planted the cloves in the ground in autumn, the plants made it through winter and spring swings in weather, and at the start of summer the decisive moment is approaching. That’s exactly when many growers notice the leaves starting to yellow and dry rapidly. It isn’t always a problem. Often it’s a natural signal that the garlic is finishing up underground and drawing its strength into the bulb.
If you miss this moment, the risk increases literally day by day. Overmature bulbs start to break apart in the soil, the cloves separate from each other, the protective skins disappear, and the crop becomes prone to rot and mould. That’s why it’s important to tell when yellowing is still fine and when it’s already a warning that you need to act.
When yellowing is normal and when it signals trouble
If leaves yellow as early as spring, typically in April or May, the cause is often soil that’s been depleted over winter, especially a lack of nitrogen, or a reaction to ground frosts. At that point, moderate feeding and watering can help.
By the end of June, though, the situation changes. The plant naturally closes out its growth cycle, gradually stops producing chlorophyll, and moves remaining nutrients and sugars from the leaves into the bulb. A practical guide is the condition of the foliage. Roughly a third to a half of the tops are yellow or dry, most often the lower leaves, while the top three to four leaves usually still retain some green. This is typically the first reliable sign that harvest is close.
Leaves and skins are linked more than it seems
With garlic, a simple rule applies. Each leaf corresponds to one wrapper layer on the bulb. Once a leaf dies, the protective skin that shields the cloves gradually deteriorates as well. If too many leaves dry down or rot, the bulb loses its wrappers, the cloves become exposed, and in wetter soil they can easily pick up fungal diseases. That’s also why it doesn’t pay to wait until the tops are completely dry.
Variety matters: hardneck and softneck ripen differently
You’ll recognise hardneck by its firm scape
Hardneck garlic produces a tough flower stalk in the centre of the leaves, topped with a capsule. Most growers snap off the scapes so the plant doesn’t push energy into flowering but into the bulb. It’s still worth leaving a few plants untouched. They’re the best indicators of maturity.
The scape curls into a spiral as it grows. When it straightens and starts pointing upward, the garlic is usually ready to harvest. If the sheath on the flower capsule splits as well and the bulbils show, don’t delay and harvest as soon as possible.
Softneck signals maturity by flopping over
Softneck garlic doesn’t form a rigid scape and has softer tops. It’s often valued for better keeping quality. Because it lacks a firm central stalk, maturity shows up mechanically. The neck just above the soil softens, the tops lose stiffness, and the plants begin to fall over en masse. When roughly half the patch has flopped, it’s usually the right time to lift.
A quick spade test decides without unnecessary risk
If you’re unsure, do a simple check. Choose an average plant and carefully lift it with a spade or digging fork. Never pull garlic hard by the tops—you can snap the neck and damage the bulb. Brush off the soil by hand in a glove and check the wrappers and shape.
An immature bulb tends to be smooth and rounder, with thick, fleshy skins; the cloves aren’t strongly defined. Perfectly mature garlic has a clearly segmented structure; the cloves are tightly held but distinctly separated by lines, and the wrapper layers are thin and dry. You can recognise overmature garlic by skins that are breaking down and cloves that separate on their own in the soil; it’s best used quickly and shouldn’t be counted on for long storage.
Most common harvest mistakes that shorten storage life
The first mistake is harvesting when it’s wet. After rain, mud sticks to the skins, bulbs take up water, and during curing the risk of mould rises sharply. The second mistake is roughly knocking bulbs against a spade, a boot, or each other. This creates small bruises that later turn into rot. It’s better to remove soil gently by hand. A third common error is immediately shortening the tops and roots right after lifting. There are still juices in the tops, and during the first days of curing they naturally move into the bulb and help it finish ripening and tighten up.
Proper curing: shade and airflow are essential
After harvest, cure garlic with the tops on in a dry, airy, shaded place. A shelter, a well-ventilated shed, a barn, or crates positioned so air can circulate around them all work well. Direct sun is risky: bulbs can overheat, skins can brown, and cloves lose quality.
Let it finish curing for about three to four weeks, until the tops are completely brittle and dry. Only then trim the tops to about 3 to 5 cm above the bulb, shorten the roots to about 1 cm, and store the garlic in a dark, cool, dry place, where it will keep the longest.
Source: Gardener’s World, Urob si sám, Pestrazahrada.cz

A lover of nature, gardens, and everything that moves, blooms, or grows. He literally grows everything, from herbs to rare species, and he enjoys caring for animals just as much. In his work, he connects modern technology with tried-and-tested grandmotherly methods and is happy when both paths lead to the same goal.
Related articles
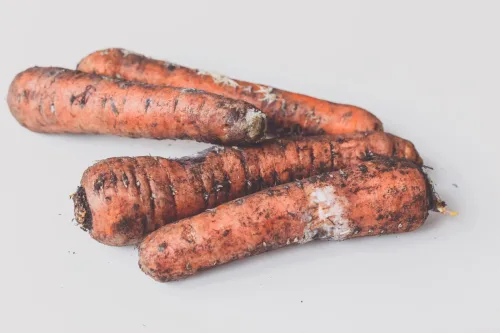
Next year you can harvest better if you don’t sow carrots where they won’t thrive
Carrot root fly can ruin carrots, parsley and celery from the inside out, often without obvious warning until harvest. Better site choice, rotation, later sowing and simple physical barriers can dramatically cut damage next season.
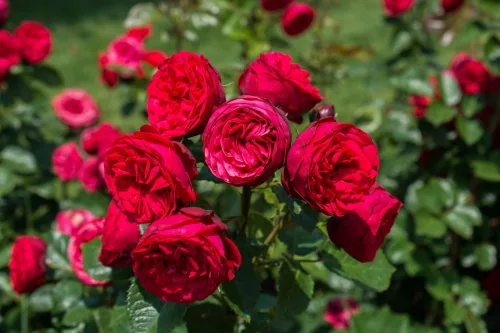
How to Propagate Roses from Cuttings at Home and Fill Your Garden with Blooms Almost for Free
Want more roses without paying for new plants? With a few healthy cuttings and a simple plastic-bottle mini greenhouse, you can root new bushes at home in just a few weeks.
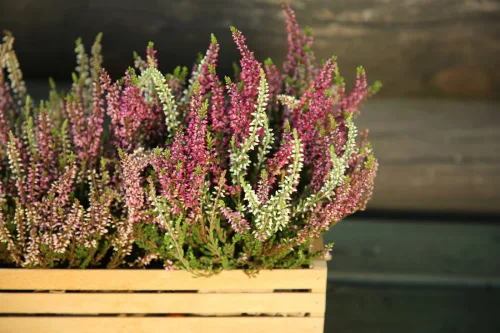
Heathers can cope where other plants won’t, but one soil detail decides everything
Heathers and heaths are tough evergreen shrubs that can flower across the seasons when you choose the right types. Success hinges on matching the plant to your soil pH and ensuring free drainage.
Comments (0)
Be the first to comment.