
Where to Site a Garden Compost Heap and How to Choose a Bin That Lasts for Years
Composting is a simple way to turn garden waste and plant-based kitchen scraps into valuable soil-building material. Instead of letting grass clippings, leaves, plant trimmings, or vegetable peelings end up in the food-waste collection, you can use them right at home. You’ll cut down on waste, save money on composts and soil improvers, and reduce the impacts linked to transporting and processing organic waste.
Finished compost increases the organic matter content of the soil, supports soil life, and improves the structure of beds and borders. In light, sandy soils it helps hold moisture; in heavy clay soils it improves drainage and aeration. Used on the surface as a mulch, it reduces water loss in summer and suppresses weed germination, while earthworms and microorganisms gradually draw it down into the soil profile.
Compost is also a small hub of biodiversity. Bacteria, fungi, and many invertebrates drive the breakdown process, and they in turn provide food for other beneficial wildlife in the garden. A well-managed compost heap isn’t just a “waste bin” but an active part of a healthy ecosystem.
How to choose a compost bin and where to put it
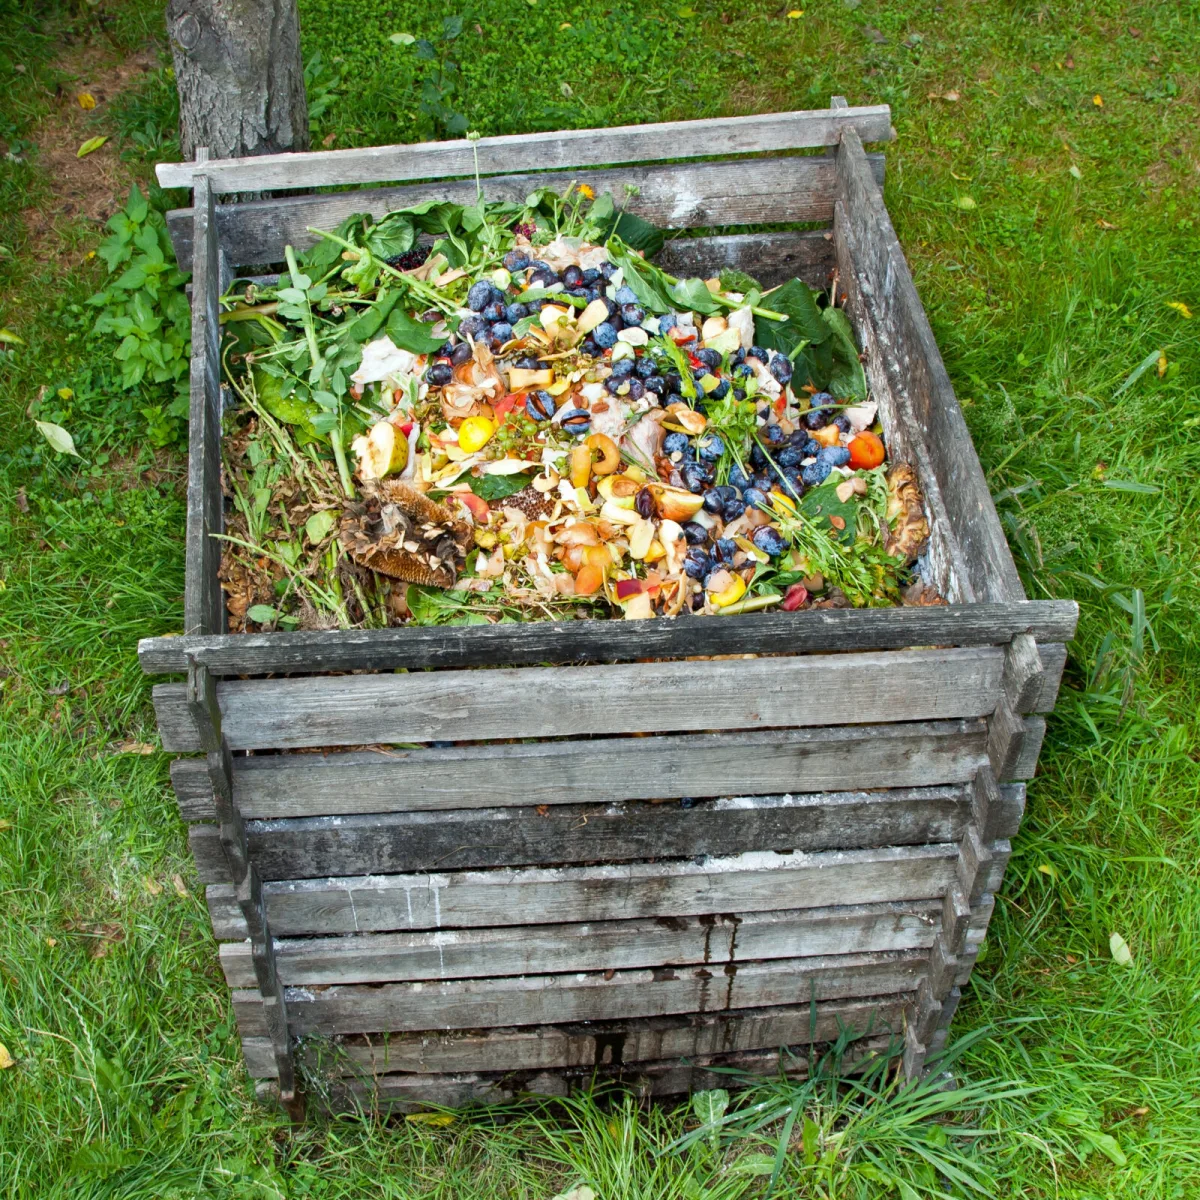
In theory you can compost as an open heap, but a compost bin is more practical. It holds its shape, retains warmth and the right level of moisture, looks tidier, and is easier to manage. The best type depends on your space and how much material you can add regularly. Smaller plastic bins suit small gardens, while timber bays or multi-bin systems are ideal for larger gardens and for anyone who wants to move material through different stages of decomposition.
For efficient composting, a larger volume helps because it holds stable conditions more easily. A small bin will work too, but it’s usually slower and more sensitive to drying out or becoming waterlogged. It’s important that the bin allows air to enter, lets excess water drain away, and also protects the contents from prolonged heavy rain.
Choose a sheltered spot, ideally in partial shade to shade, so the compost doesn’t overheat or dry out unnecessarily. The best option is to place the bin directly on bare soil, so soil organisms can move in easily and water can drain away. If the only option is a hard surface, add a few spadefuls of soil as a starter layer and make sure a permanently wet zone doesn’t develop inside.
Core principle: the right balance of green and brown materials
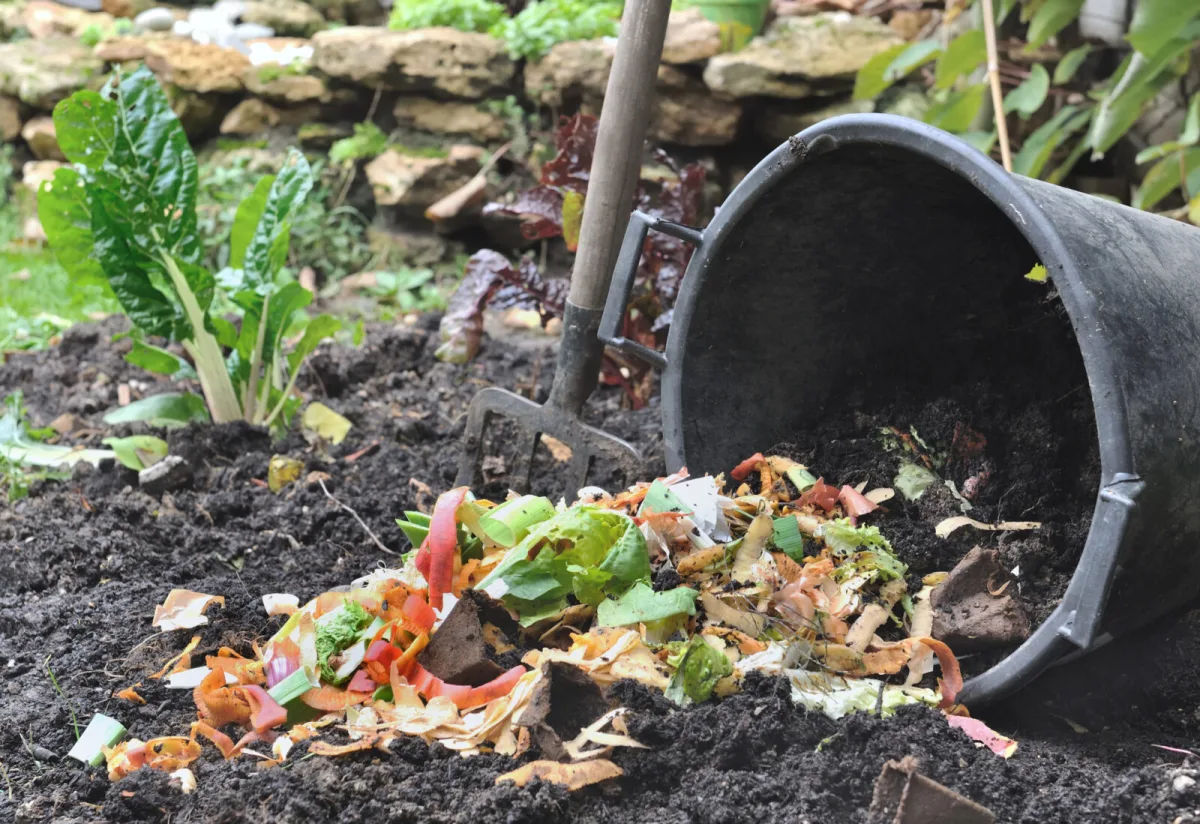
Successful composting depends on a balanced mix of nitrogen-rich and carbon-rich materials. In practice these are described as “green” and “brown” materials. Greens are usually soft, juicy, and quick to break down. They include grass clippings, fresh plant trimmings, annual weeds before they set seed, harvest residues, faded flowers, peelings, and other plant-based kitchen scraps.
Browns are drier, more woody, and rich in carbon. Typical examples are shredded twigs, woodchip, dry stems, straw, leaves, torn cardboard, or paper. These materials create structure in the compost, improve airflow, and prevent the contents from collapsing into an airtight mass.
As a rough guide, a mix where greens make up about a quarter to a half, with the rest coming from browns, works well. The key is not letting one material dominate. Grass clippings are especially problematic if you add them in a thick layer all at once. They mat together easily, hold water, push out air, and start to smell. It’s better to add them little and often, always layered with or mixed into brown material.
How to start and fill a compost bin properly
You can start a compost bin at any time of year, but it’s practical to begin when you have plenty of material, often from spring through autumn. A coarse, airy base layer of chopped twigs or dry stems helps ventilation and drainage. Then add greens and browns alternately, and try to mix them at least roughly so they don’t break down as separate “cake” layers.
Reducing particle size makes a big difference. Long stems, woody bits, cardboard, and paper are best torn, shredded, or chopped. Smaller pieces have more surface area, microorganisms can get to them more easily, and composting tends to be faster and more even. If you add kitchen scraps, it helps to bury them in the middle and cover them with garden material, so they don’t attract insects or dry out on the surface.
Various “activators” or adding lime are often recommended. In most home gardens, it isn’t necessary. Decomposition usually runs reliably when the mix is balanced, airflow is good, and moisture is appropriate. If your compost is performing poorly, adjusting the green-to-brown ratio and improving aeration is typically more effective than adding extra products.
Aeration and turning speed up the whole process
Composting is mainly the work of microorganisms, and they need oxygen. When the mass is too wet or becomes compacted, air can’t get in and the process slows down, or decomposition shifts to smelly anaerobic rotting. That’s why it helps to mix or turn the compost from time to time.
The most thorough method is to empty the contents and refill, or move it into a second bay. If that isn’t realistic, even forking it through once every few months improves structure and aerates the centre. Turning also makes it easy to judge moisture. Compost should feel like a wrung-out sponge: it holds together, but no water drips out. In hot periods you may need to water lightly; during long rainy spells, protect it from becoming waterlogged.
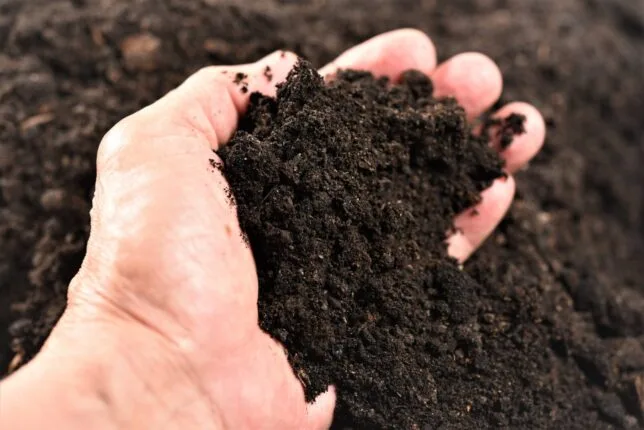
You can recognise a well-managed compost by the fact that it smells like a damp woodland and, when squeezed, holds a lightly moist shape without turning slimy.
When compost is finished and how to use it
Maturation time varies, typically from six months to two years. It depends on the size of the bin, the mix of materials, the weather, and how often you turn the contents. Decomposition is faster in warm weather and slows in winter. Finished compost is dark brown, crumbly, and ideally you can no longer recognise the original materials. If larger pieces of wood or stems remain, that’s not a problem; you can return them to the next batch as a “starter” and structural ingredient.
The most common uses are as mulch or as a soil conditioner. Spread it over beds and borders in a continuous layer about 5 cm thick, or lightly work it into the top layer of soil. You’ll support soil life, reduce drying out, and gradually increase fertility. Home-made compost can also be mixed into your own growing media, but for sowing and sensitive seedlings it’s best to use well-matured, finer compost and blend it with other ingredients so the mix stays open and airy.
Most common problems and how to fix them
Wet, slimy, smelly compost
This is typically a lack of air and too much moisture, often combined with lots of grass clippings or kitchen scraps. Add more brown material such as shredded twigs, dry stems, straw, woodchip, or torn cardboard, and mix the whole contents. If rain is getting into the bin, consider covering it or moving it to a more sheltered spot.
Dry, stringy material that hardly changes
The cause is usually too much brown material and not enough moisture. Water the compost lightly and add more green material. It also helps to chop materials into smaller pieces and mix well, so the “fast” and “slow” components combine and microorganisms have even access to nutrients and water.
Fruit flies and small insects
A small amount is normal; swarms usually mean kitchen scraps are sitting on the surface or the compost is too wet. Bury kitchen waste inside and cover it with garden material, or add dry brown material and mix. A well-aerated compost bin usually has very few issues with insects.
Compost as the foundation of a long-term healthy garden
Composting isn’t a one-off project but a habit that pays you back over time. If you regularly add a balanced mix of green and brown materials, keep moisture at a sensible level, and aerate the heap occasionally, you’ll have a steady supply of quality organic matter. The result is soil that manages water better, stays open and lively, and plants that are more resilient and vigorous.
The best compost is the compost you actually use and that’s made from what your garden naturally produces. Stick to a few principles and let nature do the rest.
Source: Rhs, The Spruce , Pestrazahrada.cz
Related articles
A Simple Summer Prune for Apple Trees That Determines Next Year’s Heavy Crop
A timely summer prune helps your apple tree put its energy into forming flower buds instead of long, vigorous shoots. Done correctly, it supports productive spur growth and sets you up for a stronger harvest next season.
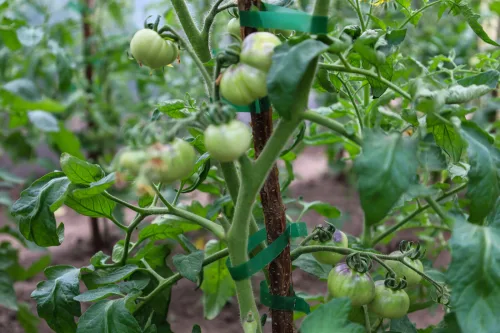
How to Tie Up Tomatoes and Other Vegetables to Supports Without Snapping Stems
Fast-growing vegetables quickly become top-heavy and sprawl unless they’re supported. The right tying method keeps plants healthier, fruit cleaner, and harvests easier.
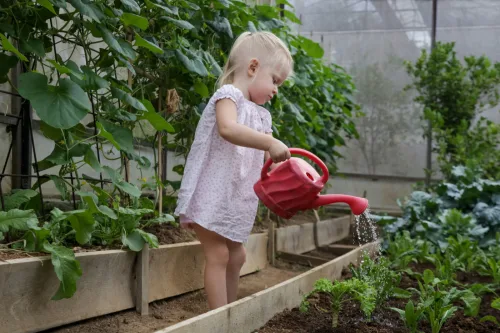
A Smart Garden Design for Children with Safety and Room for Imagination
Designing a garden that feels safe for children and stays engaging at every age is often simpler than it looks. With a thoughtful layout, you can create a beautiful space that supports movement, imagination and quiet downtime without fixed play equipment.
Comments (0)
Be the first to comment.