
 English
  Polski
  Deutsch
  Nederlands
  Svenska
  Norsk
Norsk  Dansk
Dansk  Français
  Italiano
  Español
  Português
  Slovenčina
  Suomi
Suomi  Gaeilge
 Two Mistakes When Harvesting Onions Can Cut Your Supply by Months
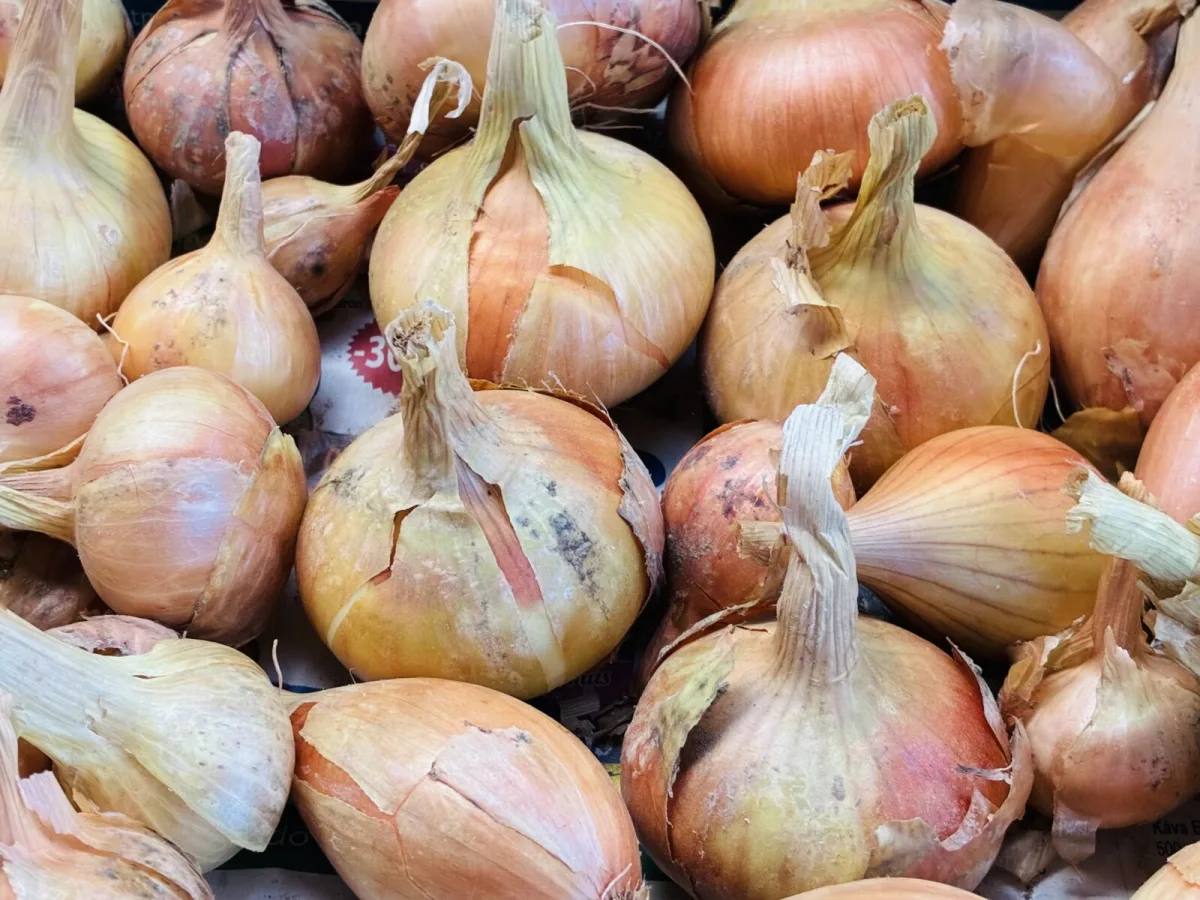
Onions are one of those vegetables that, with good growing and proper handling, can become an almost year-round supply. Anyone who’s tried eating their own onions in winter quickly realises it’s not just about saving money. It’s mainly the convenience and confidence of having a key ingredient for everyday cooking close at hand. The key to success isn’t only growing nice, firm bulbs, but also getting the follow-up steps right, because that’s what decides whether your onions keep for weeks or for many long months.
The basics of success start with choosing the right variety
Before you even get to harvest and storage, it’s important to know that not all onions behave the same. Some varieties are meant for quick use; they’re usually juicier and sweeter, but in longer storage they often soften or start sprouting sooner. So-called storage onions, on the other hand, have a firmer structure and, once properly cured, keep noticeably longer. If you want to be using your onions right through to spring, it pays to grow most of your bed with storage types and plan the juicy sweet onions more for summer and autumn cooking.
How to recognise the right time to harvest
In mid-summer, it’s worth checking your onions more closely. At the soil surface you can usually see the bulbs swelling and pushing up out of the ground. You can pull onions for cooking throughout the season as soon as they’ve formed a bulb, but for long-term storage it’s best to wait for full maturity.
The most reliable sign of maturity is when the tops fall over. The green growth bends at the neck and gradually starts to dry down. This is the plant signalling it’s finished bulking up and is shutting off the flow of nutrients into the bulb so it can begin drying and preparing for dormancy. Not every plant flops on the same day, so it’s normal to harvest once most of the tops have gone down. After full top-fall, it’s best to lift the onions within about a week so they don’t lie too long in the sun or get soaked by rain.
How to harvest onions gently without damage
Onions have shallow roots, so you can often pull them by hand. If the soil is heavy or very dry, a gentle lift with a garden fork helps, but the goal is not to bruise the bulbs. Any knock, split skin, or injury at the neck can dramatically shorten storage life because damaged tissue is an easy entry point for rot.
After lifting, lightly knock or brush soil off the roots. There’s no need to wash onions; water actually increases the risk of problems during curing. If you grow several varieties and want to learn which store best, it makes sense to harvest them separately and label them right away so they don’t get mixed up later.
Curing and finishing onions after harvest
Without proper curing, long storage usually doesn’t work. Freshly lifted onions don’t yet have the fully dry, papery skin we’re used to from the shop. That layer is a natural protective wrapper that forms and firms up during curing. Well-cured onions spoil less, handle better, and keep far longer in storage.
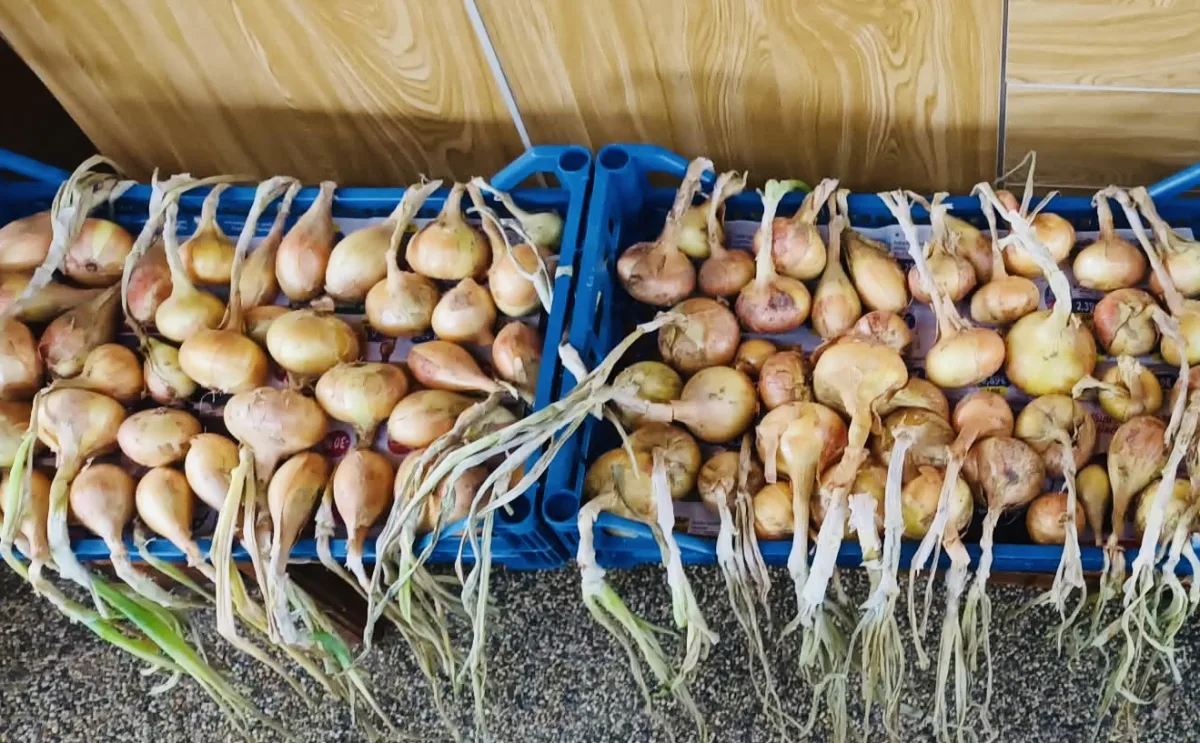
Ideally, cure onions out of direct sun and under cover so they don’t get rained on. A garage, shed, covered porch, or any sheltered space with good airflow works well. The important thing is that the onions aren’t sitting in an airless heap. Metal racks, screens, ventilated crates, or any surface that allows air circulation from underneath are all excellent.
Leave the tops on during curing. Don’t cut them off straight away, because drying of the neck and foliage helps the bulb seal. You can lay onions out side by side, or lightly in layers if airflow is guaranteed. Some growers also hang them by the tops; the principle is always the same: as much air as possible around the entire onion.
Curing usually takes about 4 to 6 weeks depending on humidity and temperature. The goal is for the tops to be completely brown and brittle, the neck dry, and the bulb skin papery and firm. During curing you can safely use some onions as you go; just choose ones that look healthy and aren’t damaged.
Preparing onions for storage
Once the onions are fully cured, it’s time for the step that makes all the difference to keeping your storage neat and trouble-free. Take scissors or pruning shears and trim off the roots and the tops. At the neck, leave a short stub, roughly 1 to a few cm, so it stays sealed but isn’t unnecessarily long and prone to snapping.
For a small batch you’ll use quickly, a bowl or basket in the kitchen can be enough, ideally kept in the dark and out of direct sun. For longer storage, breathable crates, wooden boxes, or wire baskets are better because they keep onions dry and allow airflow. Stackable crates are especially practical: they save space and the onions don’t get squashed as easily.
Ideal conditions for long keeping
Onions keep longest when it’s cool, dark, and dry. They do best at around 2 to 4 °C, in the coldest part of the house that doesn’t freeze. A cellar, cold pantry, or a dark corner in a basement works well. Stability matters too, because big swings in temperature and humidity can trigger sprouting or rot.
After storing, it’s worth checking your supply regularly. Even under excellent conditions, some onions may eventually start sprouting or develop soft spots. As soon as you see green shoots emerging from the neck, use that onion sooner rather than later. If you find any with rot, remove them immediately, because the problem can spread surprisingly fast.
How to manage different types of onions through winter
If you grow both sweeter onions for fresh eating and true storage varieties, it’s practical to keep them separate at harvest and in storage. Juicier onions generally have a shorter shelf life and it’s best to plan to use them within the first few weeks to a few months after harvest. Storage onions, by contrast, are a dependable kitchen staple from autumn right through to spring, often longer, provided they were well cured and kept cool.
What to do with onions that aren’t suitable for storage
Not every bulb is ideal for months in a crate. Sometimes they get bruised at harvest, sometimes you’ve grown more quick-use varieties, or towards the end of winter part of the stock starts waking up and sprouting. In those moments, simple processing methods can help, without any special equipment.
Quick pickling in a vinegar brine
One of the most practical options is quick-pickled onions. Just slice them, pour over a hot brine made from vinegar, water, salt and, if you like, a bit of sugar, then let them sit in the fridge. They’re great in sandwiches, wraps, salads, or alongside eggs, and they use up surplus in a delicious way.
Freezing chopped onions
Freezing is also very straightforward. Peel the onions, chop into dice or slices, and pack into freezer bags or containers. When you need them, take out the amount you want and add straight to a pan with hot oil. This method is especially useful when the first sprouts appear towards the end of the season and you don’t want to lose your crop.
Well-cured onions are a winter standby
When you time the harvest well, lift carefully, give onions several weeks to cure, and then store them cool and dark, the result is a supply that can last for a large part of the year. Regular checks and using any sprouting bulbs promptly will make sure you have homegrown onions long after the garden is resting.
Source: Creative Vegetable Gardener, Cedar Circle Farm , Pestrazahrada.cz
Related articles
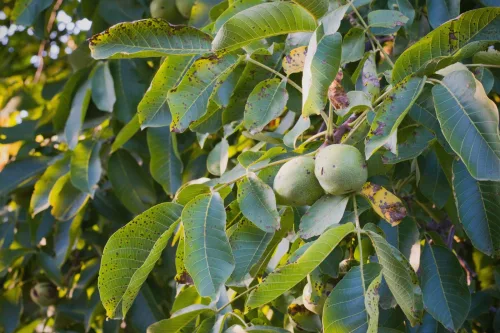
Why the Tree That Feeds a Family for Generations Is Disappearing from Czech Gardens
The English walnut used to be a staple of larger gardens and farmyards, valued for its nutritious nuts and many practical uses. With the right site and variety, it remains one of the most rewarding long-lived trees you can plant.

How to Get Rid of Mice and Rats in the House, Loft and Garden Effectively
Mice and rats don’t leave quietly—scratching sounds, droppings and gnaw marks are clear warnings. A lasting solution comes down to three steps: block entry points, remove food sources, then use traps or professional control.

How to Get Rid of a Marten in the Attic or Car Without Breaking the Law
Stone martens can move into lofts, sheds and even car engine bays, causing noise, smell and costly damage. Learn how to drive them out and proof your property effectively while staying on the right side of the law.
Comments (0)
Be the first to comment.