
Secret Homemade Recipe for a Heavy Tomato Crop Without Store Bought Fertilisers
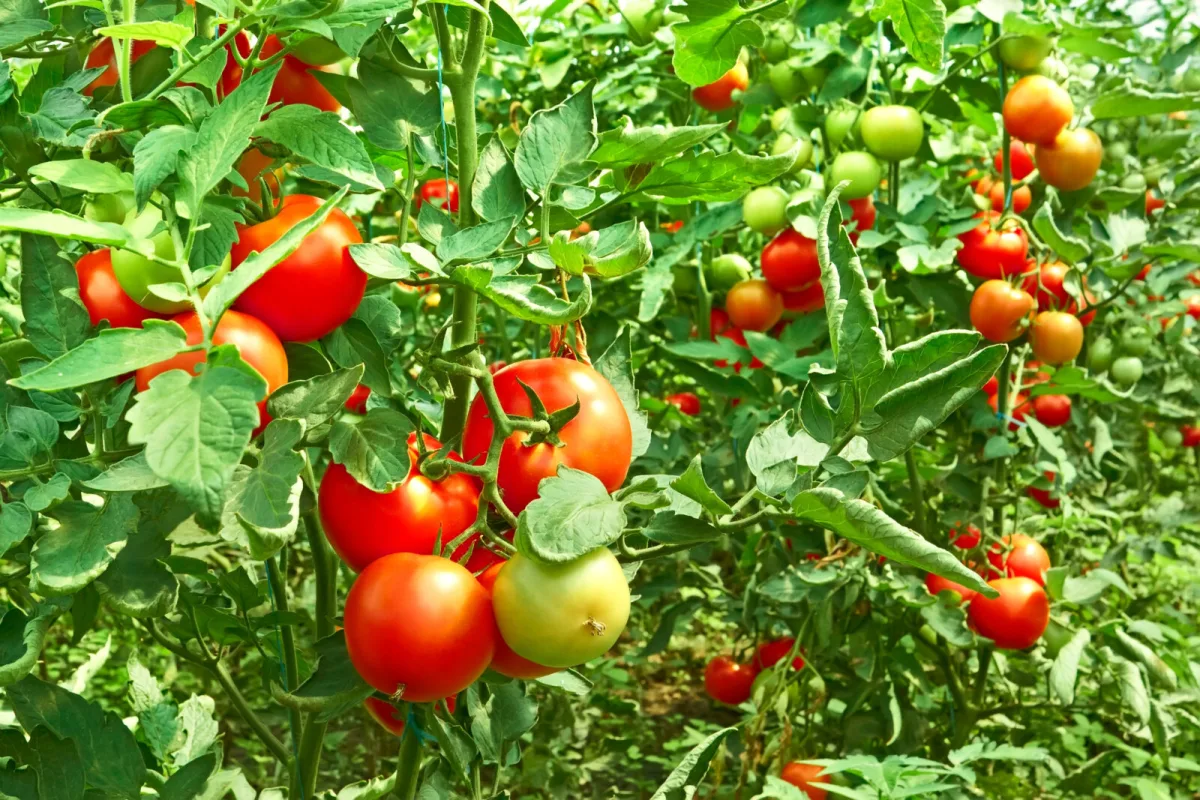
Tomatoes certainly love sun, warmth and a sheltered spot, but the right placement alone still won’t guarantee baskets full of fruit. As soon as the seedlings establish, they start to grow quickly and need a steady supply of nutrients. When feeding is lacking, the plant often stalls, roots less well, sets fewer flowers and the fruit ripens more slowly. That’s exactly why it pays to start supporting them right after planting, before the first signs of soil exhaustion show up.
The good news is you don’t have to reach for expensive chemicals or special shop-bought mixes. A simple homemade fertiliser from readily available ingredients can give tomatoes a strong start towards more vigorous growth and regular fruiting.
A homemade natural feed that supports growth and fruiting
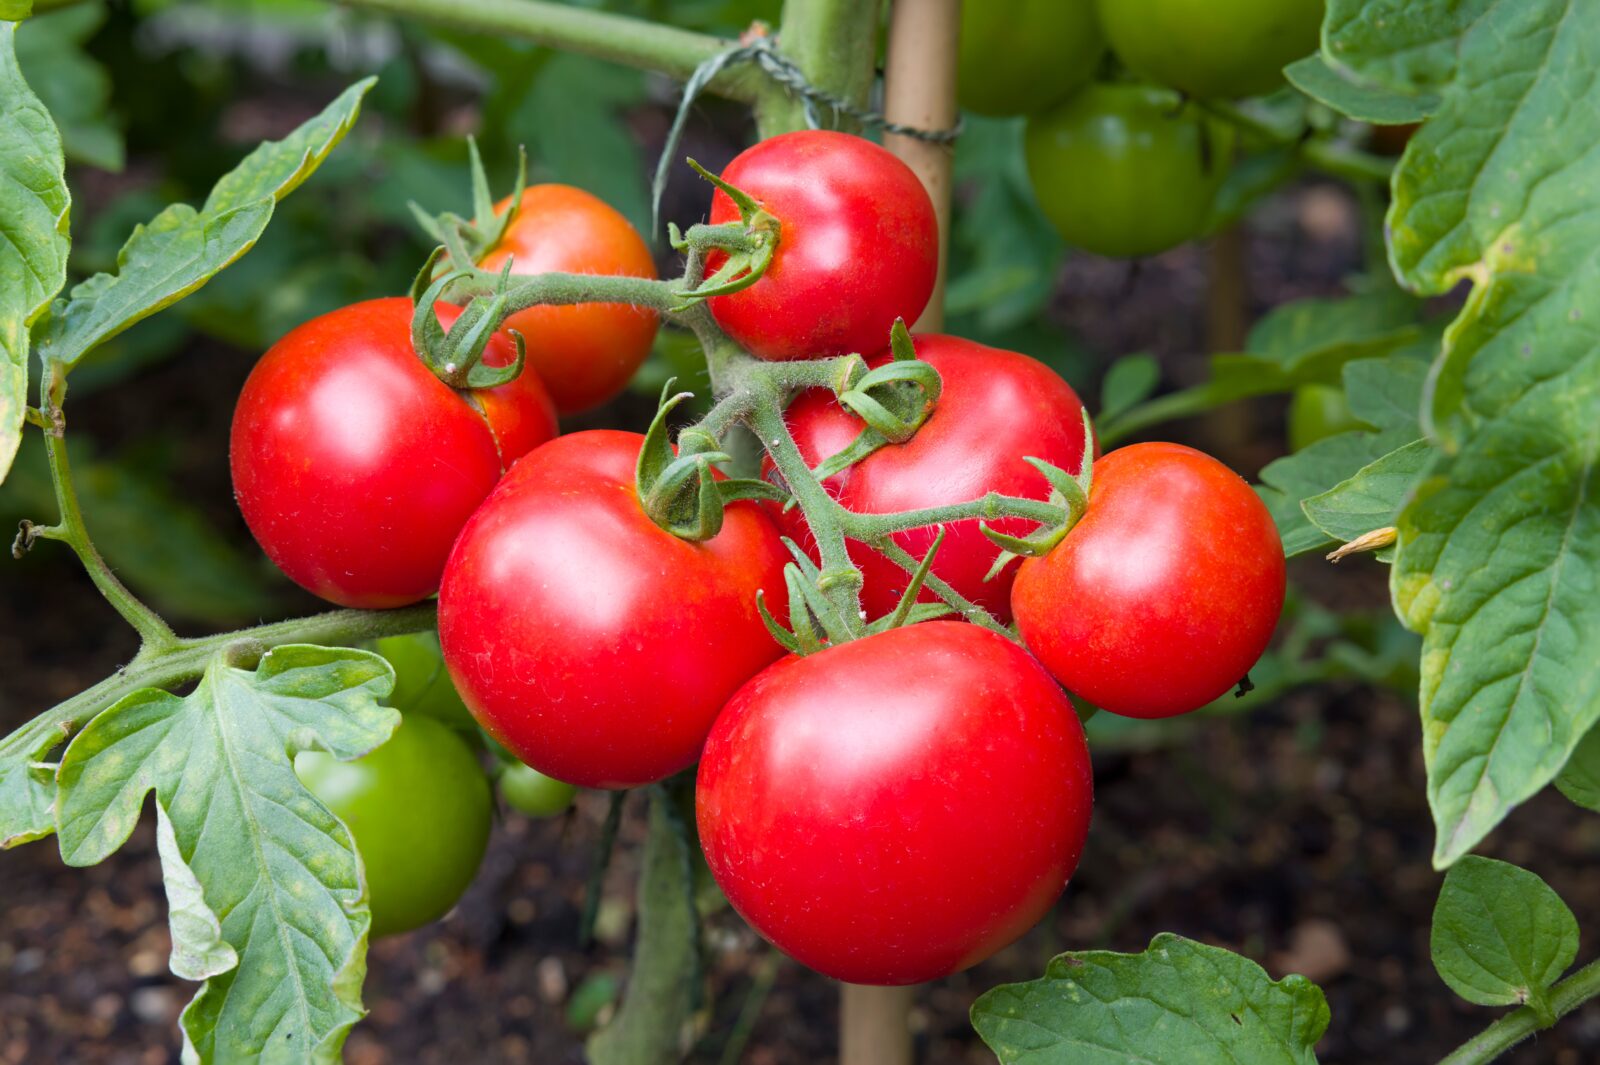
This type of “green” fertiliser works as a natural boost. It helps tomatoes build a stronger root system, supports leafy growth and overall vitality. In practice, that means the plants are often tougher, cope better with weather swings and, with good care, can crop steadily, fruit after fruit. Another big advantage is that it’s a purely natural feed based on plant material, which contains a range of macro- and micronutrients.
Starting to feed right after planting is often the difference between an average harvest and a truly generous one.
What you’ll need
The base is granulated sugar, freshly cut grass, ordinary garden weeds, nettles and water. The combination of green material and sugar matters because of fermentation, during which plant-available substances are released. Nettle is popular for its naturally high nutrient content and it generally supports the condition of the crop.
Step-by-step preparation
Prepare a barrel or a larger container, choosing the size based on how much feed you want to have on hand. Fill the container to about two thirds with fresh grass, pulled weeds and nettles. The material doesn’t need to be finely chopped; the key is that it’s fresh.
Then add granulated sugar, which is essential to the whole process. It serves as an energy source for the microorganisms, helping the mixture begin to ferment and gradually “break down” into a nourishing concentrate. Finally, top up with water so the green material is submerged, and leave the container to stand.
Fermentation time and when the mix is ready
Let the mix ferment for around two weeks. During this time, natural fermentation will take place and the contents will turn into a liquid fertiliser. After that period, the concentrate is ready to use.
How to dilute and apply the feed correctly
Before use, the concentrate must be diluted. A reliable ratio is 1 litre of feed to 9 litres of water. Water tomatoes at the roots with this solution, ideally onto already moist soil so nutrients soak in better and the plant isn’t unnecessarily stressed. Repeat feeding about every three weeks to give plants ongoing support for growth and fruit set.
Also useful for other fruiting vegetables
This homemade fermented feed doesn’t have to be used only for tomatoes. It also works well for cucumbers and peppers, as it generally stimulates leafy growth, supports active development and helps plants strengthen their natural resilience. If you grow several types of fruiting vegetables, one simple method can give you a universal natural feed for the whole garden.
With regular use, along with proper watering and plenty of light, you may find your tomatoes ripen gradually and the harvest is so abundant you’ll have enough surplus to share.
Source: Mein schöner Garten, RHS, Pestrazahrada.cz

A lover of nature, gardens, and everything that moves, blooms, or grows. He literally grows everything, from herbs to rare species, and he enjoys caring for animals just as much. In his work, he connects modern technology with tried-and-tested grandmotherly methods and is happy when both paths lead to the same goal.
Related articles
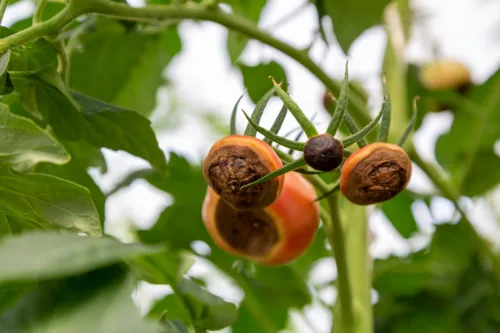
Black Spots on Tomatoes Alarm Growers but It’s Not a Disease
Dark, sunken patches on the blossom end of tomatoes look like a serious disease, but they’re usually a physiological disorder called blossom end rot. The key is steady moisture and sensible feeding so calcium can reach developing fruit.

Ten Proven Steps to a Thick Lawn Without Unnecessary Expense
A dense, deep-green lawn isn’t about luck or pricey products—it’s about consistent, season-long habits. Follow these proven steps to thicken turf, improve rooting, and boost drought and weed resistance.
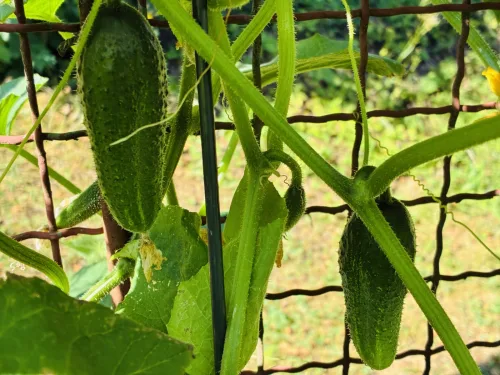
Pickling cucumbers are one of the most rewarding vegetables, with big harvests and great flavor
Pickling cucumbers are easy to grow and incredibly productive when given warmth, moisture, and rich soil. With the right variety and regular picking, you’ll enjoy crisp cucumbers for salads as well as jars.
Comments (0)
Be the first to comment.