
A raised bed isn’t just a box of soil learn how to fill it properly
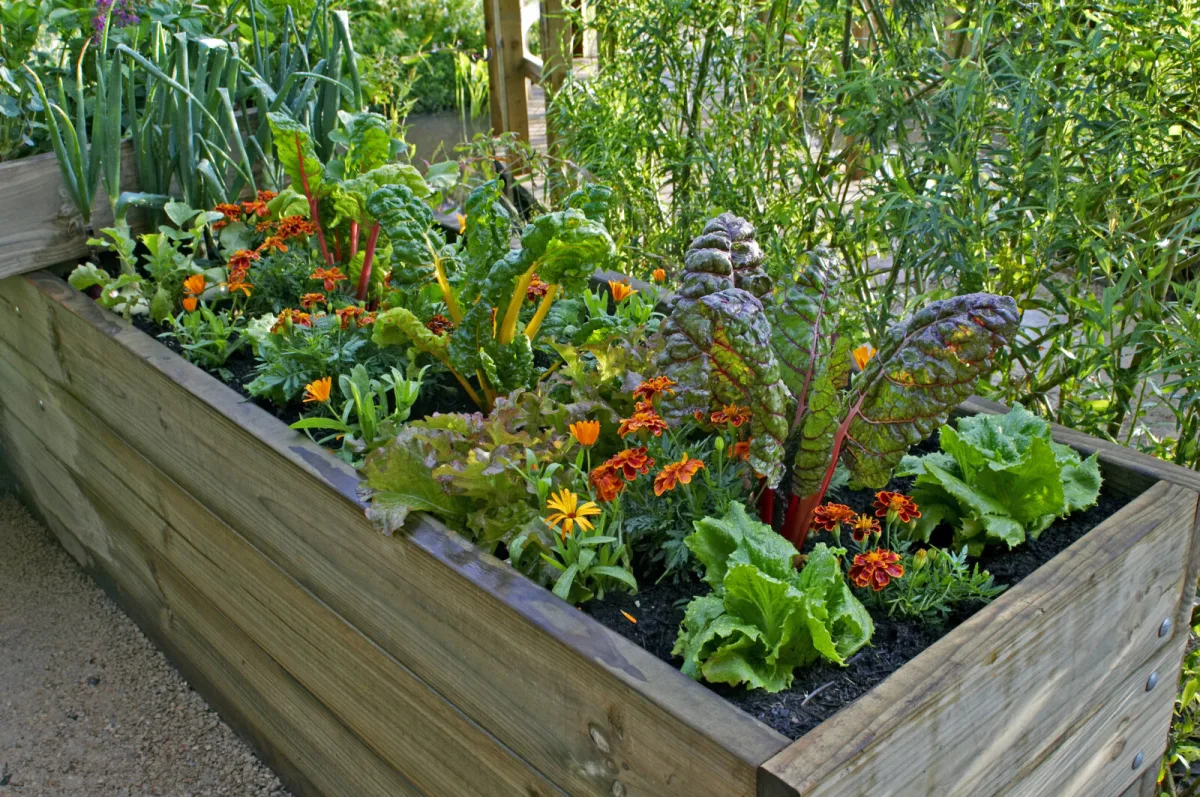
Raised beds have quickly become a fixture in gardens because they’re clean, tidy, and often more attractive than standard beds. Their main purpose is practical, though: to make growing easier without constant deep bending, taking the strain off your back and knees. That’s exactly why it’s not enough to simply fill the bed with whatever you have to hand. If you fill it right to the top with ordinary garden soil, you can easily end up with a heavy, poorly drained mass that turns into sticky mud after rain and sets like a brick in dry weather.
A raised bed should work for both you and your plants. That means thinking about height, the mix of materials, and where it will sit. The right fill improves drainage, holds sensible moisture, and releases nutrients gradually, instead of letting water disappear straight through the bed or, conversely, sit there and stagnate.
Bed height for comfort and for what you want to grow
With raised beds, a common question is how tall they should be. Some people are happy with a low frame around thirty centimetres, while others need a height closer to a worktop so they can tend plants standing up. The mistake is choosing a bed that looks good but doesn’t actually make gardening easier on your body.
The needs of your crops matter just as much. A shallower bed of around thirty centimetres is best for lettuces, herbs, or shallow-rooted strawberries. But if you want to grow tomatoes, peppers, or root vegetables, you’ll need more room for roots, typically around forty to sixty centimetres of good growing layer. For taller versions, DIY construction often makes more sense, because ready-made structures get expensive very quickly once you go higher.
Why it doesn’t pay to fill the whole bed with compost or pure soil
At first glance, two simple solutions seem obvious: bring in soil from the garden, or buy a large amount of bagged compost. Neither is ideal. Garden soil in an enclosed box often doesn’t “breathe” the way it should, and without a thoughtful layer build-up, drainage suffers. Bagged compost, on the other hand, is costly, and if it fills the entire volume it can let water run through too quickly, so excess moisture lingers at the bottom while the planting layer on top dries out faster.
A raised bed needs space at the bottom for drainage and decomposition, a middle layer that works with organic matter, and a top layer of quality soil where roots actually grow. The upper active zone is what matters most for growth, because that’s where you plant, so it makes sense to save volume inside the bed with suitable materials while improving the overall structure at the same time.
Layering from the bottom up and what belongs where
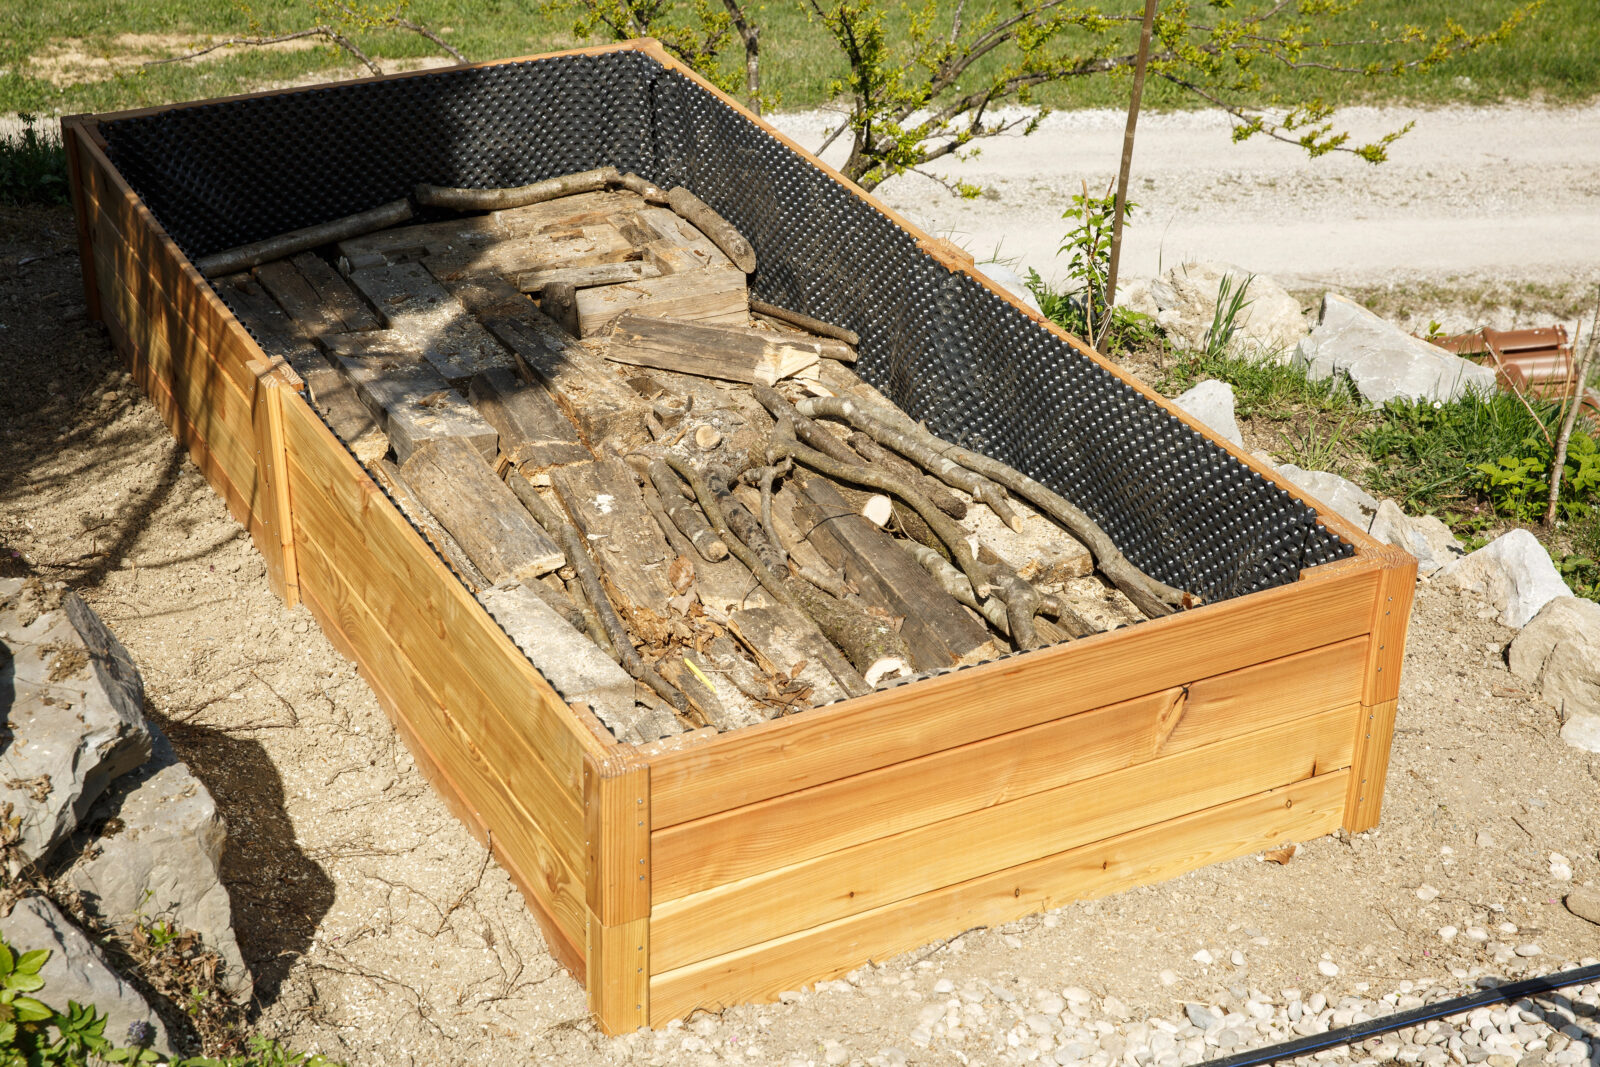
The bottom layer is mainly there to reduce how much topsoil you need and to support drainage. Cardboard or newspaper works well as a barrier against weeds pushing up, with a coarser layer on top such as branches, sticks, or even straw. These materials will break down over time and the bed will settle slightly, which is normal. At the same time, they create a more open base that allows excess water to drain away.
The middle section can be an organic layer, for example compost, grass clippings, or leaves. This is where a nutrient reserve forms and is released gradually, and where moisture-holding improves without leaving roots sitting in water. Over time this layer changes and “works”, helping ensure the bed isn’t just an inert block of material.
The top layer is the most important, because it’s where you plant and its quality determines how well plants establish and perform. A mix that holds nutrients while staying airy is a reliable choice. A practical ratio is two parts compost, two parts good topsoil, and one part aeration material. The aeration component helps roots breathe and prevents watering from forming an impermeable crust on the surface.
A simple rule of thirds that works for most heights
Because raised beds can be different depths, it’s practical to think of the fill in thirds. The bottom third can be coarse for drainage and bulk fill, the middle third organic, and the top third the growing layer. In very low beds it doesn’t make as much sense, but the taller the bed, the more layering pays off, both financially and in terms of stable moisture and good structure.
A raised bed should drain at the bottom, be alive in the middle, and provide quality growing soil on top.
Bed placement and site prep before filling
Before you build the bed, it’s worth checking what the spot really offers. A fairly level area with plenty of light is ideal, usually at least six to eight hours of sun a day. A permanently shady position is a common reason for disappointing harvests, even when the bed is filled carefully.
Also watch out for low spots where water sits after rain. A raised bed lifts the growing area, but if it’s placed in a damp hollow you’re simply inviting waterlogging. Before building, remove perennial weeds, then set the bed in place and start layering.
What to do after filling so the bed settles and holds moisture better
After layering the materials, thoroughly water the entire bed so the layers knit together, settle, and air pockets are removed. It’s better to start planting once the fill drops slightly and firms up naturally, so roots won’t later “sink” down. It’s normal to need to top up the upper growing layer during the first weeks and months.
A simple surface cover can also help, for example straw or woodchip mulch. It reduces weed germination and slows evaporation, so the bed won’t need watering as often.
The point of a raised bed is smart layering, not sheer volume of soil
A well-built raised bed saves effort, improves growing conditions, and doesn’t have to be unnecessarily expensive. The key isn’t to fill the entire volume with pure soil or to spend money on dozens of bags of compost. Sensible layering brings better drainage, more stable moisture, and a gradual nutrient supply. Then the bed truly does its job: it’s comfortable for you and it creates an environment where crops thrive.
Source: Gardenary, The Beginner’s Garden, The Spruce, Pestrazahrada.cz

A lover of nature, gardens, and everything that moves, blooms, or grows. He literally grows everything, from herbs to rare species, and he enjoys caring for animals just as much. In his work, he connects modern technology with tried-and-tested grandmotherly methods and is happy when both paths lead to the same goal.
Related articles
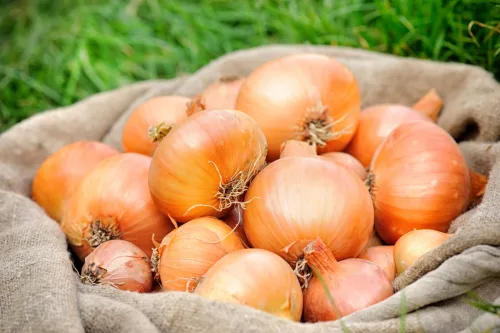
How to Harvest, Cure, and Store Onions So They Last All Winter
Long-lasting onions are all about timing, gentle handling, thorough curing, and the right storage conditions. Follow these steps to keep homegrown onions sound and usable right through winter.

Invasive Plants That Can Land You in Trouble with the Authorities
Invasive plants are turning up more and more often in gardens and along fences, where they quickly crowd out native species and can be hard to eliminate. Some are also hazardous to people and animals, and certain species are monitored and controlled very strictly.

How to Choose the Perfect Watermelon Every Time
A great watermelon should be sweet, juicy and crisp, not bland and mealy. Learn the simple visual and touch-and-sound cues that help you pick a truly ripe melon at the shop or market.
Comments (0)
Be the first to comment.