
An Old Trick to Keep Tomatoes Fresh for Months Without a Fridge
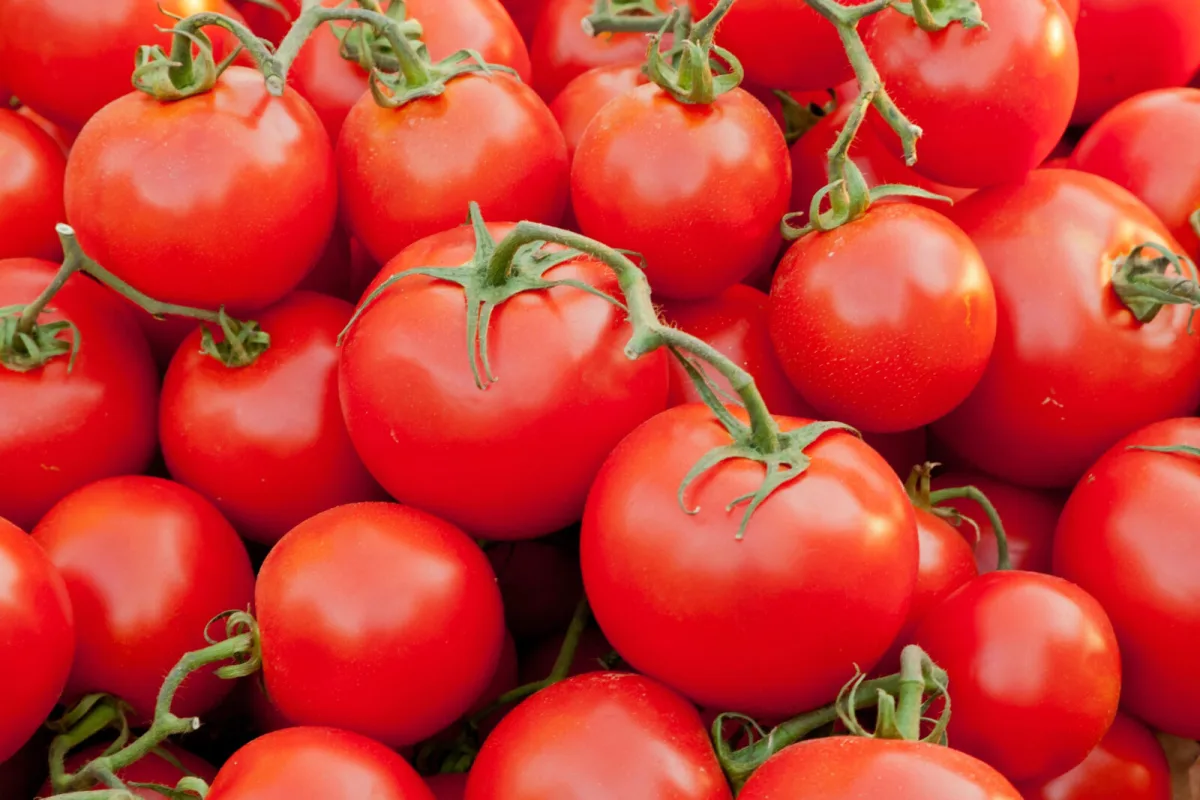
Tomatoes are among the most widely used vegetables in the home. They work in sauces, salads, soups and quick snacks, and their flavour often determines how the whole dish comes across. That’s why it’s such a shame when they soften, split or start to go mouldy within just a few days.
The most common solution is the fridge, but cold can strip tomatoes of some of their aroma and change their texture. The flesh can turn mealier and the flavour less pronounced. There is, however, a simple method that people used in the past, and it requires neither electricity nor expensive gadgets.
Traditional method for preserving tomatoes in ash
One proven natural method is storing tomatoes in ash from clean, untreated wood. This approach was passed down through generations, especially where it was important to keep the harvest for as long as possible. The principle is surprisingly simple, yet it can extend tomatoes’ shelf life for many weeks to months.
The advantage is that, when done properly, the fruit keeps its flavour and firmness well. The tomatoes aren’t preserved in salt or vinegar either, so they remain usable much like fresh ones—just rinse them before use.
Why ash works
Dry wood ash has properties that naturally slow spoilage. It’s alkaline, so it creates an environment where bacteria and moulds struggle to thrive. The fine particles also coat the surface of the tomatoes and limit access to air, slowing the processes that lead to rapid breakdown.
Just as importantly, ash can absorb excess moisture. Dampness combined with warmth is a common reason tomatoes in a crate or bowl suddenly go soft and start to spoil. This method is also gentle on the environment because it uses a by-product from a stove or fire pit—provided the wood hasn’t been treated.
Preparing the ash is key to success
Before you begin, you need truly dry ash with no larger pieces of charcoal or leftover wood. Ideally, it should be a fine powder that can cover the tomatoes easily from all sides. If the ash is lumpy or contains debris, sift it. Damp ash isn’t suitable, as it could actually increase the risk of spoilage.
How to layer tomatoes in a container
Choose a container that can be closed and will protect the contents from light and potential pests. People often use a sturdy box, a wooden crate or another dry container. Pour a generous layer of ash into the bottom, which will act as insulation and also catch any moisture.
Place the tomatoes carefully on this layer so they don’t touch one another. The gap matters because pressure and contact between fruits increase the risk of bruising, splitting and the subsequent spread of rot. Once you’ve made the first layer, cover it with ash so that no part of the skin is visible.
Continue in the same way, alternating a layer of tomatoes with a layer of ash. The rule is always the same: the tomatoes must be completely coated, and the final top layer should be ash. This creates a stable, dry environment throughout the container.
Storing the container and the right conditions
Once filled, close the container securely. You want to block light, limit moisture from the air, and reduce the chance of small pests getting inside. A cooler, dry place works best—typically a pantry or cellar. Lower temperatures and darkness help keep the fruits in good condition for longer.
How long tomatoes will keep and what to watch for
Storage time depends on how ripe the tomatoes were when packed and on conditions in the storage area. Done well, they can keep for several months. It’s still worth checking occasionally. If moisture starts to appear inside or the ash becomes damp, it’s better to remove the tomatoes and replace the ash with fresh, dry ash to restore the right conditions.
How to clean tomatoes before use
When you want to use the tomatoes, simply take them out of the ash and rinse them thoroughly under cold water. After washing, they’re ready for cooking or eating raw. With proper storage, it’s a pleasant surprise how well they retain their flavour, firmness and overall appearance—so they seem almost like they’ve just been picked.
The key is fine, dry ash from clean wood, fully burying the fruits, and storing them somewhere cool and dry.
Source: To je nápad, Permies, Pestrazahrada.cz

A lover of nature, gardens, and everything that moves, blooms, or grows. He literally grows everything, from herbs to rare species, and he enjoys caring for animals just as much. In his work, he connects modern technology with tried-and-tested grandmotherly methods and is happy when both paths lead to the same goal.
Related articles
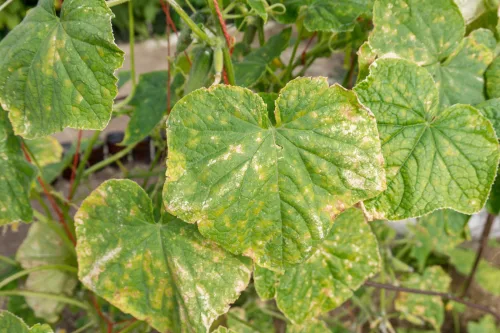
Yellowing Cucumber Leaves Aren’t Always Disease
When cucumber leaves turn pale or yellow, it’s often a sign the plant is under stress—but the cause isn’t always a disease. Watering issues, low light, nutrient shortages, pests, or simple end-of-season ageing are usually to blame.
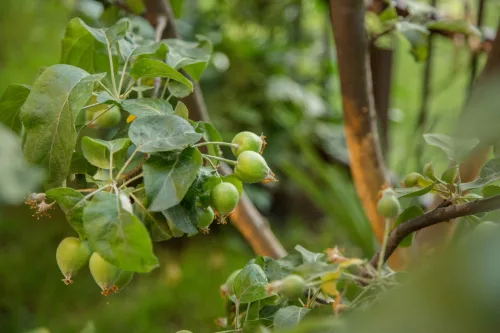
June in the Apple Orchard Will Decide Whether You Harvest Healthy Fruit
Stormy weather, humidity and sudden heat make June the turning point for apple health. Learn how to tell natural June drop from pest or disease damage and what to do in time.

How to Combine Arborvitae and Hydrangeas So Other Plants Thrive Nearby
Arborvitae and hydrangeas can share a bed beautifully, but only if you respect their very different demands. Learn which companion plants cope with hydrangea-friendly moisture and which can handle the shade and root competition under arborvitae.
Comments (0)
Be the first to comment.