
Five safe and effective ways to remove a tree stump from your garden
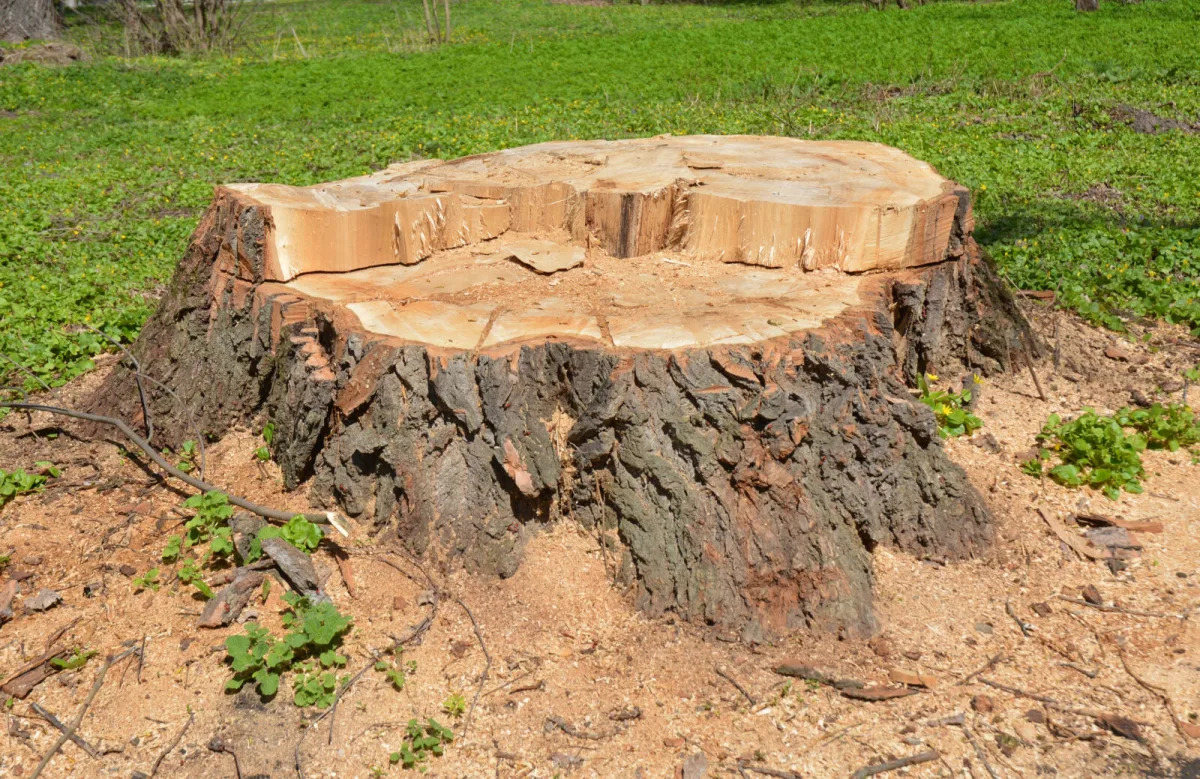
After a tree is felled, you’re often left with a stump that gets in the way, spoils the look of the garden, or makes further landscaping awkward. Before you start, it pays to weigh up what you want to use the spot for, how much you’re willing to spend, and how much disruption you can accept. Stump removal can be physically demanding, time-consuming and more expensive than it first appears.
What’s the plan for the space where the stump is
If you want that part of the garden to feel natural, it can make sense to leave the stump and let it rot down gradually. In some gardens it even works as a feature for mosses or fungi. But if you’re planning a vegetable bed, new planting, or a level lawn area, a stump is usually an obstacle and removing it is more practical.
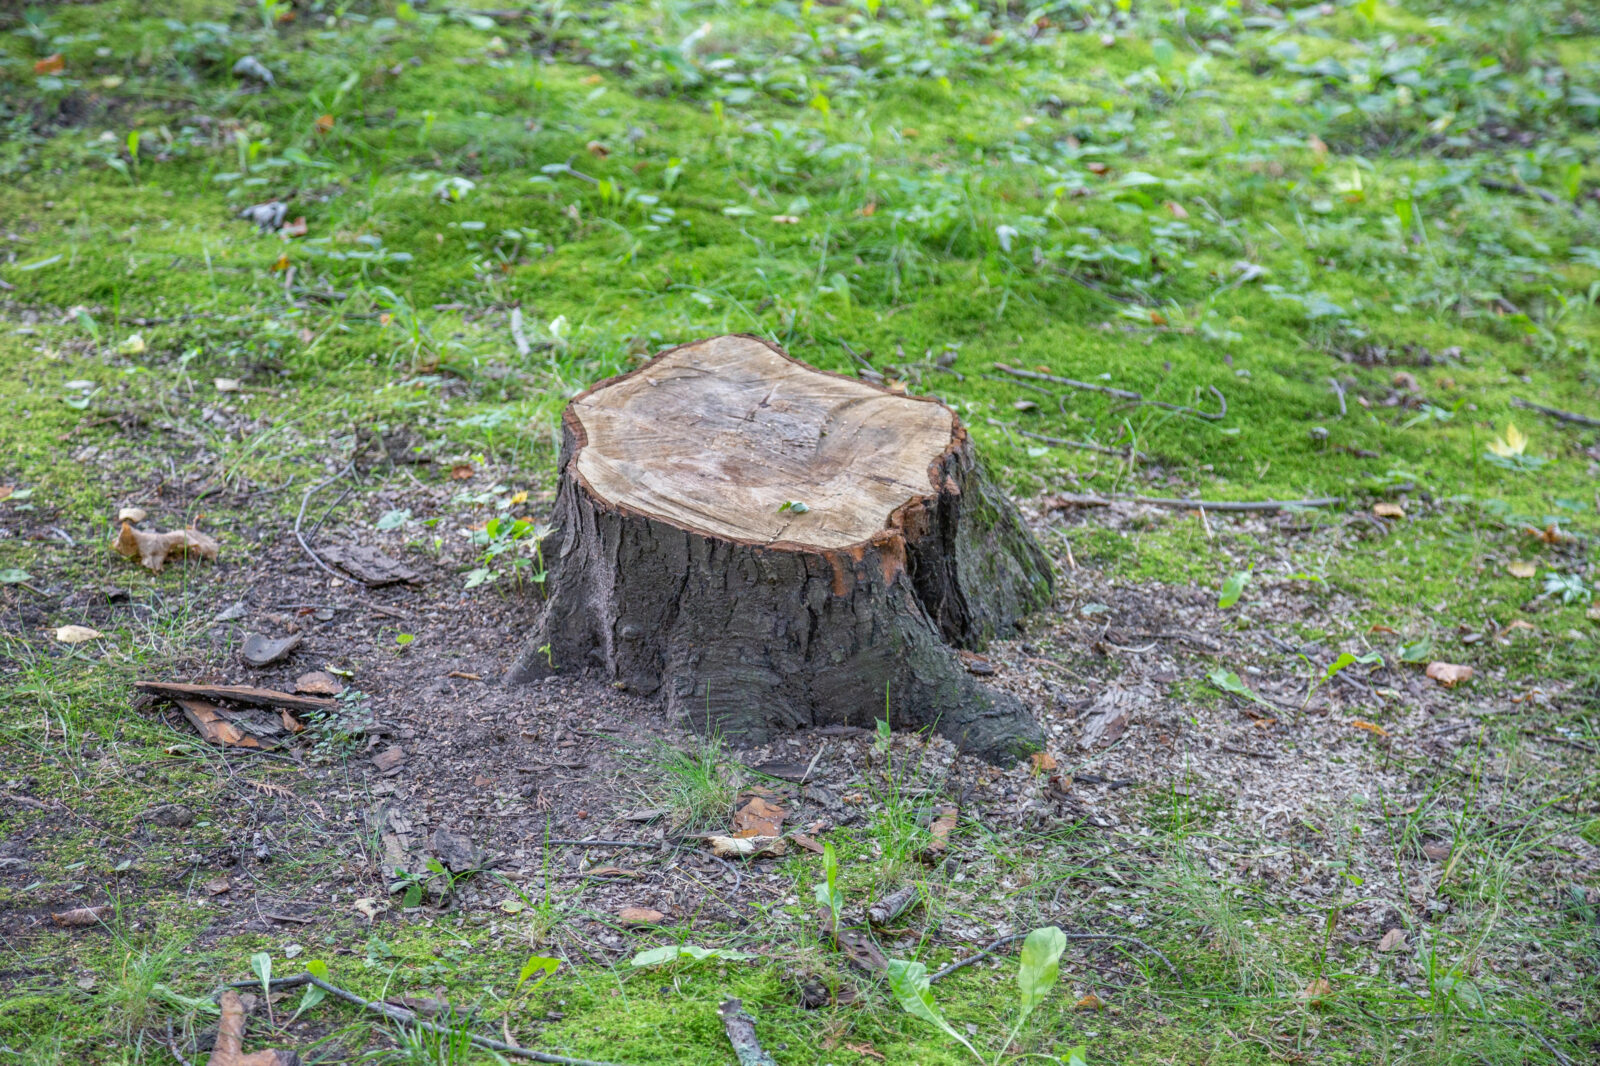
In many cases it’s enough to cut the stump as low to the ground as possible and leave it, as long as it doesn’t create a trip hazard. The decision should be based on how you’ll actually use the space, not just the fact that the stump looks untidy.
How much money you want to spend
Professional stump removal can cost surprisingly much, especially with larger diameters where a spade and a few strong backs won’t do. Prices vary by area and access, but even a smaller stump can run to hundreds or thousands of Czech crowns. It’s worth remembering that stump removal is often not automatically included in the cost of felling and is billed as a separate service.
What happens with the hole and topping up soil
Some companies will backfill the hole after removing the stump; others will leave the ground unfinished. If you want to plant in that spot, ask in advance whether the price includes bringing in topsoil and levelling. Also allow for the soil to settle over time, so it’s best to firm it in as you backfill or leave a slight mound that will gradually drop. The ground can take more than a year to fully settle.
If you’re planning to plant a new tree nearby, it’s usually wiser to move the planting position a bit further away. Planting into the original, undisturbed soil is typically better than into imported fill or a mix containing fresh grindings from stump grinding. And if you’re not sure why the original tree died, shifting the planting spot can reduce the risk of the same problem recurring.
Five ways to remove or deal with a stump without unnecessary danger
Stump grinding with a stump grinder
The cleanest—and often the quickest—solution is stump grinding, where a specialist machine with rotating teeth chips the wood down below ground level. The resulting mix of wood chips and soil can be left in place to break down gradually, or it can be removed and replaced with fresh topsoil. After that, you can overseed with grass or lay turf. Stump grinders can be hired, but they’re dangerous machines and are best left to trained, insured operators.
When working with loud, powerful machinery, you must use protective equipment—especially eye and hearing protection—and follow the manufacturer’s instructions.
Digging out the stump by hand
Smaller stumps can sometimes be dug out by hand, but it’s hard work and the outcome depends on the tree species, soil type and root structure. The real difficulty comes with a deep taproot that anchors the stump firmly. You often have to dig a much larger hole than expected so you can get under the root flare and cut roots away gradually.
It can help to wash soil away from around the stump with a strong jet of water so the roots are easier to see. Then cut the roots with a sharp spade, loppers, or another suitable tool. If the root ball starts to wobble, you’re close; if not, keep digging and cutting. A practical trick is to leave a longer section of trunk as a lever, which makes it easier to rock and pry the stump out.
Once it’s out, you may need to rinse off clinging soil, because stuck-on earth adds a lot of weight. With diameters around 20 cm, handling the stump alone can already be unrealistic. Before you dig at all, it’s also important to check for buried utilities in line with local rules.
Using heavier machinery
If you have access to a skid steer, tractor, digger or similar machine, an experienced operator can remove a medium-sized stump quickly. Without experience it’s risky: heavy machinery can be dangerous, and a stump can easily overload the machine or upset its stability. This approach makes the most sense where there’s plenty of space and the work is done by someone who knows what they’re doing.
Letting the stump rot down, with faster decomposition
There are products that claim to speed up rotting and sometimes include ingredients designed to stop the stump from resprouting. The principle is similar: drill holes into the wood, fill them with the product, and then wait. It’s a route for the patient, because even then decomposition can take a long time.
An even cheaper option is to drill several holes about 15 to 20 cm deep, pour in water, and cover the stump so it stays damp. You can cover it with soil or mulch; the key is not to leave plastic in place, which can break down over time and contaminate the soil. Once it has fully rotted away, you’ll usually need to add soil anyway to level the area.
Cut the stump down and hide it with planting
Sometimes you don’t need to remove a stump from the ground—you just need to disguise it. Cut it as low as possible and build a raised bed over it, or plant perennials and shrubs around it so the wood gradually disappears into the growth. If the stump isn’t a safety issue and doesn’t limit how you use the space, this can be the simplest solution.
Important safety advice and common mistakes
A stump is heavier than it looks. Even a small piece of wood with soil attached can weigh more than 50 kg, often significantly more. Attempts to pull a stump out with a car or improvised rope can end in vehicle damage or injury, and any saving on professional help quickly disappears.
Don’t try to burn a stump out. Tips like dousing it with petrol, diesel or used oil are dangerous, may be against regulations, and risk soil contamination and an uncontrolled fire. Always weigh your options and limits. If you’re not confident about the method or the risks, it’s sensible to call a professional—your health and potential property damage aren’t worth experimenting with.
Source: Gardening Know How, RHS, Better Home & Gardens, Pestrazahrada.cz

A lover of nature, gardens, and everything that moves, blooms, or grows. He literally grows everything, from herbs to rare species, and he enjoys caring for animals just as much. In his work, he connects modern technology with tried-and-tested grandmotherly methods and is happy when both paths lead to the same goal.
Related articles
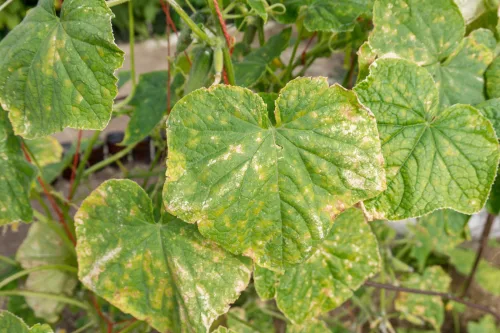
Yellowing Cucumber Leaves Aren’t Always Disease
When cucumber leaves turn pale or yellow, it’s often a sign the plant is under stress—but the cause isn’t always a disease. Watering issues, low light, nutrient shortages, pests, or simple end-of-season ageing are usually to blame.

An Old Trick to Keep Tomatoes Fresh for Months Without a Fridge
Tomatoes don’t have to go soft and mouldy within days. A traditional method of storing them in fine, dry wood ash can keep them firm and flavourful for weeks, even months—no fridge required.
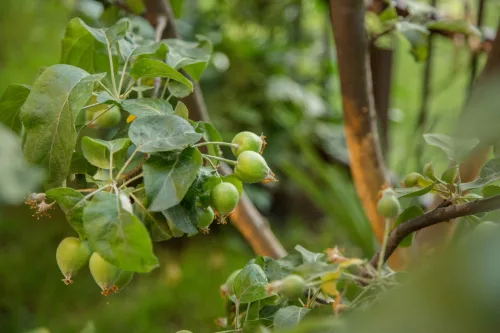
June in the Apple Orchard Will Decide Whether You Harvest Healthy Fruit
Stormy weather, humidity and sudden heat make June the turning point for apple health. Learn how to tell natural June drop from pest or disease damage and what to do in time.
Comments (0)
Be the first to comment.