
 English
  Polski
  Deutsch
  Nederlands
  Svenska
  Norsk
Norsk  Dansk
Dansk  Français
  Italiano
  Español
  Português
  Slovenčina
  Suomi
Suomi  Gaeilge
 How to Sterilise Preserving Jars Properly So Your Preserves Don’t Spoil
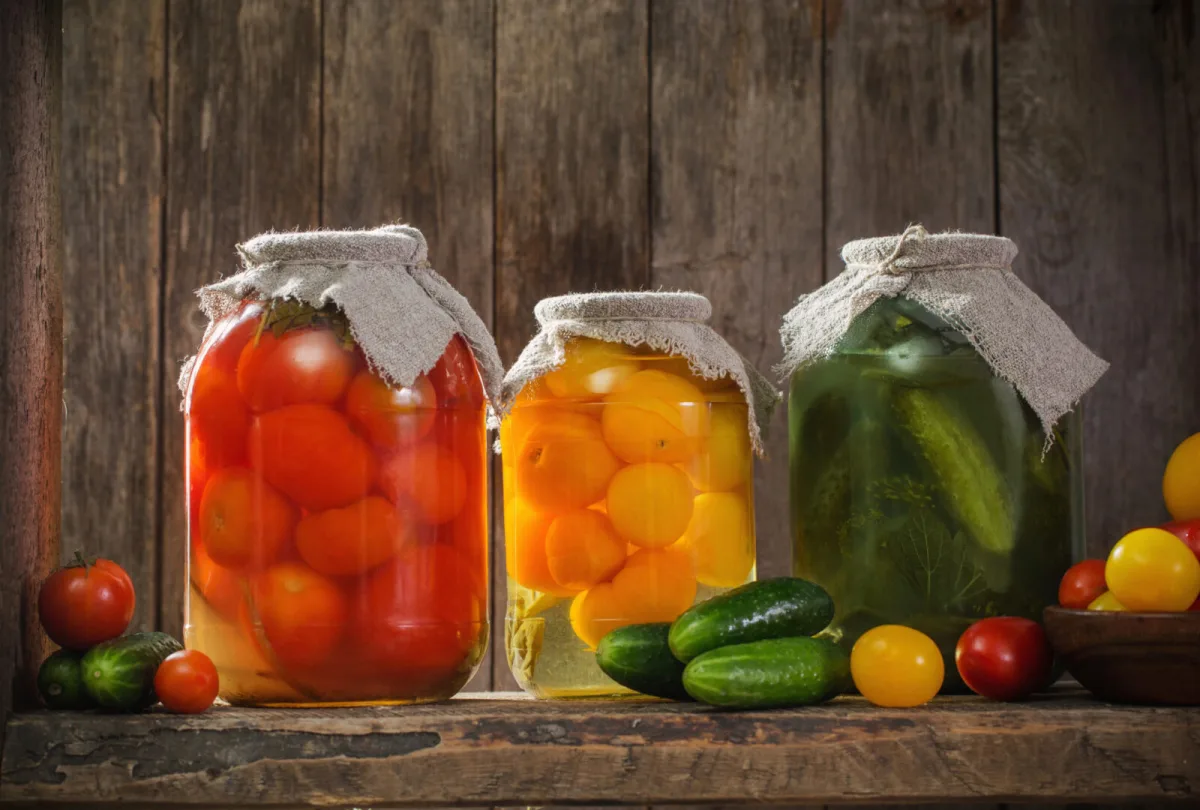
Homemade jams, fruit compotes or pickled vegetables can keep for many months, yet sometimes a jar goes off surprisingly quickly. The lid bulges, the contents start fermenting, or mould appears. Often the problem isn’t the recipe or the quality of the fruit and veg, but the fact that the jars weren’t impeccably clean before filling.
Even a brand-new jar can carry dust, tiny bits of dirt and, most importantly, microorganisms you can’t see. Once they get into finished preserves, they can shorten shelf life and ruin all your work. Proper sterilisation is a quick extra step that greatly reduces the risk of your harvest ending up in the bin.
Do you need to sterilise every jar?
With traditional preserving, where filled jars go through sufficiently long heat processing, the subsequent processing of the preserves already reduces the number of microorganisms significantly. Even so, most people who preserve regularly sterilise jars before filling as well. It’s a simple precaution that often decides whether your preserves will last into winter without any nasty surprises.
Start with thorough washing and a damage check
Sterilising never replaces washing. First wash each jar in hot water with washing-up liquid, paying close attention to the threads and rims where residue and grease like to cling. Then rinse everything thoroughly with clean water and leave to drain.
Before the next step, check the glass for cracks, a chipped rim or damaged threads. Even a tiny defect can prevent a proper seal and doom the contents to spoil. It’s also not worth using rusty, dented or otherwise deformed lids.
The most reliable method is sterilising in boiling water
For the surest results, boiling jars in water has long been considered the best approach. Place a clean tea towel or a rack in the bottom of a large pot so the jars aren’t standing directly on the base and overheating in spots. Arrange the jars upright and pour in water until they’re fully submerged.
Once the water is at a vigorous rolling boil, count at least 10 minutes. Then carefully lift the jars out with tongs or an oven glove and place them upside down on a clean towel. It’s best to fill them while still warm, to reduce the risk of re-contamination and thermal shock.
The oven can help, but it has its limits
Some people preserve by putting washed jars in the oven. This method is mainly useful when you want to dry and warm jars quickly. A common approach is to heat the oven to about 120 to 140 °C and leave the jars inside for roughly 10 to 15 minutes.
Bear in mind, though, that hot air may not heat every surface as evenly as water. That’s why recommendations still list boiling in water as the most reliable option.
A microwave isn’t a guaranteed way to sterilise
Online you may see advice to pour a little water into a jar and heat it in the microwave. The jar will warm up and you may get partial disinfection, but it isn’t dependable sterilisation. Microwaves don’t always heat evenly, so you can’t guarantee the destruction of all microorganisms.
Metal lids also don’t belong in the microwave, and some jars can crack with rapid heating. If you want your preserves to last for months, it’s wiser to stick with proven methods: boiling water or the oven.
Lids are a common source of trouble
Mistakes are often made with lids. In the past they were commonly boiled together with the jars, but today many manufacturers recommend washing new lids thoroughly in warm water with washing-up liquid and rinsing them instead. Excessive heat can damage the sealing compound on the inside and make the seal worse.
For lids with a rubber seal, always follow the manufacturer’s instructions. In general, use only undamaged pieces and discard anything that’s rusty, bent or otherwise misshapen.
Fill jars while they’re still warm and don’t leave them open for long
Sterilised jars shouldn’t sit empty on the worktop. Ideally, prepare them just before your preserves are ready. Then pour hot jam, compote or brine into the still-warm jars, which helps both against thermal shock and against fresh contamination.
After sealing, continue according to your specific recipe. Some products are then processed in a water bath or in the oven; other times the jars are sealed while hot and left to cool slowly. Different ingredients require different methods, so it pays to stick to a trusted set of instructions.
Five mistakes that unnecessarily shorten shelf life
The most common slip-ups include a quick rinse instead of proper washing, using a damaged lid or jar, and leaving jars standing open for too long after sterilising. Another issue is pouring cold contents into a jar, or using glass with a crack or chipped rim. Any one of these details can compromise the seal and give spoilage a chance.
How to tell if a jar has spoiled
Always check the lid before opening. If it’s bulging, feels loose, or you notice an unpleasant smell on opening, don’t eat the contents. Mould on the surface or signs of unwanted fermentation are also reasons to bin it. If something looks or tastes off, it’s safer to discard the preserve.
Clean jars are the foundation of successful preserving
Sterilising jars takes only a few minutes, but it often determines the outcome. The most important thing is a combination of thorough washing, checking for damage and the right heat treatment before filling. Add fresh ingredients, a reliable recipe and a little patience, and you’ll be rewarded with preserves that keep well and taste exactly as they should.
Source: Záhrada, Recept.sk, Pestrazahrada.cz

A lover of nature, gardens, and everything that moves, blooms, or grows. He literally grows everything, from herbs to rare species, and he enjoys caring for animals just as much. In his work, he connects modern technology with tried-and-tested grandmotherly methods and is happy when both paths lead to the same goal.
Related articles
The More Often You Harvest, the Longer Plants Keep Cropping
With fruiting vegetables, frequent picking keeps plants flowering and producing for longer. A few crops, such as aubergines, are tastiest when harvested slightly earlier rather than fully mature.
Wasps Aren’t Just a Barbecue Menace They Can Ruin Your Garden Woodwork Too
Weathering isn’t always the main culprit behind damaged outdoor timber. Wasps can scrape fibres from boards and beams surprisingly fast, leaving grooves that soak up water and accelerate decay.
Why hydrangeas wilt in summer even when watered and how to save them fast
Hydrangeas can look limp in hot weather even if you’ve been watering faithfully. The key is to check what’s happening in the root zone, then adjust watering, shade and mulching so the plant can actually use the moisture available.
Comments (0)
Be the first to comment.