
 English
  Polski
  Deutsch
  Nederlands
  Svenska
  Norsk
Norsk  Dansk
Dansk  Français
  Italiano
  Español
  Português
  Slovenčina
  Suomi
Suomi  Gaeilge
 How to Safely Save and Store Tomato Seeds for Next Year
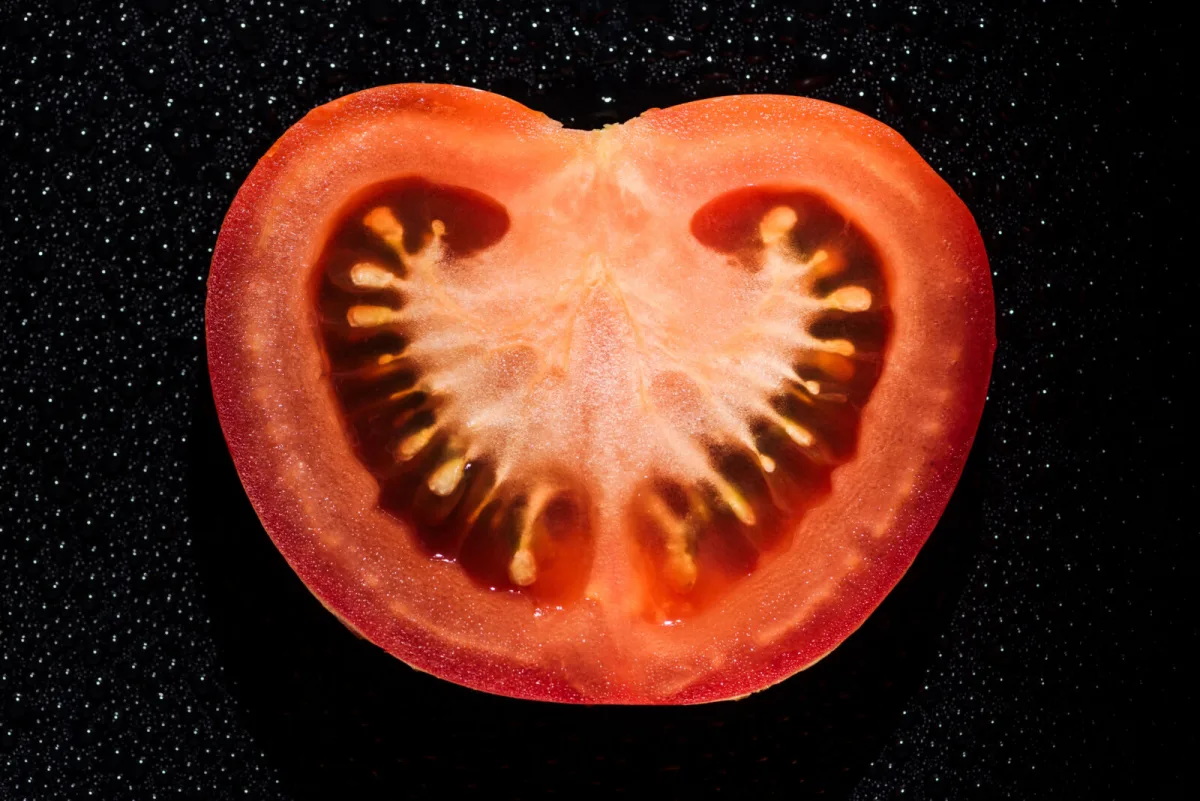
A well-ripened, great-tasting tomato can be the start of an equally successful crop next season. Saving your own seed cuts the cost of buying packets every year and, more importantly, allows you to keep growing a variety that has proven itself in your beds. But it’s not enough to simply scrape out the seeds and let them air-dry. If cleaning or drying is neglected, seeds can mould, germinate poorly, or their quality can drop noticeably the following year.
The correct method is straightforward: choose the right fruit, let the seeds go through a short natural fermentation, then rinse them thoroughly, dry them slowly and properly, and finally store them in the right place.
Choosing the right tomato determines the outcome
Only a fully ripe, healthy tomato from a vigorous plant that crops well and shows no signs of disease is suitable for seed. The fruit should match the variety in shape, colour and size. It’s often recommended to select tomatoes from the first or second truss, because the seeds in them are usually the best developed and most uniform.
It’s also important to know whether you’re growing an open-pollinated variety or a hybrid. With hybrids labelled F1, saving seed is usually not worthwhile, because plants grown from that seed may not repeat the mother plant’s traits. In the next generation you may see different flavours, smaller fruit, or lower yields. If you want to preserve specific characteristics, choose non-hybrid varieties.
How to remove seeds correctly and prepare them for fermentation
Cut the tomato across the middle and use a spoon to scoop out the seeds along with the juice and gel-like pulp. Put the mixture into a small jar or other container. At this stage, do not add water—it’s better to keep the contents at their original thickness.
Leave the container for 2 to 3 days at room temperature. Don’t seal it airtight, so the process can run naturally. Instead of a lid, simply cover the opening with gauze or a clean paper or cloth towel to keep debris out while still allowing airflow.
Why fermentation matters
During this short fermentation, the slimy coating around the seeds breaks down. That coating is exactly why seeds without fermentation are difficult to clean and may later go mouldy. A pale film may appear on the surface, which is a normal part of the process. Don’t extend fermentation unnecessarily, though—if left too long, seeds can start to sprout in the container.
Thorough rinsing is not a step to rush
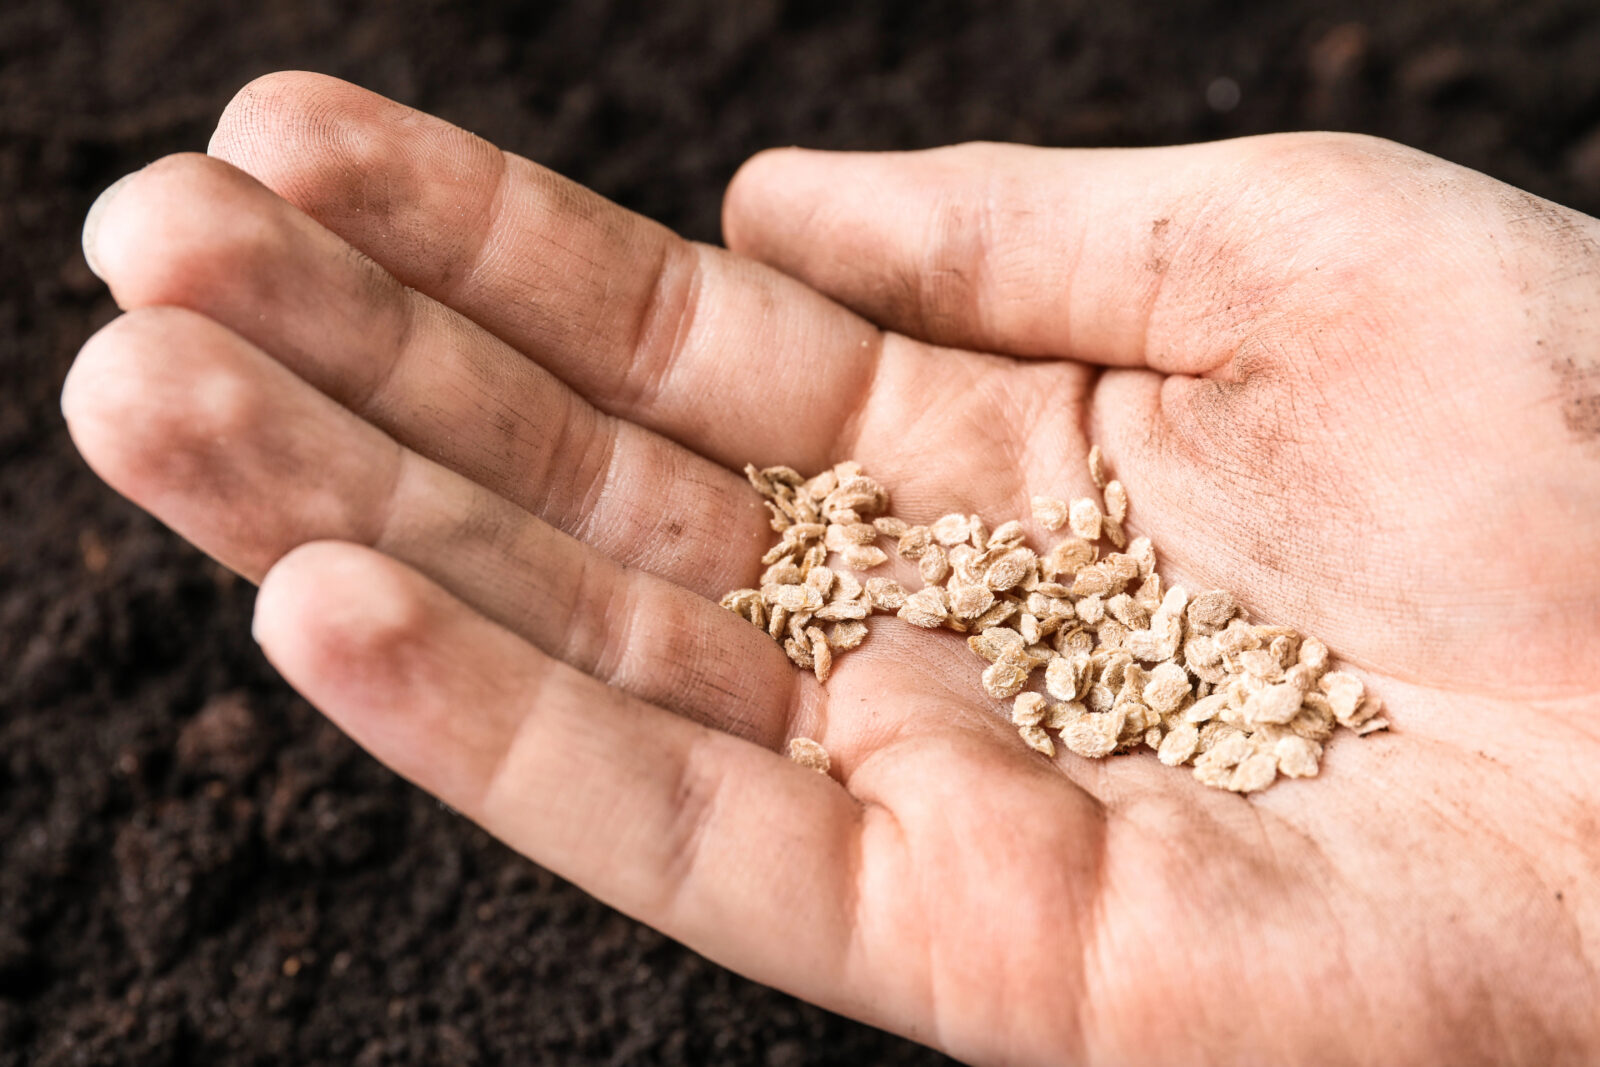
After 2 to 3 days, add a little water to the container and stir. Full, good-quality seeds usually sink to the bottom, while empty seeds and bits of pulp float to the top. Carefully pour off the top layer, and rinse what remains several times with clean water.
The most practical tool is a fine sieve, which catches the seeds and lets the water drain away. Keep rinsing until the seeds are clean and free of any visible pulp.
How to dry seeds so they don’t mould or stick together
Spread the cleaned seeds in a thin layer on a plate, a piece of fabric, or sturdy paper. A standard paper towel is often not the best choice, because once dry the seeds tend to stick firmly to it and can be damaged when you try to remove them.
Dry for about 5 to 7 days in a warm, dry, well-ventilated place. Avoid direct sun and drying on a radiator, where seeds can overheat and lose viability. During drying, gently stir them now and then or separate them with your fingers so they don’t clump together.
Before storing, the seeds must be completely dry. Even a small amount of residual moisture can encourage mould in storage and ruin the whole batch.
Storing seeds until spring and labelling them properly
Put fully dry seeds into a paper envelope or a small fabric bag. These materials breathe better than plastic and reduce the risk of moisture condensation. Label each packet carefully, so in spring you know exactly what you’re sowing.
It’s useful to note the variety name, colour and typical fruit traits, as well as the year you collected the seed. If you’re saving several varieties, good labelling prevents mix-ups and disappointment at sowing time.
Store them in a dry, dark, slightly cool place without frequent temperature swings. A cupboard by the cooker is unsuitable because temperatures fluctuate, as is a damp cellar. Stable conditions are key to long seed life.
How long seeds last and how to check germination
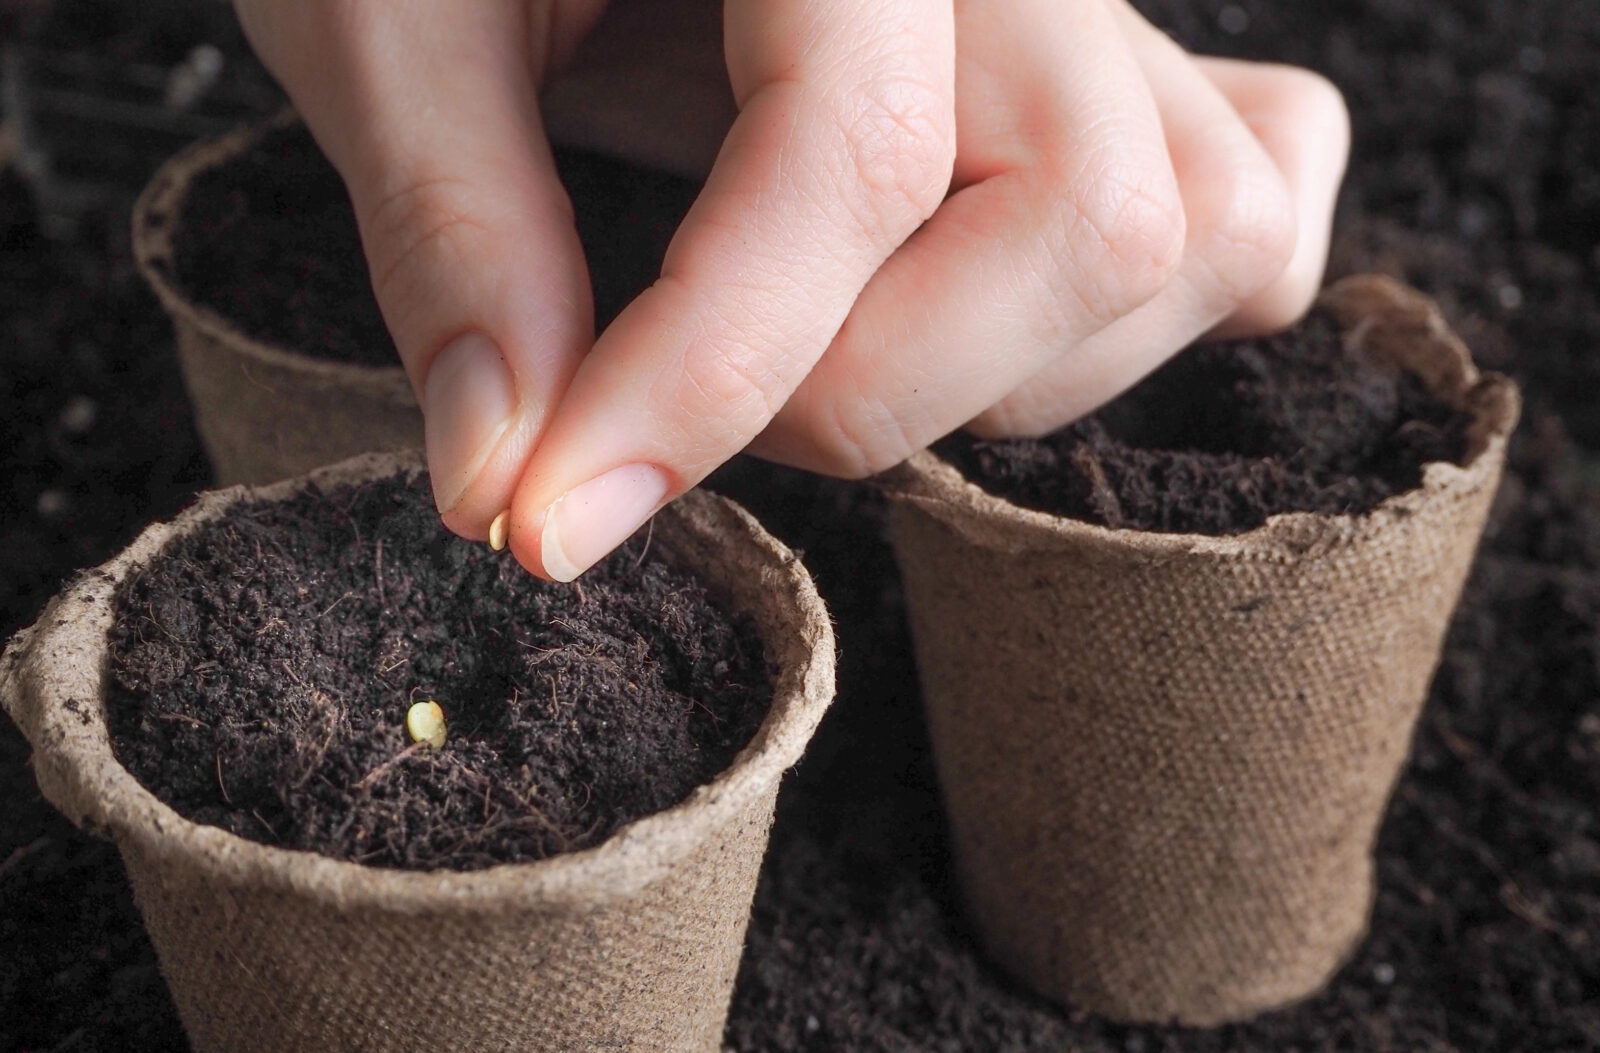
With proper storage, tomato seeds can remain viable for several years. The best and most even results, however, usually come within the first 3 to 4 years. If you want peace of mind before sowing, do a simple germination test.
Place a few seeds on a damp paper towel, keep it moist, and watch how many sprout. From the results you’ll know whether it’s worth sowing the usual amount or whether it’s better to add extra seed as a buffer.
Saving your own seed as a route to a proven variety
Saving tomato seeds is an easy way to keep a favourite variety for next season. The key is to choose a healthy, fully ripe fruit from a non-hybrid plant, give the seeds a short fermentation, then clean them carefully and, above all, dry them completely. If you store them in a suitable packet, label them properly, and keep them somewhere dry, dark and on the cool side, you’ll have your own sowing material ready for spring without having to buy seed every year.
Source: To je nápad, Gardening Know How, GrowVeg, Pestrazahrada.cz

A lover of nature, gardens, and everything that moves, blooms, or grows. He literally grows everything, from herbs to rare species, and he enjoys caring for animals just as much. In his work, he connects modern technology with tried-and-tested grandmotherly methods and is happy when both paths lead to the same goal.
Related articles

Propagating Grapevines Has Three Rules Most Cuttings Die in Winter Due to a Preventable Mistake
The best time to take grapevine cuttings is after leaf fall and before hard frosts, when one-year wood is fully ripened. Most losses happen in winter storage, where temperature swings, dryness, or excess damp quickly ruin otherwise good material.
Not all green tomatoes will ripen. Experienced growers know which to pick and which to leave
As the tomato season winds down, it pays to judge green fruit by maturity and the forecast rather than the calendar. Size, skin colour and a quick seed check will tell you what can finish ripening indoors and what won’t.
Don’t Throw Away Green Tomatoes They’ll Ripen Indoors and the Rest Belongs in the Pan
As temperatures drop at the end of summer, tomatoes often struggle to finish ripening on the plant. With a few simple tweaks you can help them colour up, ripen the rest indoors, and use any stubborn green ones in delicious recipes.
Comments (0)
Be the first to comment.