
 English
  Polski
  Deutsch
  Nederlands
  Svenska
  Norsk
Norsk  Dansk
Dansk  Français
  Italiano
  Español
  Português
  Slovenčina
  Suomi
Suomi  Gaeilge
 Create a Lavender Garden with One Clever Propagation Method
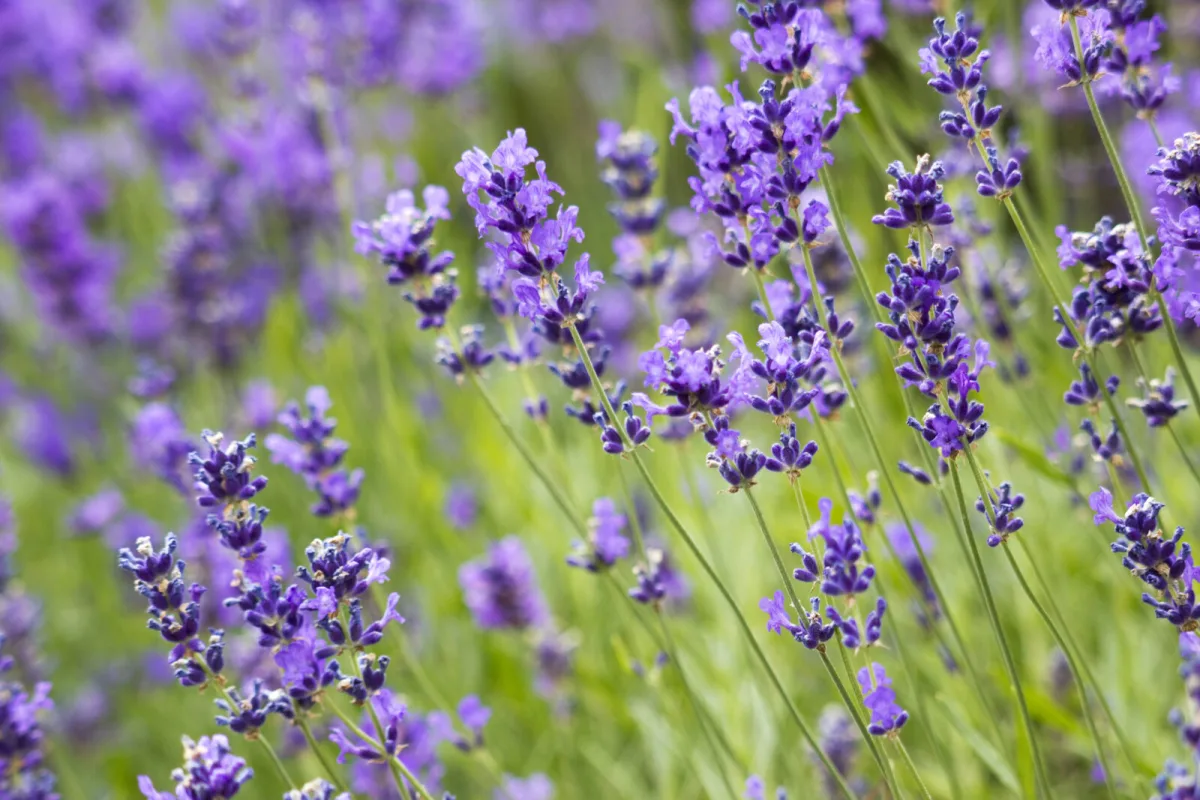
If you want to expand a lavender bed in the garden or get more plants for pots on the terrace, summer is an excellent time to do it. Lavender has plenty of light and warmth then, so young plants recover faster and form roots more readily. That means you don’t have to keep buying new plants from the garden centre, because you can propagate lavender at home from your own plant.
The most practical route is usually propagation from cuttings. It’s an accessible method that doesn’t require any complicated equipment, and results typically show within a few weeks. The key is choosing a healthy plant and preparing the shoot properly, so it has the best possible conditions for rooting.
The easiest way: Propagating lavender from cuttings
Taking cuttings is a quick method where you remove a younger side shoot from the parent plant and let it root in a light, free-draining compost. The best results come from shoots taken from lavender that’s in good condition and ideally not yet in flower, because the plant then directs more energy into making roots.
What to prepare in advance
You’ll need a healthy, non-flowering lavender plant, a sharp knife, a pot roughly 10 cm in diameter, and a quality, free-draining compost. A rooting hormone is also very useful, as it can speed up root formation and at the same time reduce the risk of issues such as rot or mould. A simple plastic bag also comes in handy, helping to maintain a more humid microclimate.
Choosing and taking the right shoot
Select a side shoot from a healthy plant. It’s important to take it with a small piece of the part where it was attached to the main stem. This lower section is often crucial for good rooting, because it contains tissue from which roots tend to form more readily.
On the lower part of the shoot, use a sharp knife to lightly tidy any small bumps or protrusions. Then remove the lowest pairs of leaves so the base has a bare section of stem. This part will go into the compost, and the points where leaves were removed later act as sites where roots can form more easily.
Treatment and planting into compost
Apply rooting hormone to the exposed stem. It helps speed up the whole process and is also useful as prevention against problems that can appear in a more humid environment. Insert the cuttings into the compost closer to the edge of the pot, so each one has more space around it. A light mix works well, for example a general-purpose compost blended with sand for better drainage.
After planting, water the compost thoroughly. Then cover the pot with a plastic bag to create a humid environment that protects the cuttings from drying out too quickly. This simple cover often makes the difference, especially if the air indoors is on the dry side.
Where to place the pot and what to do next
Put the pot somewhere warm but fairly shady, where the cuttings won’t be scorched by direct sun. Rooting usually takes about 4 to 6 weeks. Once the process is underway, it’s a good idea to start ventilating gradually to prevent mould developing inside. A handy trick is to snip a small corner off the bag, improving air circulation while keeping the environment relatively humid.
After a few more weeks, you can remove the bag completely. Keep the young plants in the pot until they’ve developed strong enough roots. Only then should you pot them on into individual pots or plant them out into the border, depending on where you want to grow your lavender.
Alternative option: Rooting lavender in water
Some gardeners also have success with an even simpler water method. The shoot is taken in the same way as for compost cuttings, the lowest pairs of leaves are removed again, and the prepared stem is placed into a glass of water. It’s best to set the glass in a bright spot, such as a windowsill.
Roots can appear in roughly 8 to 10 days. Once they’re visible and the plant looks stable, simply transplant it into a pot with an airy, free-draining compost. With this method too, it’s important to keep the container clean and not leave any leaves in the water, to reduce the risk of rotting.
What to watch for success
With both methods, success mainly depends on healthy starting material, a clean cut, and the right level of moisture. Cuttings mustn’t sit in waterlogged compost for long periods, but they also shouldn’t dry out. If you choose a free-draining compost, give the cuttings time, and ventilate gradually, you’ll get new lavender plants without unnecessary expense and can easily spread your favourite plant throughout the garden.
Source: Gardener’s World, The Spruce, Pestrazahrada.cz

A lover of nature, gardens, and everything that moves, blooms, or grows. He literally grows everything, from herbs to rare species, and he enjoys caring for animals just as much. In his work, he connects modern technology with tried-and-tested grandmotherly methods and is happy when both paths lead to the same goal.
Related articles
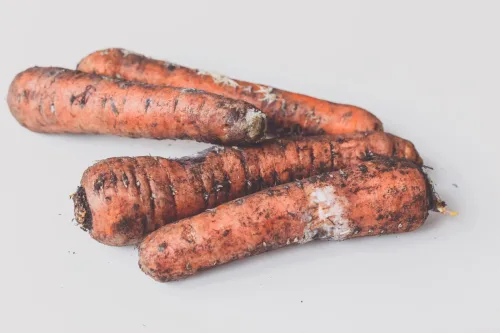
Next year you can harvest better if you don’t sow carrots where they won’t thrive
Carrot root fly can ruin carrots, parsley and celery from the inside out, often without obvious warning until harvest. Better site choice, rotation, later sowing and simple physical barriers can dramatically cut damage next season.
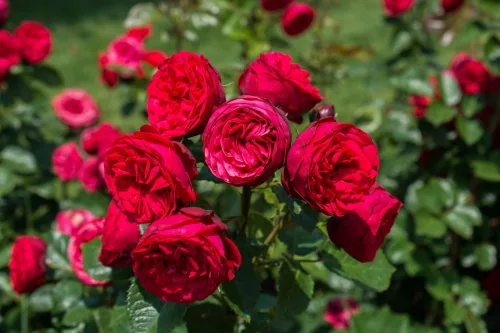
How to Propagate Roses from Cuttings at Home and Fill Your Garden with Blooms Almost for Free
Want more roses without paying for new plants? With a few healthy cuttings and a simple plastic-bottle mini greenhouse, you can root new bushes at home in just a few weeks.
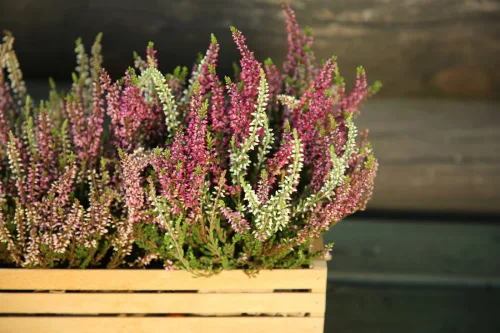
Heathers can cope where other plants won’t, but one soil detail decides everything
Heathers and heaths are tough evergreen shrubs that can flower across the seasons when you choose the right types. Success hinges on matching the plant to your soil pH and ensuring free drainage.
Comments (0)
Be the first to comment.