
 English
  Polski
  Deutsch
  Nederlands
  Svenska
  Norsk
Norsk  Dansk
Dansk  Français
  Italiano
  Español
  Português
  Slovenčina
  Suomi
Suomi  Gaeilge
 An old orchid has stopped flowering, this will bring it back to life
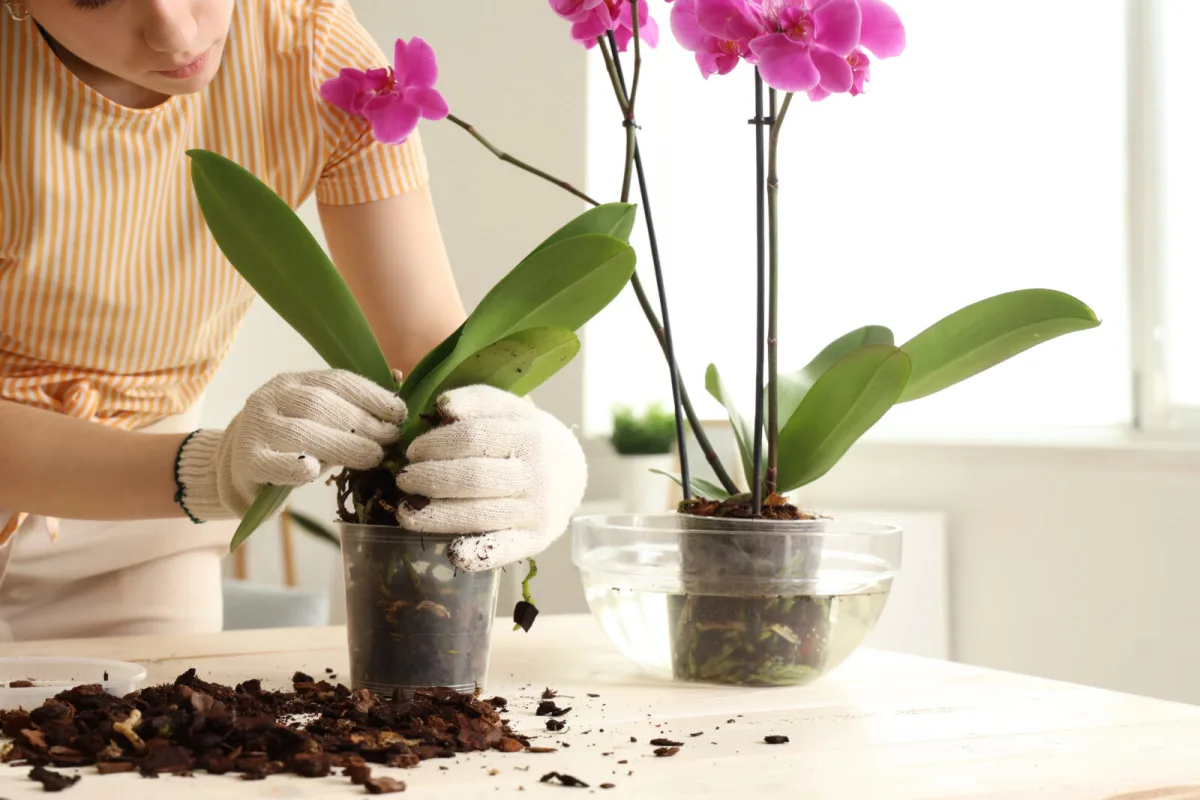
With older orchids, it sometimes happens that at first glance they look fantastic. They have plenty of leaves, a robust root system and seem full of vitality, yet the flowers don’t come. The plant can spend a long time investing energy into green growth and roots while flowering weakens or stops altogether. At that point, it makes sense not only to repot the orchid, but also to rejuvenate it deliberately and at the same time obtain a second plant.
What to prepare before you start
The essentials are truly sharp scissors and fresh potting material. Most commonly, orchid bark is used; pour hot water over it first to rinse it through and remove any possible impurities. You’ll also want two planting containers, ideally clear ones, because it’s practical to be able to see orchid roots even after repotting. The aim of the whole process is to divide the plant into two viable parts, each of which can, in time, produce a new flower spike.
Removing the orchid from the old medium
First, carefully take the orchid out of its original potting medium. It’s best to remove the old material as gently as possible so you can clearly see the condition of the roots and exactly where the stem section with young shoots is located. These shoots are crucial, because they can be grown on into a new plant.
Thinning leaves for better access to the stem
The next step is to trim back the leaves. Simply remove surplus older leaves so that only the top pair remains. This exposes the stem area where new shoots often appear. If they’re already clearly visible, you have an excellent starting point for the division. If, on the other hand, the shoots are still small and barely noticeable, it’s worth waiting a little longer before cutting, so they can gain more strength.
Rejuvenating the roots and dividing the plant
Once the shoots are sufficiently developed, it’s time to deal with the roots. Older, overgrown roots are partially shortened to rejuvenate the plant and make it easier to handle. Then cut the orchid into two halves below the new shoots. This gives you a top section with young growth and a lower root section that, after rejuvenation, is capable of regenerating again.
Checking the roots in water
It’s practical to gently tease apart the root section in water. The water helps loosen leftover medium and also makes it easier to tell which roots are healthy. Anything soft, damaged or rotting should be removed. Keep healthy roots, because they will determine how quickly both parts establish after repotting.
The point of cutting isn’t to weaken the orchid, but to redirect its energy into renewal and the formation of new spikes, while also gaining a second, independent plant.
Potting into two containers and follow-up care
Prepare two containers and layer scalded bark into each one. Pot each orchid section separately so they have room to develop on their own. After potting, care for them in your usual way—just bear in mind that after an intervention like this, the plant may need a little time to recover. The top section with shoots will gradually form a new plant, and the rejuvenated lower root section also has a chance, over time, to push new stem growth and return to flowering.
What results you can expect
When done correctly, you’ll end up with two promising orchids instead of one overgrown plant that only holds on to leaves and roots. Rejuvenated sections usually adapt better to fresh medium and, given good conditions, the desire to bloom will gradually return. Patience pays off, because orchids respond to changes more slowly, but the reward can be healthier growth, new shoots and, in time, noticeably more abundant flowering.
Source: Gardener’s World, To je nápad, Pestrazahrada.cz

A lover of nature, gardens, and everything that moves, blooms, or grows. He literally grows everything, from herbs to rare species, and he enjoys caring for animals just as much. In his work, he connects modern technology with tried-and-tested grandmotherly methods and is happy when both paths lead to the same goal.
Related articles
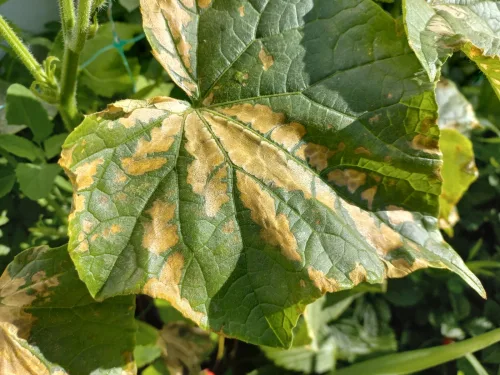
Yellowing cucumber leaves have a clear cause and with the right response plants recover quickly
Cucumber leaves turn pale and yellow when the plant is under stress—most often from watering mistakes, nutrient imbalance, or sudden temperature swings. Spot the pattern early and you can restore growth and protect your harvest fast.
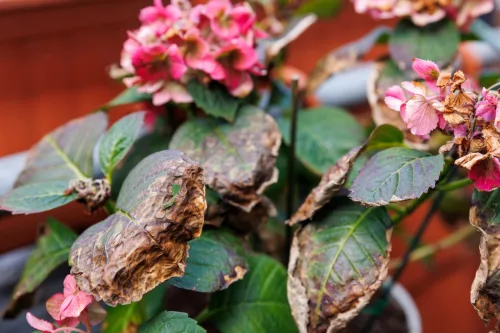
How to Get Browning Hydrangeas Back on Track Without Chemicals
Brown leaf edges or spots on hydrangeas usually point to a simple mismatch in light, watering, or airflow rather than a lost cause. Learn how to read the symptoms and restore your shrub quickly with gentle, practical fixes.
Turn Ground Cinnamon Into a Secret Weapon for Stronger, Tougher Plants
Ground cinnamon isn’t just for baking—it can help protect houseplants and garden plants from mould and fungal issues, support cuttings, and even act as quick first aid for minor wounds. Used lightly, it’s an affordable, gentle, natural add-on to good growing practice.
Comments (0)
Be the first to comment.