
 English
 Polski
 Deutsch
 Nederlands
 Svenska
 Norsk
 Dansk
 Français
 Italiano
 Español
 Português
 Slovenčina
 Suomi
 Gaeilge
Mushrooms in a Flat or Cellar One Substrate Can Give Three Harvests If You Avoid Beginner Mistakes
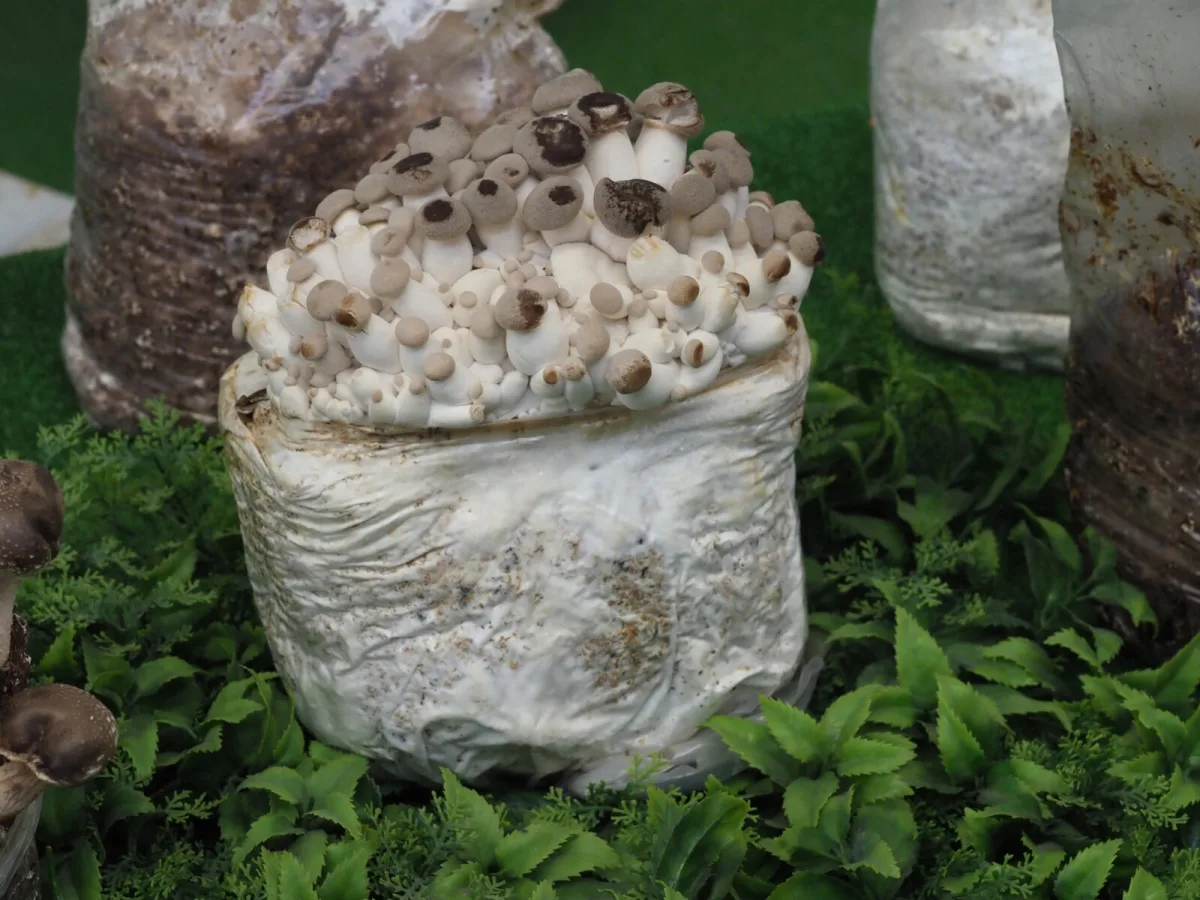
Growing mushrooms at home is winning more and more fans, because it’s a practical, low-maintenance and rewarding hobby. The idea of harvesting your own oyster mushrooms or button mushrooms right in the cellar, garage, or another suitable corner of the house is no longer unusual. Even a complete beginner can achieve very good results by following a few basic rules and, within a short time, enjoy fresh mushrooms without having to buy them in the shop.
The biggest advantage is, above all, control over quality. Home-grown crops are usually fresh, free of unnecessary chemicals, and available exactly when you need them in the kitchen. At the same time, it’s an activity that can save money and bring real satisfaction from producing your own food.
Why it’s worth giving it a go
Home-grown mushrooms have several advantages. Besides flavour and freshness, the economics matter too. Start-up costs aren’t high, and the first harvest often covers a large part of the initial investment. What’s more, a good-quality substrate inoculated with mycelium usually doesn’t produce just one crop, but several flushes over the following weeks.
Regular home production is therefore especially worthwhile for families who use mushrooms often. You don’t have to wait for the season or rely on what shops happen to stock. All you need is a suitable spot, basic care and a little patience.
Which mushrooms are best for beginners
Oyster mushroom
For first attempts, the oyster mushroom is often the best choice. It’s fairly resilient, tolerates minor mistakes well, and doesn’t require complicated conditions. It does well at normal temperatures, roughly between 15 and 25 °C, so you can grow it without any special equipment. Growth is usually fast, and the first mushrooms can appear in as little as two weeks.
Button mushrooms
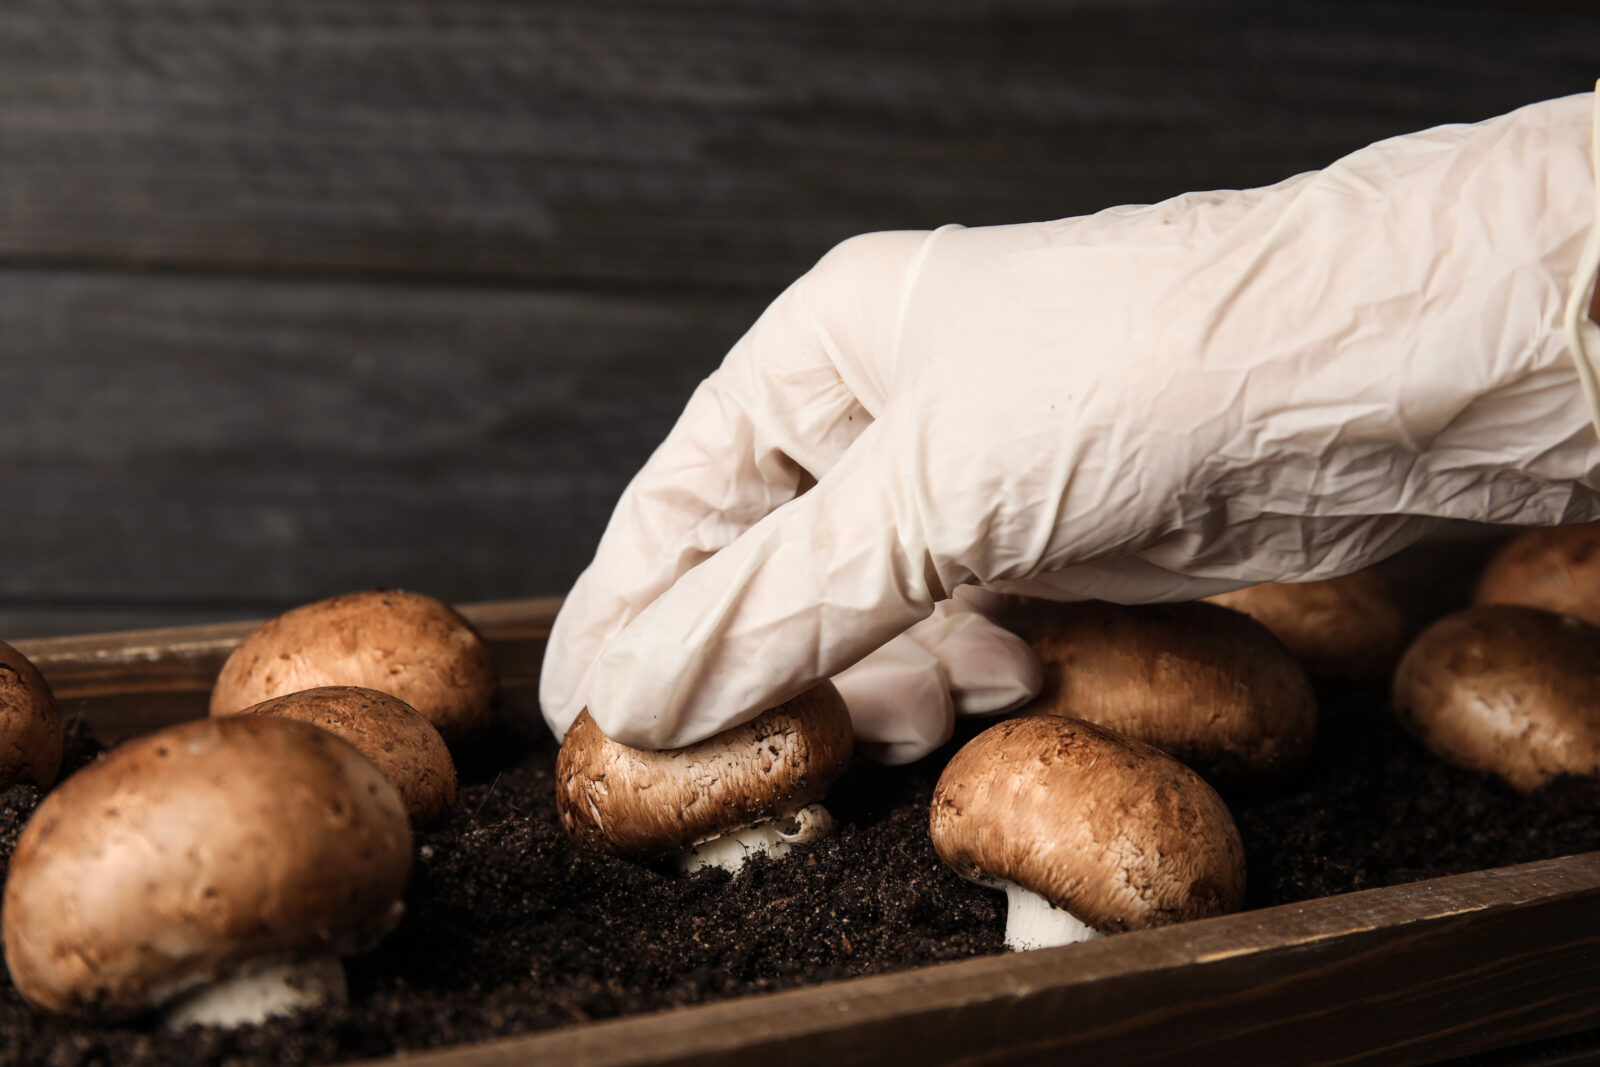
Button mushrooms are also a good option for beginners. Compared with oyster mushrooms, they prefer slightly cooler temperatures and more carefully controlled humidity, but they’re still very manageable. If you give them the right conditions, they’ll reward you with a reliable harvest and that familiar flavour you can use in many everyday dishes.
What you need to prepare
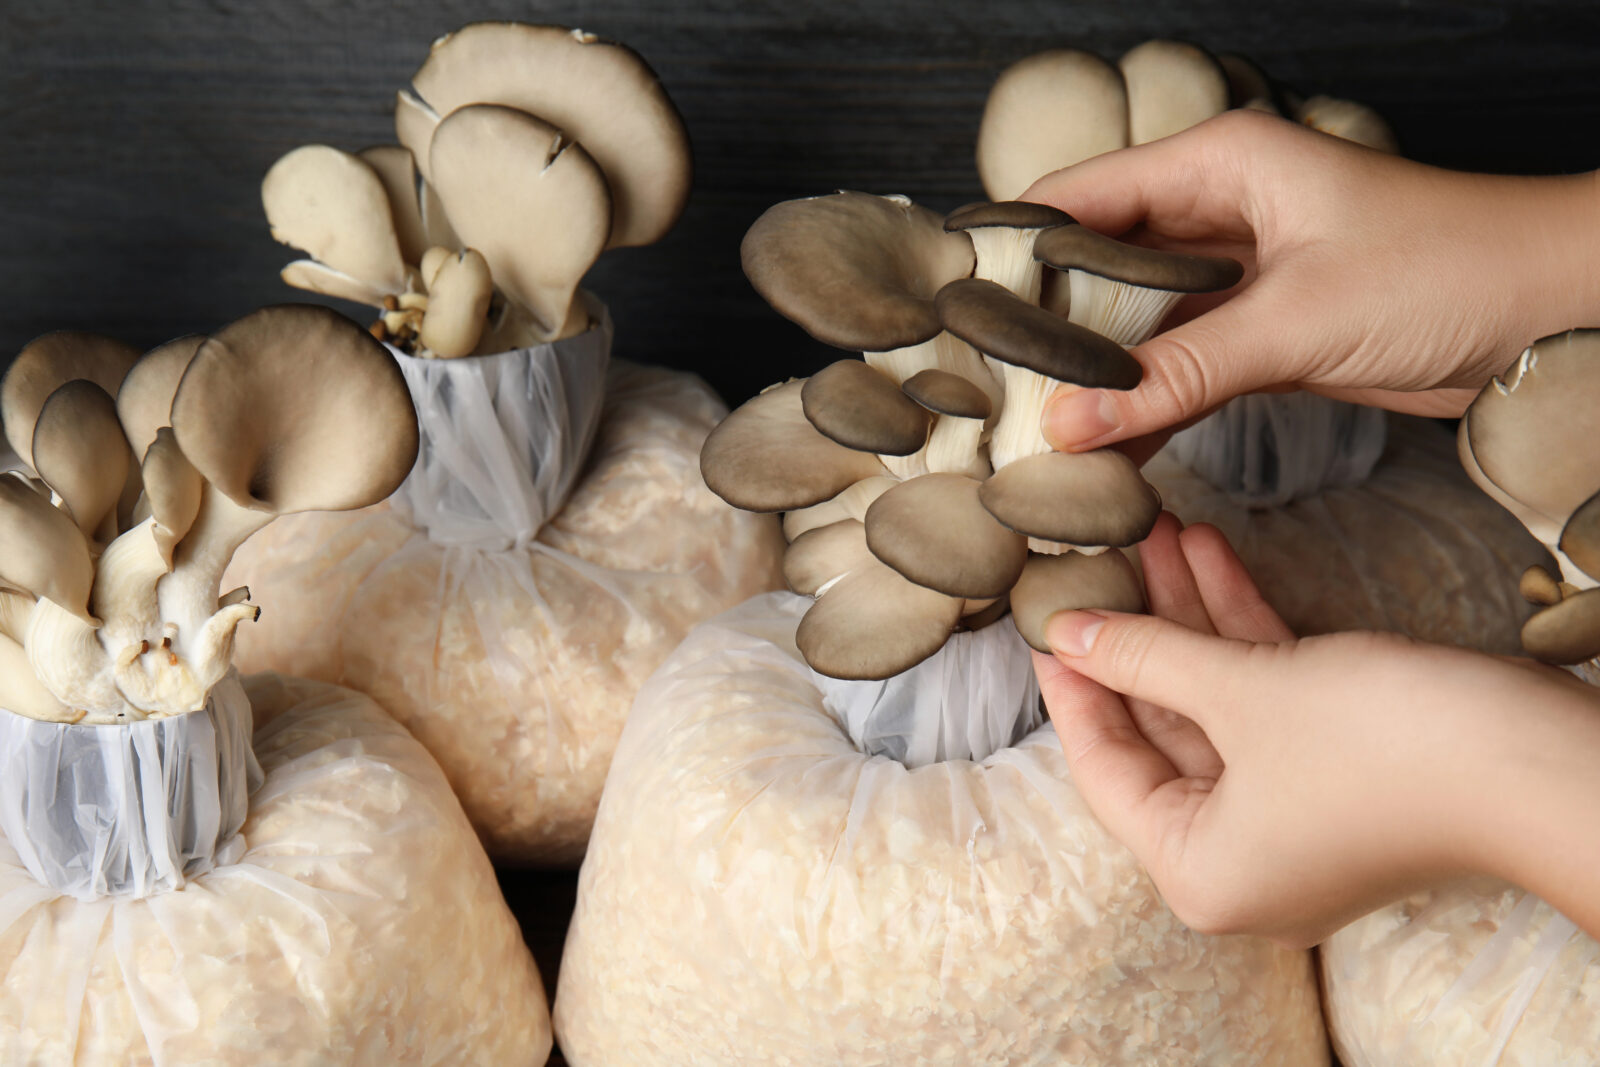
You can get started without expensive kit. The basis is a ready-made substrate with mycelium, designed specifically for growing. You’ll also find a water mister useful, a thermometer, optionally a hygrometer, and above all a place out of direct sun. A cellar works very well, but a garage or another quiet space with a more stable temperature will do too.
It’s important that the environment is clean, free from draughts, and at the same time allows occasional ventilation. Mushrooms need humidity, but they don’t tolerate stale air.
How to proceed step by step
Placing the substrate
A purchased substrate is usually ready to use straight away. There’s no need to mix anything or sterilise it. Once you bring it home, simply put it in the chosen spot and follow the recommendations for the particular mushroom species.
Keeping humidity up
One of the most important factors is correct humidity. The substrate and developing mushrooms shouldn’t be watered with a stream of water. Instead, light misting several times a day is best, so a humid microclimate forms around the grow block. This is where beginners most often go wrong, because too much water can cause rotting.
Monitoring temperature and air
Each species has slightly different requirements, but in general mushrooms like stable conditions. Air humidity should be high, roughly between 80 and 90%. If the space is too dry, you’ll need to mist more often. If, on the other hand, the air feels heavy and overly damp, brief and careful ventilation will help.
Harvesting at the right moment
Mushrooms are best picked while they’re still firm and their caps haven’t opened fully. Harvest carefully, ideally with a sharp knife just above the surface of the substrate. Fruiting bodies harvested this way will keep for several days in the fridge and retain good flavour and texture.
What to watch out for
The most common mistakes include overwatering, unsuitable temperature, and poor air exchange. Many people think more water will speed up growth, but the result is often the opposite. It’s also not wise to underestimate the differences between species. Oyster mushrooms and button mushrooms are grown in similar ways, but their ideal conditions are not identical.
You’ll get the best results when you maintain a balance between humidity, temperature and regular access to fresh air.
Home growing as a money-saving hobby
Growing mushrooms at home isn’t just an interesting experience, it’s also a sensible way to reduce your food bill. One grow substrate can deliver several harvests, and with proper care the total yield is often very respectable. Compared with the price of fresh mushrooms in shops, it’s often a noticeable saving.
What’s more, you can grow them virtually all year round. That means a steady supply of fresh ingredients for the kitchen and the chance to gradually gain experience with other species. Anyone who starts with simple oyster mushrooms or button mushrooms can, over time, continue developing their growing skills.
Truly anyone can get started
Growing mushrooms at home doesn’t require big investments or specialist knowledge. All you need is a good-quality base, a suitable space and regular care. Success doesn’t come from equipment alone, but mainly from attention and a willingness to learn from each harvest. That’s the charm of this hobby: it brings together practicality, enjoyment and a delicious result.
Source: Mushroom Growing Tips, Wired, Pestrazahrada.cz

A lover of nature, gardens, and everything that moves, blooms, or grows. He literally grows everything, from herbs to rare species, and he enjoys caring for animals just as much. In his work, he connects modern technology with tried-and-tested grandmotherly methods and is happy when both paths lead to the same goal.
Related articles
Feed Blueberries in Autumn with a Homemade Mix That Ferments for a Few Weeks and Shows Results in Spring
If you want your blueberries to flower and fruit more heavily next year, try a simple homemade feed made from stale bread and used coffee grounds. Left to ferment for a few weeks, it can gently support soil life and the root zone going into winter.
Stonecrop is the easiest perennial for lazy gardeners but one common mistake ruins it
Stonecrop (Sedum) is a tough, drought-tolerant perennial, but it isn’t indestructible. Give it sun and sharply draining soil, and avoid overwatering to keep it compact and floriferous.
Lift cannas for winter: mistiming can ruin them and one extra week can decide next season
Cannas are spectacular summer plants, but in colder regions their rhizomes won’t survive hard frost in the ground. Lift them at the right moment, dry them properly, and store them cool and dry for replanting in spring.
Comments (0)
Be the first to comment.