
Hydrangea care is easy when you follow the right step-by-step method
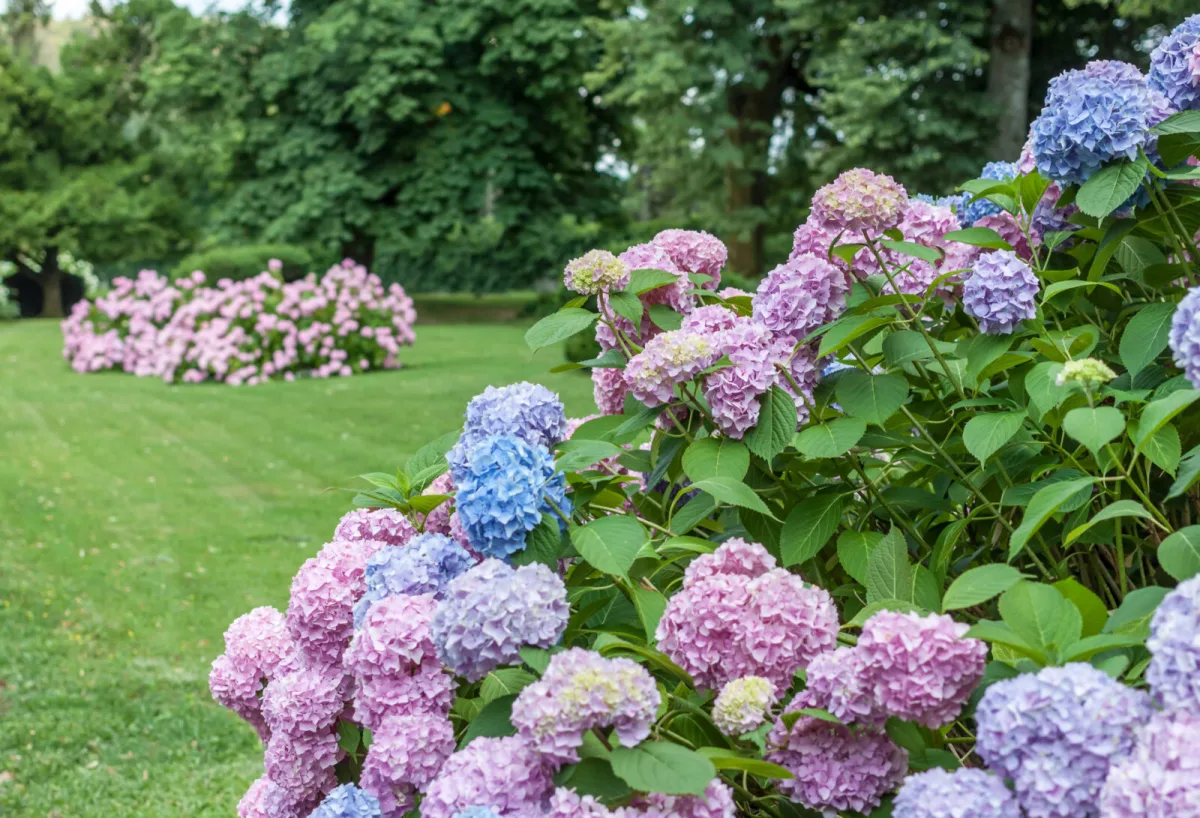
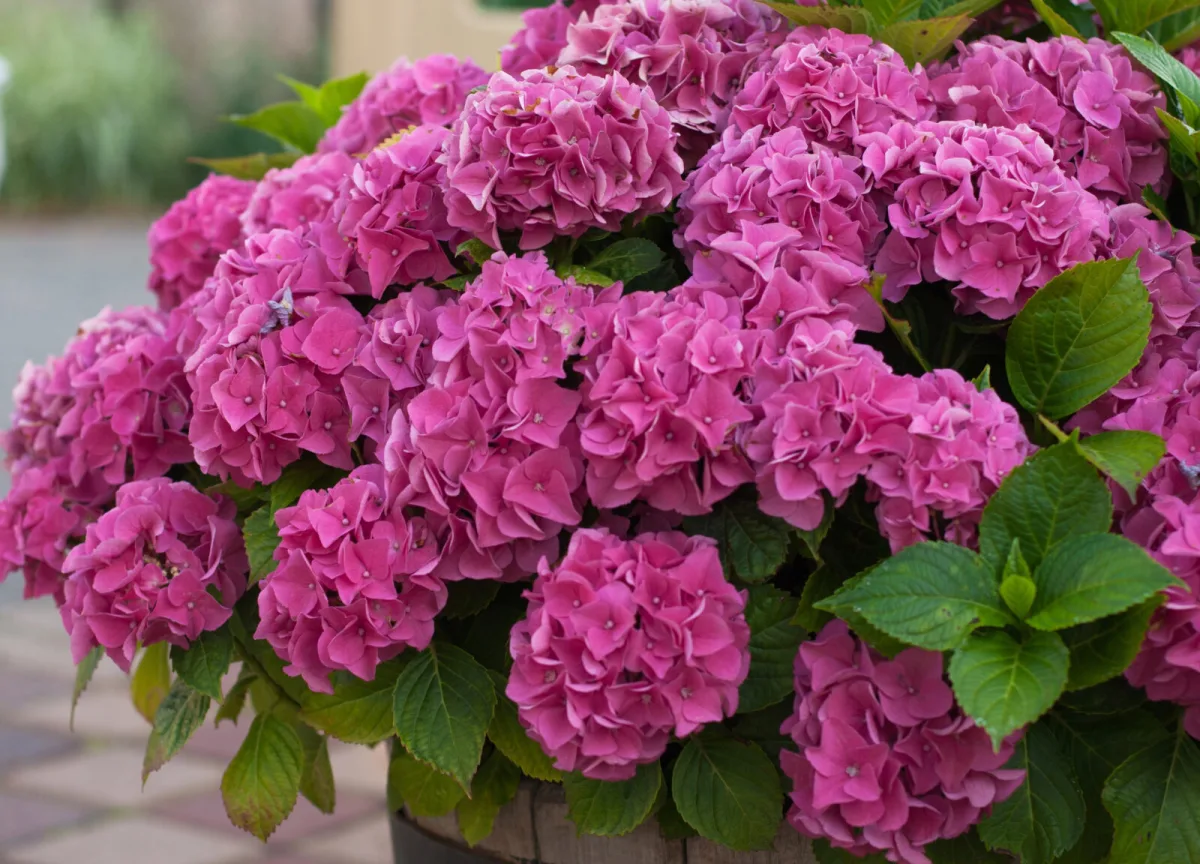
Hydrangeas (Hydrangea spp.) have earned a reputation as showy yet surprisingly adaptable shrubs. From summer into autumn, they carry generous flower heads in shades of white, pink, blue, purple and even greenish tones. With the right position and steady watering, they cope with almost any standard garden border, work beautifully in group plantings, shrub edges, and larger containers. The secret to success isn’t complicated chemistry—it’s knowing which type of hydrangea you have and what to do, and when.
Site and soil matter more than “miracle” fertilisers
Most hydrangeas prefer partial shade: morning sun with afternoon shade. Harsh midday heat can stress both leaves and flowers, while deep shade often means fewer blooms. Soil should be fertile, humus-rich and, above all, well-drained yet consistently slightly moist. If the ground dries out quickly, adding compost and a layer of mulch will help stabilise temperature and keep moisture around the roots.
As for pH, hydrangeas generally manage mildly acidic to neutral soils. With some types (especially bigleaf hydrangeas), pH can also influence flower colour, so it’s worth knowing your soil’s basic values rather than relying on guesswork.
When to plant so the shrub establishes quickly
Autumn is best, with spring as a good alternative. These seasons avoid extreme heat and hard frosts, giving the plant time to build a root system and cope better with its first summer or winter. Ideally, plant early in the morning or late afternoon, when heat stress is lower and the shrub is less likely to wilt.
The correct planting method to minimise shock
Allow spacing based on the shrub’s eventual size—commonly from a few dozen centimetres to several metres. After removing it from the pot, check the root ball, cut away any dead parts and, if roots are circling, gently tease them apart. Dig a hole as deep as the root ball but two to three times wider. The crown of the plant should end up level with the surrounding soil, not buried. Set it in place, backfill halfway, water thoroughly, top up after the water soaks in, and water again. For the first few weeks, keep the soil evenly moist.
Watering is the foundation—and often the only issue
Hydrangeas love moisture but hate being waterlogged long-term. For the first two years after planting and during dry spells, water regularly, ideally in the morning. Deep, thorough watering is better than frequent light sprinkling—it encourages roots to grow downwards and improves resilience. When the soil stays dry for too long, leaves droop and flowering weakens or may not develop at all. Mulch made from bark, pine needles or leaf mould helps keep the soil cooler, reduces fluctuations and gradually adds organic matter.
Feeding: less is often more
In good soil enriched with compost, hydrangeas don’t need heavy feeding. Too many nutrients—especially nitrogen—produce lush foliage but poorer flowering. If you want to fertilise, do it deliberately and on the light side. A sensible approach is to base it on a simple soil test or at least observe how the plant behaves. Some types cope well with several weak feeds in spring and early summer, while others do fine with a single feed at the end of winter. Either way, consistent moisture and quality soil will do more than high doses of fertiliser.
Pruning is simple if you know whether it blooms on old or new wood
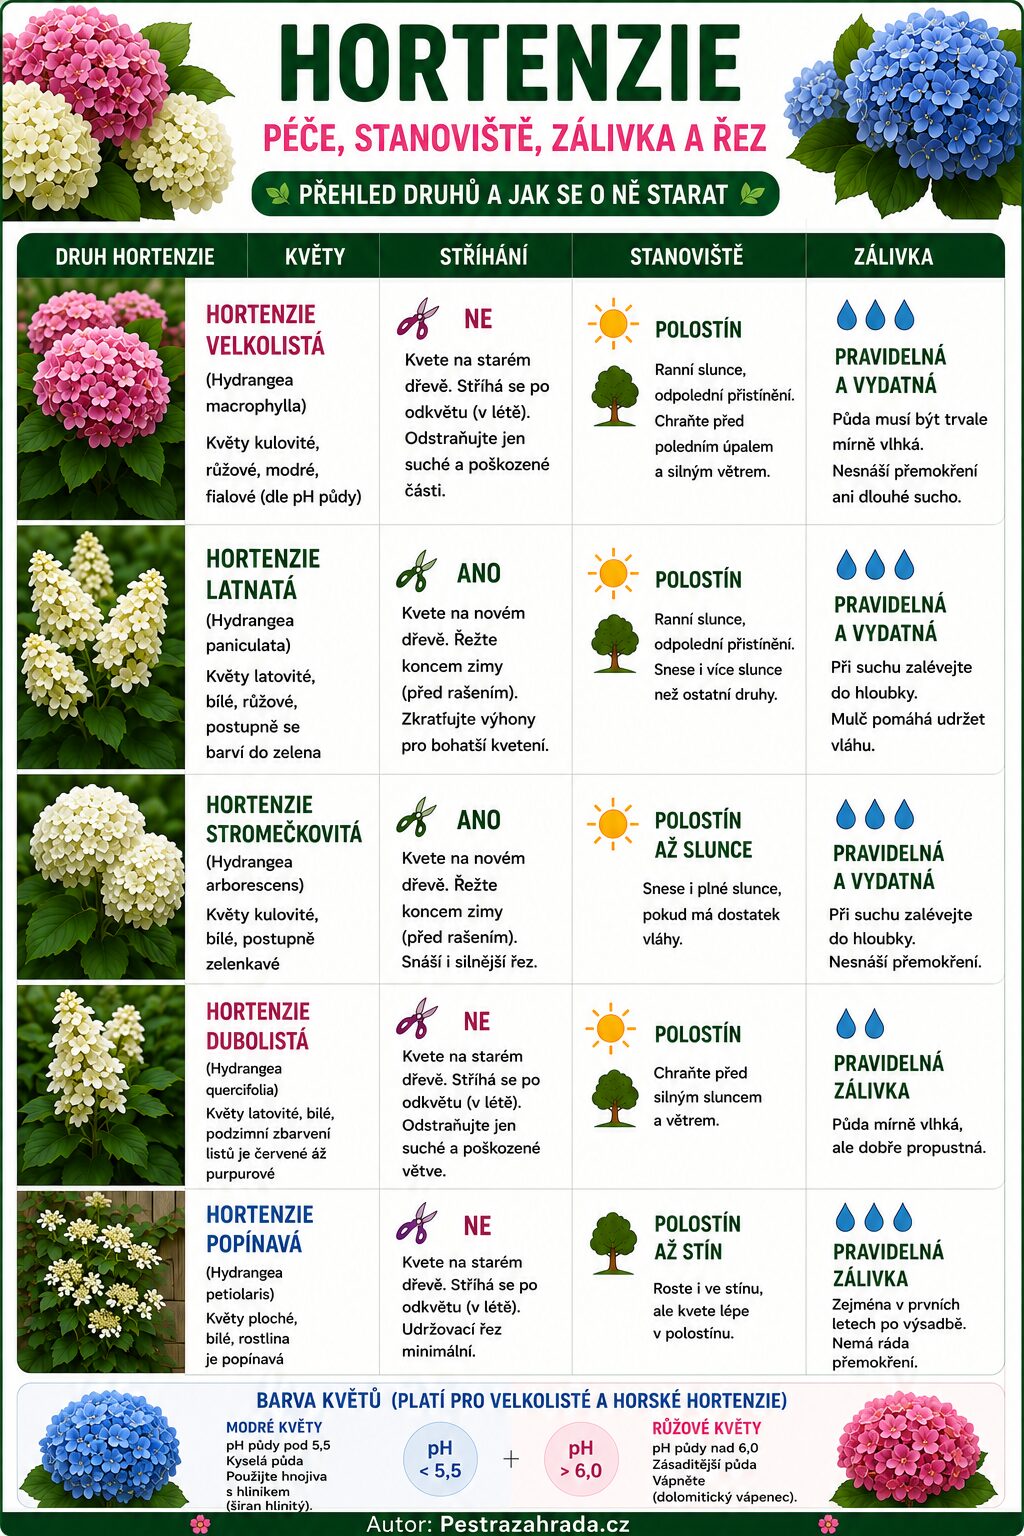
The most common confusion with hydrangeas is pruning. The key rule is this: some hydrangeas bloom on last year’s shoots, others on this year’s. If you cut back a type that flowers on old wood in spring or autumn “to shape it”, you often remove the already-formed buds—and the flowers won’t come.
Hydrangeas that bloom on old wood (often bigleaf, oakleaf, some mountain hydrangeas and climbing hydrangea) are pruned after flowering in summer. After August, it’s best not to cut them, because they set next season’s buds. In autumn or very early spring, remove only dead or damaged parts. On older shrubs, you can gradually remove the oldest stems right down at ground level to rejuvenate the plant.
Hydrangeas that bloom on new wood (especially panicle and smooth hydrangeas) are pruned during dormancy, at the end of winter before they start growing. Flowers form on the current season’s shoots, so you don’t need to fear losing blooms. Even here, moderation matters: the goal is to remove dead stems and encourage healthy growth, not to hard-prune the shrub into shape every year without reason.
Winter protection mainly helps the buds
In colder areas, buds on more sensitive types can be damaged by frost. In autumn, a thicker layer of mulch helps, as does a simple wrap around the shrub using wire mesh filled with dry leaves or straw. The idea is to soften temperature swings and protect buds from sharp frost and drying winds. Any covering should be breathable so the plant doesn’t rot.
How to influence flower colour—and when it’s worth it
You can’t change white hydrangeas through soil, but you can with many bigleaf and mountain cultivars. In acidic soil (roughly below pH 5.5) flowers tend towards blue; at higher pH (above about 6.0) they lean more pink. The change isn’t instant and can take weeks to months. Ideally, the shrub should be at least two years old so it can handle pH adjustments without unnecessary stress. In practice, shifting blue to pink is usually easier than the other way around.
Propagation from cuttings: accessible even for beginners
Hydrangeas are easy to propagate from cuttings. Choose a young, non-flowering shoot with healthy leaves. Trim the cutting, remove the lower leaves, and you can reduce the remaining ones to limit moisture loss. Then insert it into a moist compost mix and keep it in higher humidity—ideally under a loosely placed plastic bag—out of direct sun. When you feel resistance with a gentle tug, roots are beginning to form.
Why a hydrangea doesn’t flower: the most common causes
If your shrub isn’t blooming, the reason is often surprisingly simple. Most commonly, it’s the wrong pruning time, which removes the buds. A second frequent cause is irregular watering and prolonged drying of the soil. An unsuitable site can also be to blame: too little light, or scorching sun without afternoon shade. Sometimes the culprit is a high-nitrogen fertiliser that pushes leaves instead of flowers. And finally, weather matters—especially late spring frosts that can blacken the buds.
A simple summary of the correct method
Choose partial shade and humus-rich, moist but free-draining soil. Plant in autumn or spring; after planting, water deeply and mulch. Feed sparingly. And above all, prune according to whether your hydrangea blooms on old wood or new wood.
Once you get these steps under your belt, hydrangea care truly isn’t complicated. Your reward will be reliable flowering and a shrub that looks full and elegant in the garden for many years.
Source: Almanac, Garden Design, Pestrazahrada.cz
Related articles
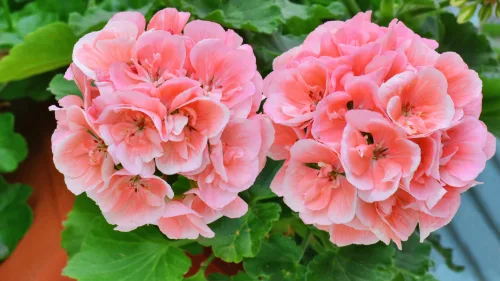
This Plant Repels Mosquitoes, Scented Summer Evenings and a Prettier Balcony
Scented pelargoniums can help make evening seating areas less appealing to mosquitoes while adding fragrance and colour to balconies and patios. Plant them in late spring for the strongest growth and best effect through summer.

Canadian Blueberries With Giant Fruit and How to Harvest Bigger, Sweeter Berries
Highbush and rabbiteye blueberries can produce cherry-sized berries, but size and sweetness depend as much on soil acidity, moisture, pruning, and pollination as on the cultivar itself. Learn which varieties to choose and the key growing steps that reliably improve berry size and flavour.
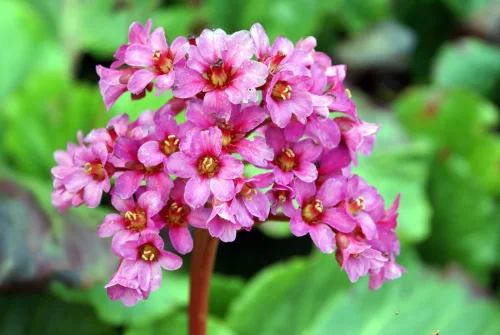
Bergenia A Year Round Feature for Shade or Sun
Bergenia is one of the most reliable perennials, valued for its bold evergreen foliage and early spring flowers. It thrives in shade or sun, is easy to care for, and adds colour right through winter.
Comments (0)
Be the first to comment.