
 English
 Polski
 Deutsch
 Nederlands
 Svenska
 Norsk
 Dansk
 Français
 Italiano
 Español
 Português
 Slovenčina
 Suomi
 Gaeilge
How to Keep a Hive Dry in Winter and Protect the Colony from Dangerous Damp
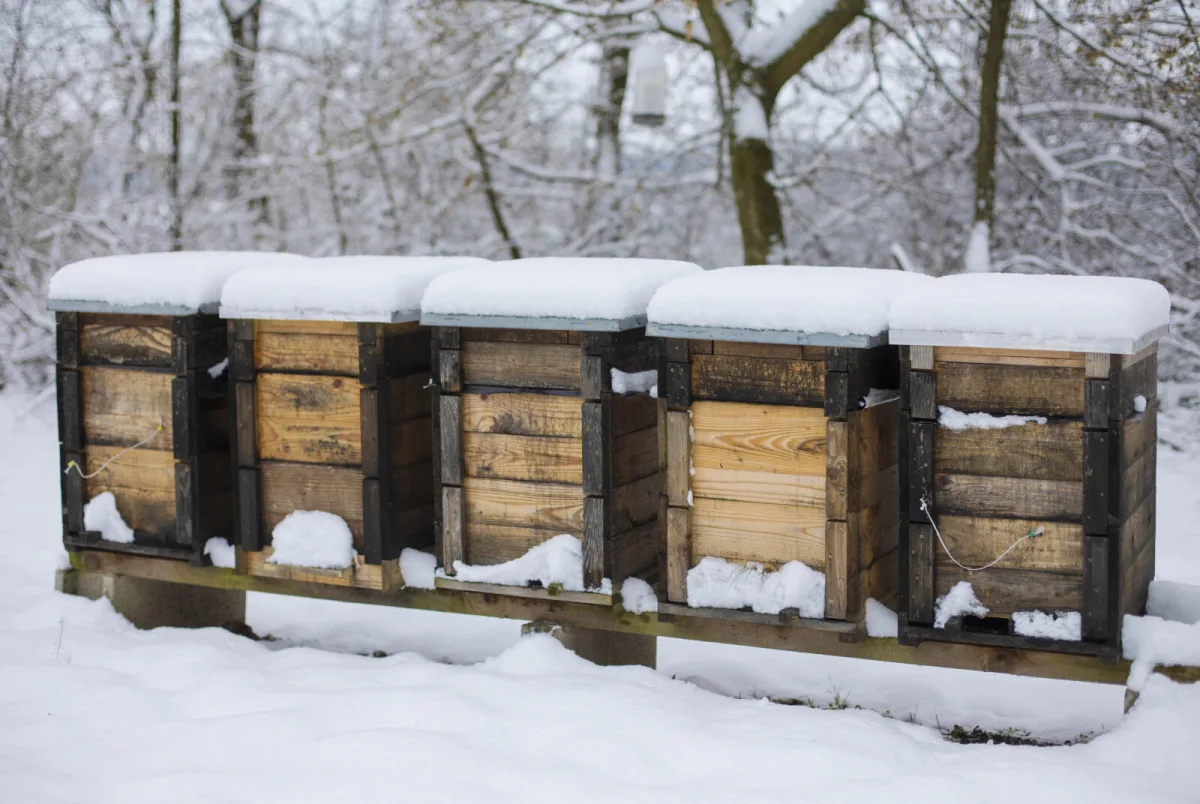
Many beekeepers focus mainly in autumn on making sure the bees don’t get chilled. In reality, the biggest winter enemy is often moisture. Bees can generate heat very efficiently in the cluster on their own. But if they become damp, their ability to maintain the necessary temperature drops sharply—and even in relatively mild weather the whole colony can collapse.
A dry colony can cope with very low temperatures. But once water starts condensing inside the hive and dripping back onto the cluster, a major problem begins. Winter preparation therefore isn’t just about insulation, but also about intelligently venting humid air out of the hive.
How condensation forms inside the hive
The winter cluster produces heat by consuming honey. This process doesn’t create only energy, but also water vapour. Warm, humid air naturally rises. When it hits the cold hive ceiling or the underside of the lid, it cools and the water vapour turns into droplets.
Those droplets can then run down or drip directly onto the bees. And that is the critical moment. Wet bees lose the insulating power of their body hair, chill more quickly, and have to expend far more energy to stay warm. They burn through stores faster, weaken, and the risk of losses increases.
During broodless periods, bees partly reduce the temperature inside the cluster to save energy. But once brood appears again towards the end of winter, the demand for heat rises sharply. That makes it even more important that a cold, damp zone does not form above the cluster.
Ventilation is not the same as a draught
When overwintering, it’s essential to distinguish between helpful ventilation and harmful draughts. Well-designed ventilation helps carry warm, humid air up and out of the hive without disturbing the cluster itself. A draught, by contrast, is the movement of cold air through the hive—especially horizontally across the bees—and that is very dangerous.
Top ventilation uses the natural behaviour of air. If humid air has a way to escape at the top, the likelihood it will condense directly above the bees is reduced. This can be achieved, for example, with a ventilation gap, a notch in the crownboard, or a small upper entrance.
Some beekeepers take a different approach. Instead of active venting, they heavily insulate the top of the hive so the inner surface isn’t as cold and water doesn’t condense on it. Both approaches can work. The key is that moisture either leaves safely, or it doesn’t form directly above the cluster.
Practical ways to keep a hive dry
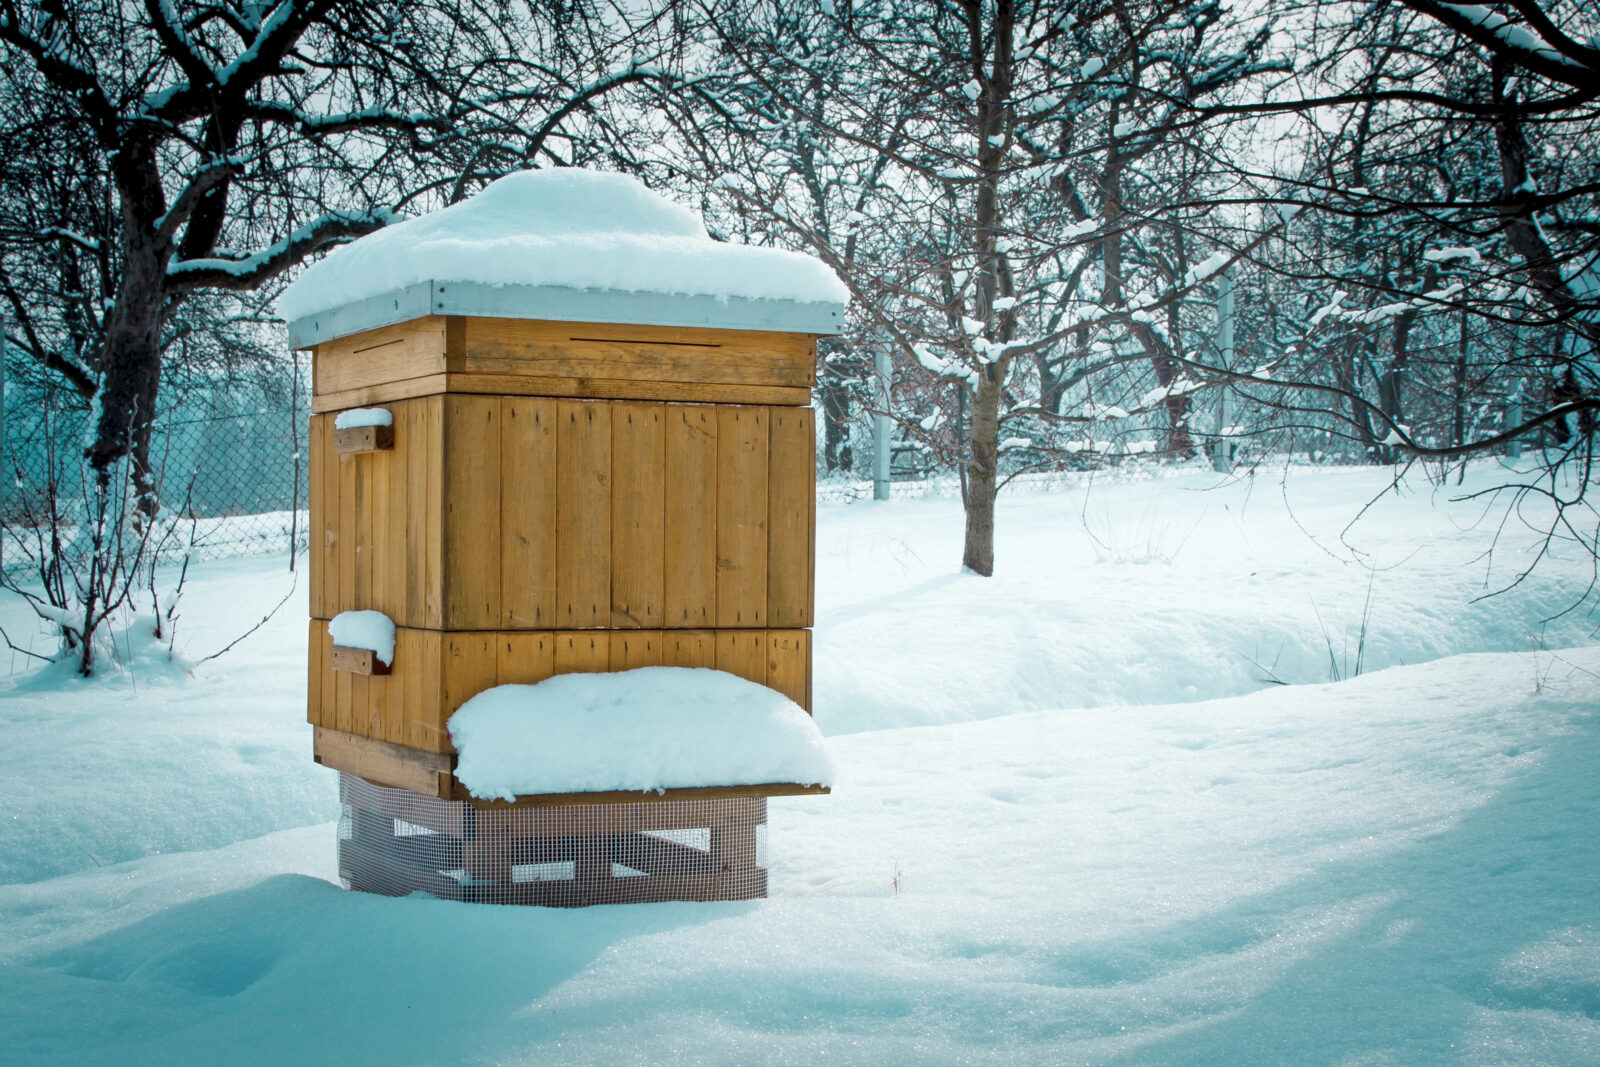
Moisture boards or insulation boards
These elements are placed above the top box under the lid. They often contain an absorbent material that captures part of the moisture while still allowing air to pass. This helps limit condensed water dripping back into the hive.
Quilt box, or an absorbent pillow
This is a shallow space above the colony filled with moisture-absorbing material, such as wood shavings or straw. It also adds an insulating layer. If it becomes too damp during winter, it’s best to replace it or dry it out during a spell of suitable weather.
Upper entrance or ventilation notch
A small opening near the top of the hive allows warm, humid air to escape. It can also serve as an alternative exit if the bottom entrance becomes blocked by snow or dead bees. The opening should be fairly modest in size to avoid excessive heat loss.
A slight forward tilt
Gently tilting the hive towards the entrance is a simple but very useful step. If water does form inside, it’s more likely to run down the walls towards the front rather than drip directly onto the cluster. There’s no need for a big slope—just enough for water to drain away.
Mesh floor
Winter use of a mesh floor is one of the most debated topics. In some areas, leaving the floor open or partly open works well because it helps remove moisture. Elsewhere—especially in cold, windy conditions—it’s often better to close the floor with an insert to reduce draughts. The right choice depends on local climate, the apiary site, and the hive design.
Pros and cons of top ventilation
A top opening can greatly help remove moisture before it condenses on cold surfaces. Another benefit is providing an emergency exit in winter. In areas with high ambient humidity, this feature can be especially valuable.
On the other hand, an opening that is too large or poorly positioned can unnecessarily increase heat loss. If it isn’t well protected, rain or snow can get in. That’s why there is no single universal solution. Each beekeeper needs to observe how colonies behave under their own conditions and adjust their overwintering method accordingly.
The key rule is simple: moisture must have a way out, but cold air must not flow across the cluster.
Differences by climate and region
The need for moisture protection isn’t the same everywhere. In places with long periods of rain, fog, and high winter humidity, you need to intervene more decisively. There, several measures are often combined at once—for example an absorbent layer, top ventilation, and a properly set floor.
By contrast, in dry and cold regions there is usually less water vapour in the hive and condensation may not be as pronounced. In these areas, a more modest solution may be enough—perhaps just a small upper entrance and good insulation above the crownboard. But the goal is always the same: prevent water droplets forming above the bees.
When to get everything ready
Your winter setup should be in place before hard frosts arrive. During autumn preparation, it’s worth checking that the boxes sit tightly together, that there are no gaps between parts, and that the lid fits firmly. Unwanted cracks often create a dangerous sideways air pull.
Autumn is also the time to add absorbent elements, create top ventilation, or decide whether to leave the mesh floor open or closed. Once winter sets in, it’s usually too late for bigger interventions. Many beginners tend to seal the hive completely, but that often only makes the problem worse.
Most common overwintering mistakes
Sealing the hive too tightly leads to a build-up of moisture, which then condenses on cold surfaces. The bees are threatened not by frost, but by water.
Neglecting the top of the hive is another common mistake. If there is no ventilation or enough insulation above, an ideal condensation zone forms directly over the cluster.
Unsuitable materials under the lid can trap moisture instead of letting it pass through or absorb it. Just as problematic are gaps between boxes that create uncontrolled draughts.
What to take away
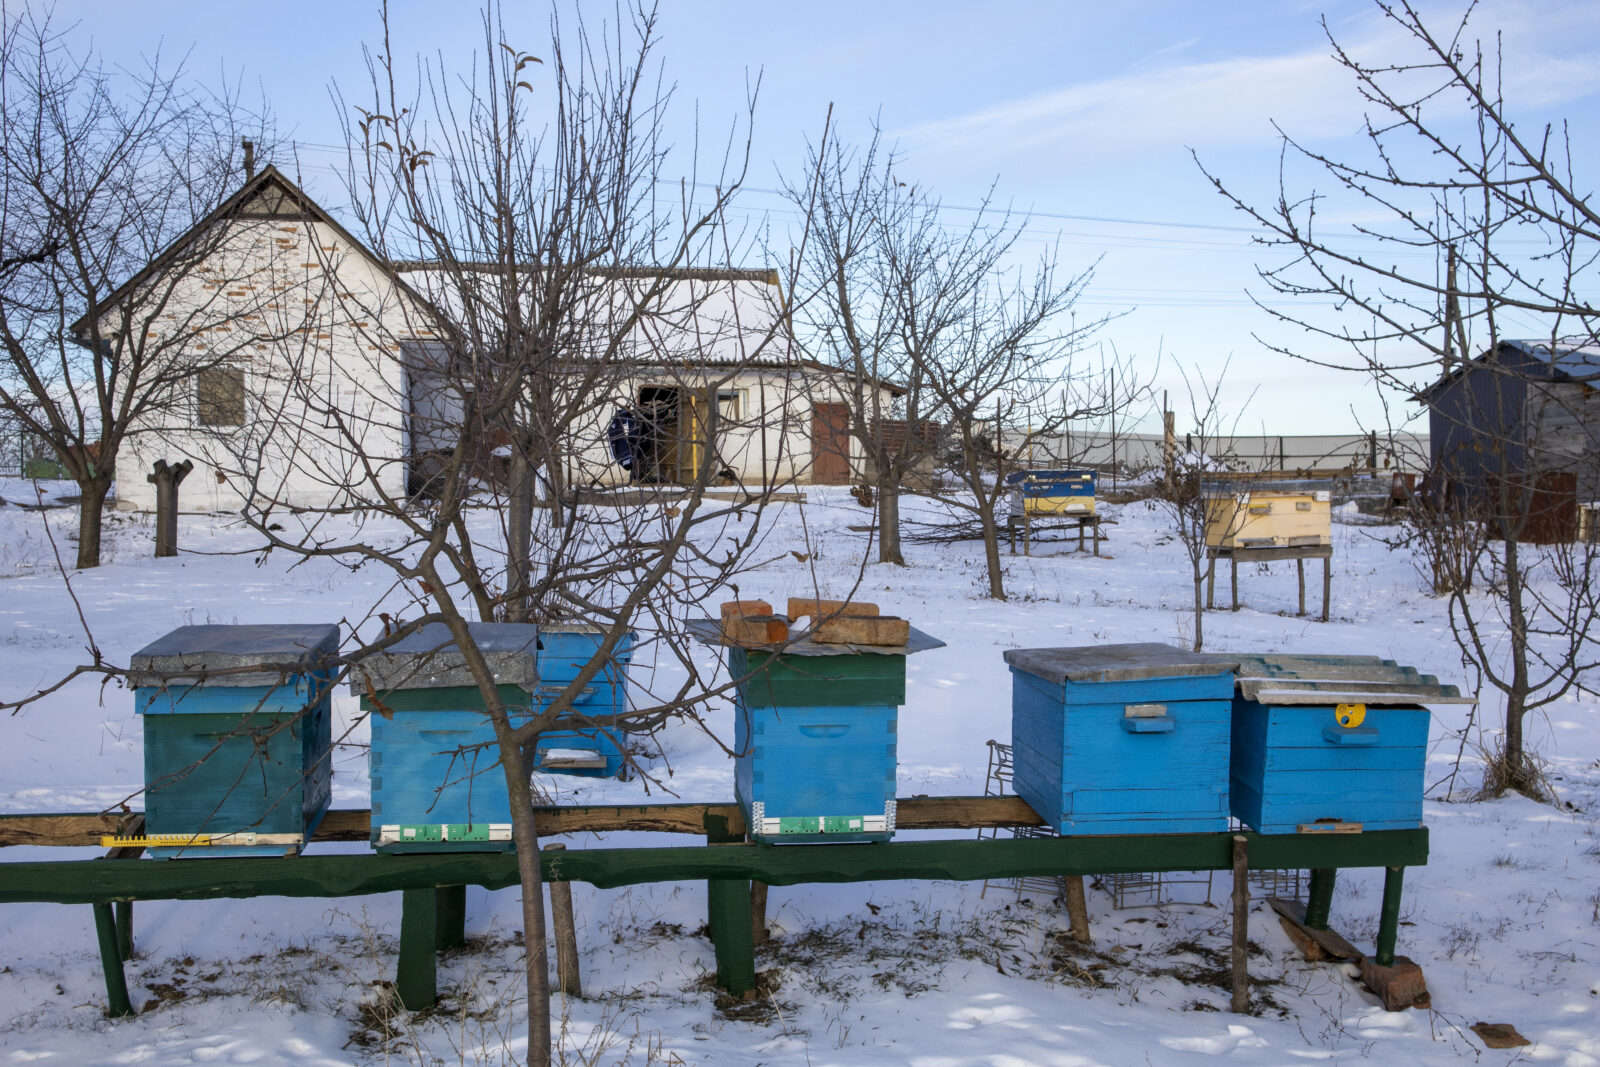
Winter hive care isn’t just about warmth, but above all about managing moisture correctly. Bees handle cold far better than is often assumed—as long as they stay dry. Successful overwintering is built on understanding simple physics: warm, humid air rises, and you need to prevent it from turning into droplets that fall onto the bee cluster.
Well-tuned ventilation, sensible insulation, limiting draughts, and adapting to local conditions can greatly increase the chances that a colony comes through winter strong and viable. Dryness is often one of the most important factors deciding whether bees will build up successfully again in spring.
Source: Perfect Bee, Instructables, Pestrazahrada.cz

A lover of nature, gardens, and everything that moves, blooms, or grows. He literally grows everything, from herbs to rare species, and he enjoys caring for animals just as much. In his work, he connects modern technology with tried-and-tested grandmotherly methods and is happy when both paths lead to the same goal.
Related articles
Want fresh eggs in winter Chickens need more than a warm coop
Short days and cold weather naturally slow egg production, but the right mix of light, housing, nutrition and water can keep layers going through winter. Here’s how to set up your flock for steadier winter laying without stressing the birds.
Tame Hens Are Calmer and Happier The Secret Lies in Small Daily Habits
Hens are far more observant and trainable than many keepers expect. With calm routines, consistent signals and small rewards, they can learn to come when called and feel safer around people.
Hens Need More Than Feed and Water: A Simple Homemade Mix to Support Immunity and Vitality
Good hen health starts with balanced nutrition, not just a clean coop and fresh water. A modest blend of garlic, apple cider vinegar and oregano can gently support digestion, immunity and overall flock condition.
Comments (0)
Be the first to comment.