
 English
 Polski
 Deutsch
 Nederlands
 Svenska
 Norsk
 Dansk
 Français
 Italiano
 Español
 Português
 Slovenčina
 Suomi
 Gaeilge
A Garden Shed Can End in a Fine or Even Demolition Many People Make a Mistake Without Realising It
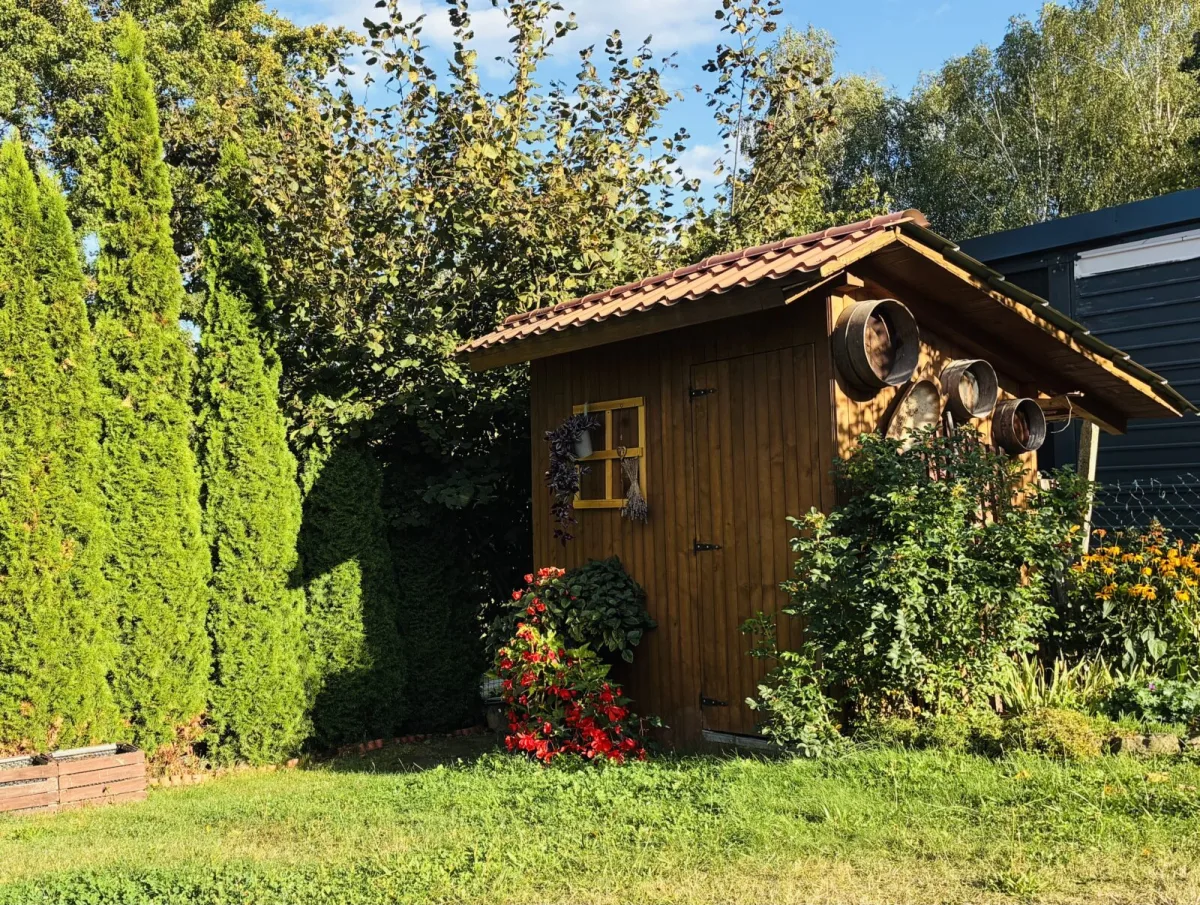
Putting up a garden shed is only part of the job. How well it will serve you years down the line is often decided by the preparation you do beforehand. Before you buy materials or order a kit, you need to know what will actually live in the shed and how much space it will take up.
Many people focus mainly on the outside dimensions, but the internal layout is usually far more important. A lawnmower will swallow a big chunk of floor space, shelving will take up wall area, and larger tools need room to manoeuvre. On top of that, you need a clear walkway so you don’t have to reshuffle half the contents every time you go in. A smaller, well-thought-out shed can be more practical than a bigger one with a poor layout.
That’s why it pays to sketch a simple interior plan first. It only takes a few minutes, but it helps you see where the shelves will go, how you’ll move around, and whether bulkier equipment will fit through the door without hassle.
A bespoke timber build or a prefabricated model
When deciding, it helps to be clear whether you mainly want to own a shed, or whether you also want to build it yourself. Those are two different things. Ready-made plastic and resin sheds make sense for most owners because they save time, are generally low-maintenance, and can often be dismantled or moved later with less effort.
For straightforward storage of garden machinery, bikes or tools, it’s usually a very sensible solution. The benefits are easy cleaning and less worry about repainting or moisture. A custom timber shed, on the other hand, offers much more freedom. You can set the shelf positions, door size, floor strength and other details to match exactly how you’ll use it.
The downside of timber shows up when you start buying materials. Lumber, cladding, roofing, fixings, doors, paint and the base quickly add up. Building it yourself won’t automatically be cheaper than a kit. You mainly save money if you already have the tools, the experience and enough time.
Choosing the location matters more than it seems
Moving a finished shed is a headache, so choosing the right spot is crucial. It’s not enough to find an empty corner of the garden. You need to think about how the doors will open, how much space you’ll have in front of the entrance, and whether larger machines can be brought in without difficulty. In some places traditional hinged doors work well; elsewhere, sliding doors can be the more practical option.
It’s also important to look up. Trees, branches or nearby roof overhangs can later cause leaves to collect on the roof, make water run-off worse and increase maintenance. If the site is sloping, the build will be more complicated. Uneven ground can be handled with blocks, gravel and a timber platform, but it requires more precise preparation and more time.
The basic rule is that the floor must be truly level. What looks almost flat can easily turn into crooked walls or a door that won’t sit right once you start building. That’s exactly why accurate measuring is worth it, ideally with a laser level.
You must check local rules in advance
Even a small garden structure can be subject to local regulations. What matters may be the distance from the boundary, overall height, footprint area, or connection to electricity and other services. In some areas, rules set by a residents’ association or homeowners’ management may also apply.
The worst situation is when the shed is nearly finished and only then you find out it’s in an unauthorised location. That’s why it’s sensible to contact your local building authority or planning department before you start. This doesn’t apply only to sheds built from boards, but also to prefabricated models. Authorities don’t care how the building was made—they care what’s standing on your land.
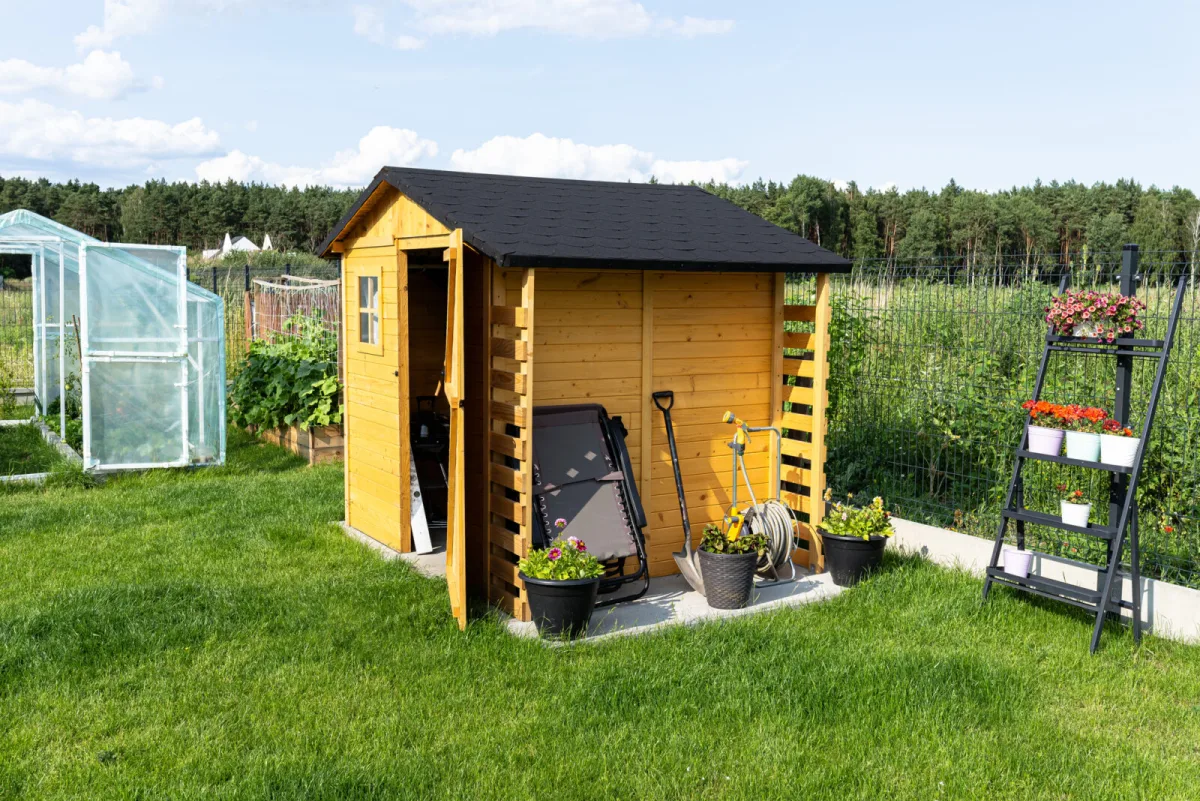
The base matters more than the walls themselves
Even a smaller prefabricated shed needs a solid base. Without one, it can gradually settle, shift, or pull up damp from the ground. If you’ll be storing heavier machines and equipment inside, the floor has to be designed for that too. Stronger boards and proper bracing are a better investment than trying to fix sagging later.
The most robust option is usually a concrete slab, especially for a permanent workshop or heavier use. It’s more expensive, though, and it’s a bigger commitment. For DIY builds, a properly prepared gravel base with a timber platform is often more attainable. Where the ground is uneven, posts or blocks can help, but they still need to sit on a stable, precisely levelled foundation.
A poorly prepared base will come back to haunt you sooner or later as a wonky door, an uneven floor, or a shift in the entire structure.
It’s also important to think about anchoring. A shed presents a large surface area for wind to catch, and its own weight may not be enough. So it’s best to follow the manufacturer’s recommendations as well as local anchoring requirements.
The roof must suit local conditions
Every area puts different demands on a roof. In some places the issue is rain and fallen leaves; elsewhere it’s snow load or strong winds. Correct pitch, proper flashing, and overlapping all joints so water sheds in the right direction are absolutely essential. Even a small mistake can eventually show up as leaks.
The roof also needs ongoing clearing of leaves and debris, especially around drainage points. In hot regions, ventilation is worth considering too, because overheating can limit how usable the space is and shorten the lifespan of what you store inside.
Plan for electricity and insulation at the design stage
If the shed is only going to be used as storage for garden kit, electricity may not be necessary. But if you’re planning a workshop, that changes. Lighting, sockets and stationary tools quickly show how useful a well-planned electrical supply can be. Relying long-term on an extension lead stretched across the garden is not a good solution.
Connecting a freestanding building to the electrical supply often means permits, inspection and professional work. That’s why it’s better to discuss it during planning. The same goes for insulation. A tool store doesn’t need the spec of a small house, but a space intended for regular work in summer and winter should be designed from the start with temperature comfort in mind.
Doors and hardware deserve attention
The door is often the part that most commonly needs fine-tuning over time. Outdoor buildings naturally move; hinges can loosen, and timber responds to humidity. That’s nothing unusual, but regular checks and timely adjustment prevent bigger problems.
With timber structures, it’s important to protect exposed areas with a finish and not put off dealing with small faults such as leaks or a sticking door. Good-quality hardware matters just as much. If you’re storing expensive tools inside, flimsy hinges or a cheap lock make little sense.
Watch the distance from the neighbouring property
When planning a garden shed, it’s also important to keep the legally required setback from the property boundary. Under Czech building regulations, structures are generally placed at least 2 metres from the boundary with a neighbouring plot, unless one of the defined exceptions applies. For a typical garden shed up to 40 m², keeping this distance is also one of the conditions for it to qualify as a minor structure that doesn’t require a permit.
If you place it closer to the fence, you may need approval from the building authority. A neighbour’s consent on its own does not automatically mean you can build without further formalities. Before starting construction, it’s therefore advisable to verify the exact boundary line and the relevant requirements of the building office.
What to do first so the result serves you well
The most sensible approach is to start by measuring everything that needs to go into the shed. Then draw the interior with shelving, mark out the footprint in the garden, and actually picture day-to-day use on the spot. Opening the door, wheeling in the mower, or looking up at branches over the roof often reveals issues a tape measure won’t.
Only then does it make sense to decide on materials, the type of construction and the final form of the shed. Some people value the satisfaction of working with timber; others mainly want quick, dry storage without a complicated build. Neither route is wrong if it fits your real needs.
The most important final tip is simple: start with a solid, perfectly level base. When the base is right, everything else becomes much easier.
Source: Good House Keeping, Building Act – minor structures, MoA, Pestrazahrada.cz

A nurse by profession, she is passionate about healthy living, nature, and everything that benefits both people and the world around them. In her free time, she enjoys gardening, cooking, sewing, and caring for her family. In her articles, she loves combining professional expertise with practical experience from the garden and everyday life.
Related articles

How to prune an apple tree in autumn for a heavy crop next year
If your apple tree crops heavily one year and then disappoints the next, an overly dense canopy is often to blame. A well-timed autumn prune improves light and airflow, supports healthy growth, and sets the tree up for better-quality fruit.
Make an Old Tree Stump Disappear Without Digging or Chemicals
Removing an old stump doesn’t have to mean backbreaking digging or harsh chemicals. With the help of mushroom mycelium, the wood can break down naturally over time and become far easier to remove.
Pruning raspberries in November, experienced gardeners leave only a few canes and harvest more next year
Autumn raspberry pruning helps keep canes strong, reduces disease pressure, and sets you up for a bigger crop next season. Once the leaves drop, thin and cut back correctly based on whether your variety fruits once or is everbearing.
Comments (0)
Be the first to comment.