
 English
  Polski
  Deutsch
  Nederlands
  Svenska
  Norsk
Norsk  Dansk
Dansk  Français
  Italiano
  Español
  Português
  Slovenčina
  Suomi
Suomi  Gaeilge
 Yeast Fertiliser for Tomatoes and Cucumbers Is Surprisingly Easy and Effective
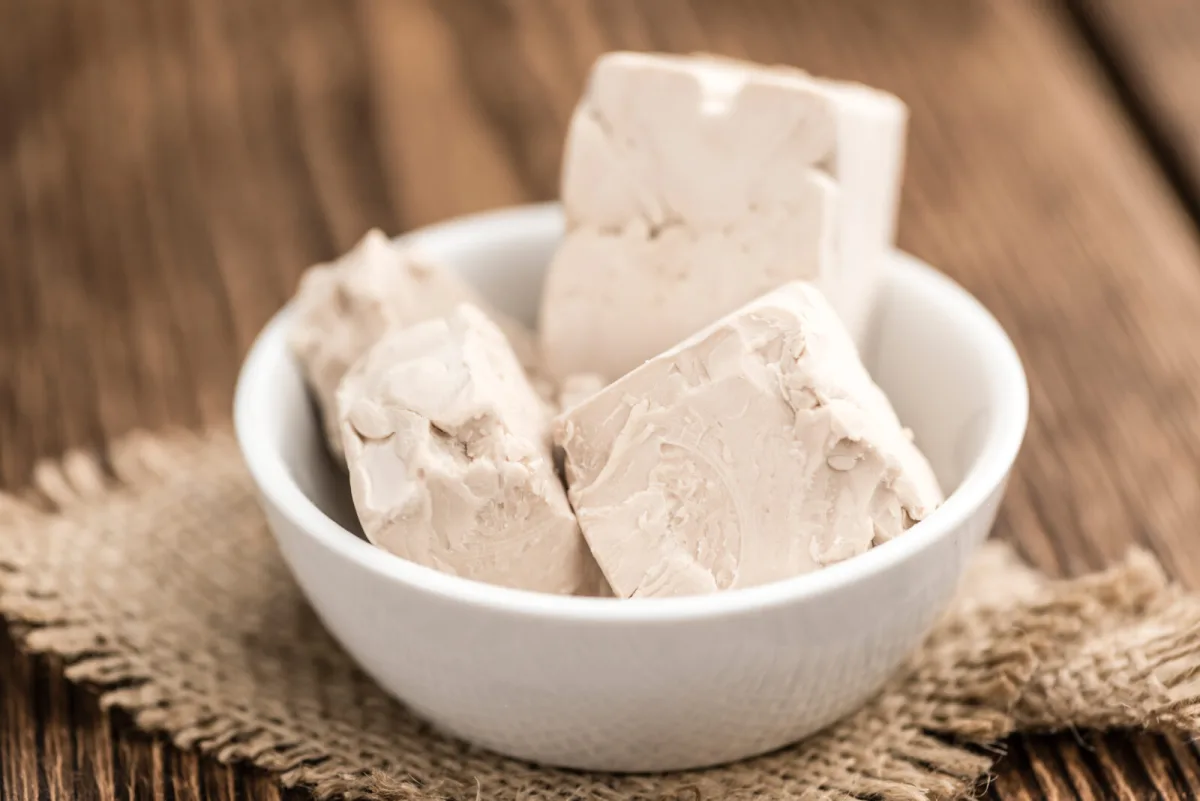
Yeast fertiliser is one of those straightforward gardening tricks that seems almost suspiciously easy. All you need is dried yeast, a little sugar, and lukewarm water. After a short activation, you get a drench that doesn’t work like a classic NPK fertiliser, but as a boost to life in the soil. The yeast, and then the wider community of soil microorganisms, speed up the breakdown of organic residues and the release of nutrients around the roots. In practice, this often shows up as quicker rooting, sturdier stems, and more vigorous growth within a few days.
A simple three-ingredient recipe
To make it, you only need everyday ingredients from the shop. Use active dried yeast (one sachet, about 7 g), white sugar (1 tablespoon) and about 500 ml of lukewarm water for activation. Water temperature is key: ideally around 35 to 43 °C, pleasantly warm to the touch. Water that’s too hot will kill the yeast and the mix won’t work.
Activation step by step
Pour about 500 ml of lukewarm water into a container and stir in a spoonful of sugar until it dissolves. Then sprinkle the yeast over the surface and gently stir. Cover the container loosely and leave it at room temperature for about 2 hours. A properly activated mixture will start to foam and bubble, a sign the yeast is working and multiplying. If no foam appears, the culprit is usually water that was too hot or old yeast, and it’s best to start again.
Dilution and how much to make
After activation, pour the mixture into a watering can and top up with water to a total volume of about 10 litres. This gives an approximate 1:20 dilution, which is gentle for routine use but still effective. Use the prepared solution the same day, because once diluted the yeast gradually dies off and the effect fades quickly. This isn’t something to store; it’s a fresh drench.
How to apply yeast fertiliser so it actually works
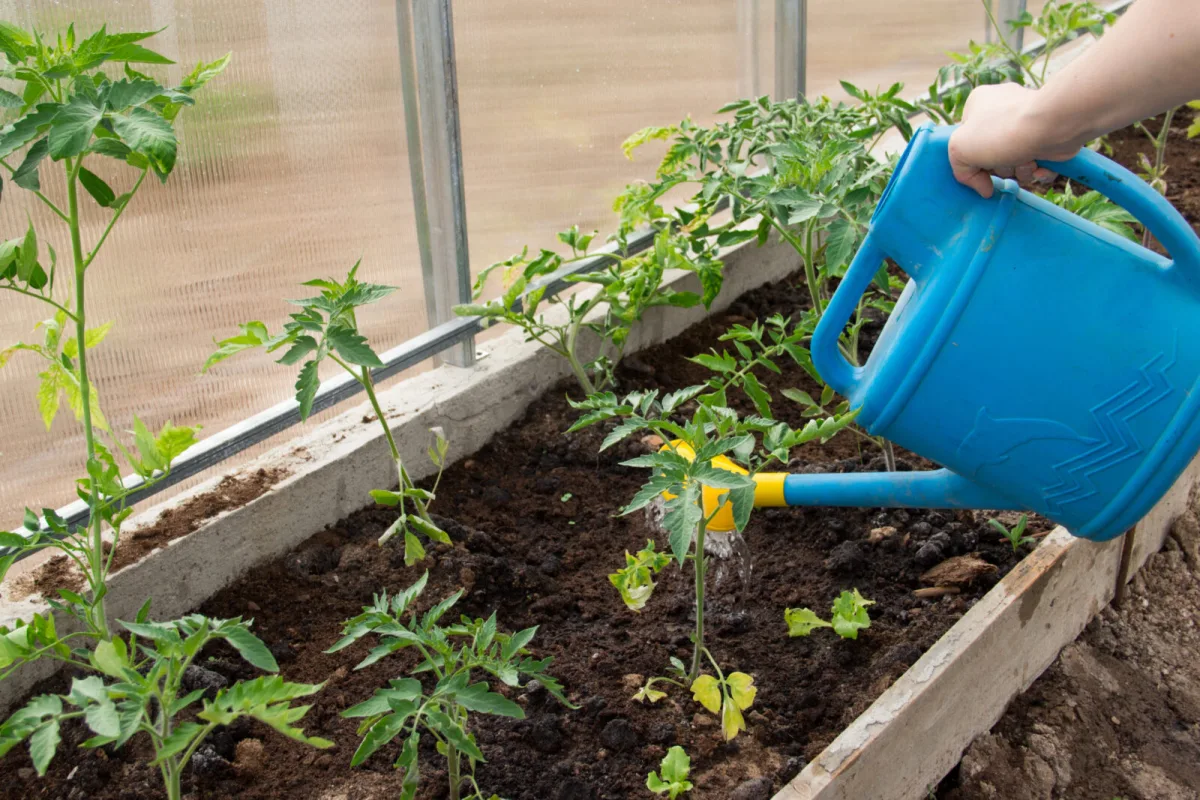
Use the solution as a root drench. Typically, apply about 500 ml per plant, roughly two standard glasses. Water the soil at the base of the plant, not the leaves, because the goal is to energise activity in the root zone. It works best in warmer soil, roughly above 15 °C, when microorganisms are active. In cold soil the effect often barely shows.
How often and when during the season
For most vegetables, one application every 2 to 3 weeks is enough. Start about two weeks after planting out or transplanting, when the roots are established and the soil life around them can respond to the stimulus. Continue through the main growing period and stop about 2 to 3 weeks before harvest. For container plants, stick to the same amount per plant, but lean towards the longer interval, typically around three weeks, because the balance in potting compost shifts faster.
What happens in the soil and why plants respond
Yeast itself isn’t a major source of nitrogen, phosphorus, or potassium. Its value lies elsewhere. It contains B vitamins, amino acids, and compounds that behave like natural growth regulators, such as cytokinins and auxins. After application, it works in two ways. Some compounds are released as the yeast breaks down, and at the same time both the sugar and the yeast serve as food for soil bacteria and fungi. These multiply more quickly, break down organic matter more actively, and release nutrients into forms the roots can take up more easily.
You’ll often see a visible effect within 5 to 10 days: a clearer green colour, fresh new growth, and generally more vigorous development. Because it’s a short-term boost, the effect gradually fades once microorganisms use up the available energy source. That’s why repeating after a few weeks is recommended, not every couple of days.
Is a yeast drench safe for all plants?
At the dilution given, the drench is generally safe for vegetables, herbs, flowers, and small fruit. It shouldn’t scorch roots or dramatically alter soil pH, and it can be combined with other feeding methods. It’s most useful where there’s at least some organic matter in the soil, because microorganisms need something to break down. If a bed is depleted or you’re dealing with a near-sterile substrate, it helps to add compost first and only then use the yeast drench as a supportive kick-start.
A practical note concerns using it near the compost heap. Yeast residues can attract slugs, so it’s sensible to keep applications to beds and containers, not around the composter.
What to avoid so you don’t lose the effect
The most common mistake is water that’s too hot. If it’s warm enough that you can’t keep your hand in it, it’s bad for yeast. Another mistake is trying to store the solution, because after activation and dilution it quickly loses strength and within hours becomes little more than weak organic water without the expected effect. It’s also important not to overdo frequency. Stimulating microorganisms too often can speed up the consumption of organic matter in the soil and, over time, impoverish it. Finally, don’t skip activation. Tipping yeast straight into the watering can without sugar and without waiting usually won’t give the same result, because the yeast doesn’t get the chance to start up and multiply.
Which crops usually benefit the most
Almost all plants can respond, but some show it more clearly. Tomatoes often root faster, grow more robustly early on, and maintain better condition as they set fruit. Peppers and aubergines respond similarly. Cucumbers and other cucurbits, with their high nutrient demands, benefit from quicker nutrient release in the root zone. Strawberries are also traditionally mentioned; the drench can be useful in spring as growth begins and again during flowering. Potatoes may respond with improved nutrient cycling around roots and developing tubers. In containers, the effect is often more noticeable, because standard potting composts tend to have a poorer soil micro-life than garden beds.
If nothing happens, what to check
If you don’t see any change after application, there are three main causes. The first is cold soil, where microorganisms are barely active. The second is a lack of organic matter, so even if you stimulate microbes, they have little to work with to produce plant-available nutrients. In that case, compost or another organic amendment helps first. The third possibility is old yeast. You’ll notice it during activation because the mixture won’t foam and bubble, and then there’s nothing meaningful to pass on to the soil.
Quick answers to common questions
Does it really work, or is it just a trick?
Yes. With correct preparation and in warm soil, it provides a genuine boost to soil biology. It’s not a replacement for complete NPK feeding, but a support for microorganisms and root growth that can show within one to two weeks.
Can I use instant yeast?
Active dried yeast is the surest choice, because you can easily see foam as a check that it’s working. Instant yeast may work too, but activation is harder to judge. Don’t use nutritional yeast or brewer’s yeast; these are usually inactive and won’t kick-start the soil in the same way.
Why didn’t the mix foam?
Most often the water was too hot, or the yeast was out of date. Use a fresh sachet and lukewarm water in the 35 to 43 °C range, and leave the mixture the full two hours.
Can I make the solution in advance?
No. After dilution, the effect disappears quickly because the yeast gradually dies off. It’s best to mix a fresh batch as needed and use it the same day.
Key takeaway
A yeast drench is a simple way to give soil micro-life a short-term boost, improving nutrient availability around the roots. Stick to lukewarm water, a two-hour activation, dilution to 10 litres, and apply about 500 ml per plant every 2 to 3 weeks.
Source: Easy Dacha, Tasting Table , Pestrazahrada.cz
Related articles
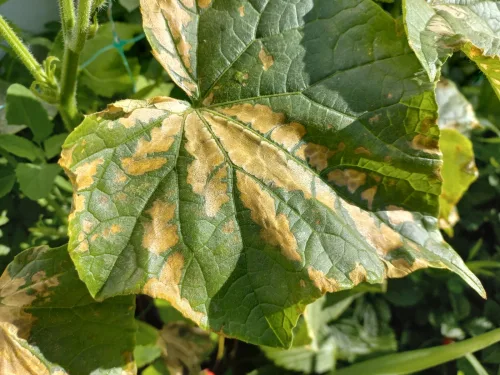
Yellowing cucumber leaves have a clear cause and with the right response plants recover quickly
Cucumber leaves turn pale and yellow when the plant is under stress—most often from watering mistakes, nutrient imbalance, or sudden temperature swings. Spot the pattern early and you can restore growth and protect your harvest fast.
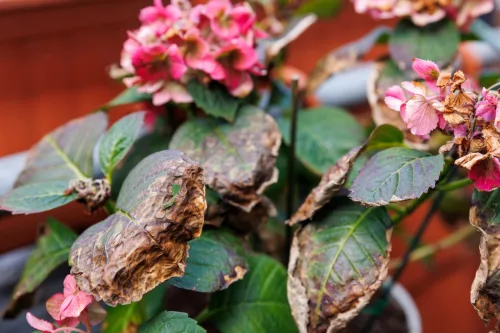
How to Get Browning Hydrangeas Back on Track Without Chemicals
Brown leaf edges or spots on hydrangeas usually point to a simple mismatch in light, watering, or airflow rather than a lost cause. Learn how to read the symptoms and restore your shrub quickly with gentle, practical fixes.
Turn Ground Cinnamon Into a Secret Weapon for Stronger, Tougher Plants
Ground cinnamon isn’t just for baking—it can help protect houseplants and garden plants from mould and fungal issues, support cuttings, and even act as quick first aid for minor wounds. Used lightly, it’s an affordable, gentle, natural add-on to good growing practice.
Comments (0)
Be the first to comment.