
 English
  Polski
  Deutsch
  Nederlands
  Svenska
  Norsk
Norsk  Dansk
Dansk  Français
  Italiano
  Español
  Português
  Slovenčina
  Suomi
Suomi  Gaeilge
 A New Garlic Planting Method That Breaks Records and Delivers a Stunning Harvest
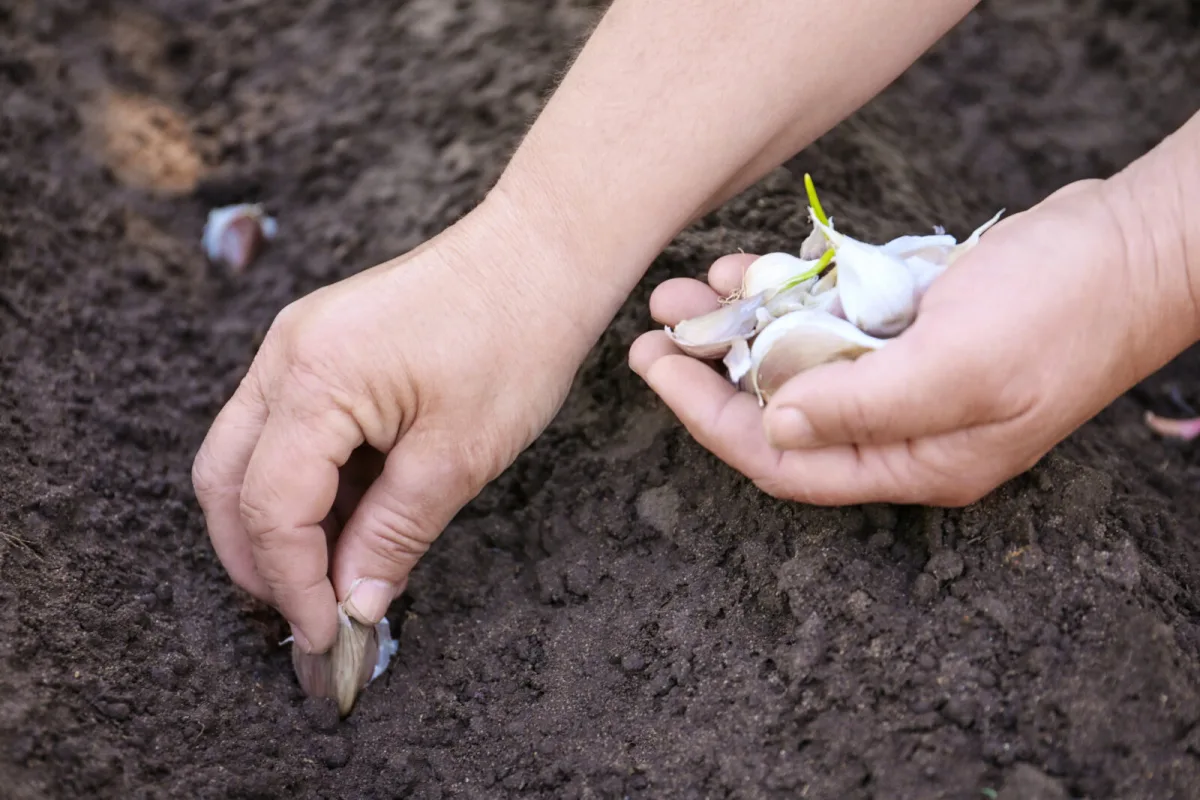
Planting garlic in autumn and harvesting your own crop in spring or summer sounds simple, but in reality it’s extra work. Even though garlic can be bought cheaply at the market, a home harvest has a different value. And when you follow a few steps before planting, the yield can be noticeably higher and the plants tend to be tougher.
It’s important to know not only when to plant garlic, but also how to prepare the cloves and the soil. It’s the pre-planting treatment that decides how quickly garlic roots in and how well it withstands pests in the first few weeks.
Preparing cloves before planting
First, break the whole bulbs into individual cloves. For planting, it pays to choose the larger cloves, because small and weak ones often get going more slowly and the finished bulbs tend to be smaller. Before planting itself, the cloves can be treated in two simple ways depending on what you have available at home.
Wood ash in the hole or as a solution
One proven method is to use wood ash. You only need a very small amount added directly into each planting hole where the clove will go. Ash is valued in the garden because it can add important nutrients to the soil and may also help as a gentle deterrent against certain pests. Only ash from clean wood makes sense, not from coal or contaminated materials.
If you don’t want to sprinkle ash into every hole, there’s an easier option. Make an ash solution and soak the cloves in it briefly before planting. This helps them get off to a faster start and supports garlic’s natural resilience.
A sugar solution as simple prevention
If you don’t have ash, you can use a sugar solution instead. According to growers’ experience, it can be a good first step in defense against a pest known as the onion fly. It’s a problem not only for onions, but it can damage garlic too, and sugar is said to be off-putting to it.
The method is straightforward. Dissolve roughly 100 grams of granulated sugar in 4 litres of preferably rainwater. Put the garlic cloves into the solution so they stay in it for about 2 hours, then plant them straight into the prepared bed.
What to watch out for with pests
Garlic generally doesn’t have as many enemies as some other crops, but onion fly can significantly reduce the harvest. Its larvae are very voracious, boring into stems and feeding on tissues, and the plant then visibly struggles. A typical sign is yellowing leaves, wilting, and the gradual dieback of the foliage.
Once garlic has top growth, some gardeners also use a treatment with an ash-and-tobacco solution. This step can help reduce pest pressure at the time when plants are most vulnerable.
It’s not just about spraying or soaking. Prevention matters just as much, and not giving pests ideal conditions.
Crop rotation and the right neighbours
Crop rotation plays a major role. Garlic is not recommended for the same spot again sooner than after four years. This limits the build-up of diseases and pests in the soil and keeps the bed in better condition.
Thoughtful companion planting can help too. Next to garlic, plants that repel onion fly or at least disrupt its orientation are often recommended. These include, for example, carrots, celeriac, tomatoes, chamomile, or mint.
When and where to plant garlic in autumn
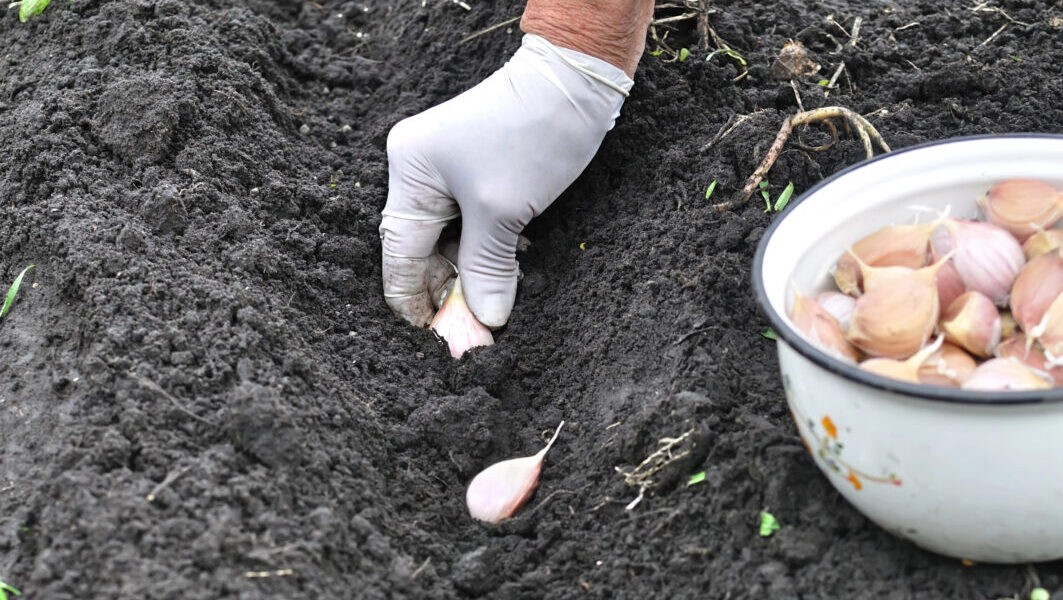
Timing is important for winter planting. Garlic is planted after 20 October, when the heat has passed but the ground still isn’t frozen. It needs a sunny spot and soil that is light, loose, and free-draining, because it struggles in heavy, waterlogged ground.
Before planting, weed the bed thoroughly and dig it over with well-rotted compost or composted manure. Then level the surface with a rake so you’re planting into an even, prepared base.
Correct spacing and planting depth
Garlic is planted in rows. Leave about 10 to 15 centimetres between holes and around 30 centimetres between rows. Set the cloves to a depth of roughly 3 centimetres. It’s practical to make holes with a dibber, place the treated clove in, and check the correct orientation.
The clove must go into the soil with the wider end down. Finally, cover everything, gently firm the soil, and make sure no clove is sticking up above the surface.
What to expect after planting and through winter
If hard frosts arrive later, garlic may still push up green tips. This usually isn’t a problem, because shoots overwinter well under snow. After that, all that’s needed is routine care, keeping the bed clean, and checking plant health in spring. With the right method and good conditions, you can look forward to a truly generous harvest.
Source: Gardening Know How, GrowVeg, To je nápad, Pestrazahrada.cz

A lover of nature, gardens, and everything that moves, blooms, or grows. He literally grows everything, from herbs to rare species, and he enjoys caring for animals just as much. In his work, he connects modern technology with tried-and-tested grandmotherly methods and is happy when both paths lead to the same goal.
Related articles
Don’t Plant Garlic in Freshly Dug Soil
For big, firm, strongly flavoured bulbs, garlic needs settled soil, the right planting window, and careful handling of the cloves. A few simple steps from bed prep to drying make the difference between a weak crop and a long-storing harvest.
In autumn, ginkgo lights up the garden like a spotlight, and five other trees can do the same even in a small plot
Ginkgo is famous for its pure golden autumn colour, but several other trees and shrubs can deliver equally striking fall colour, even in limited space. Choose by mature size and site conditions, and plant in autumn or spring for the best establishment.
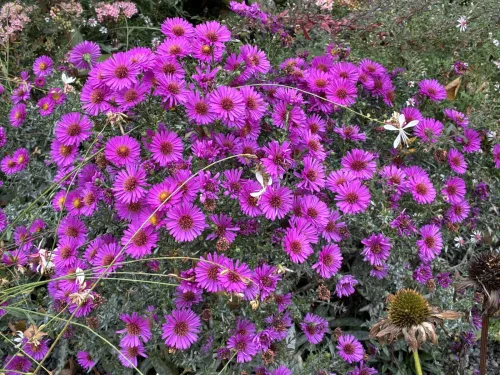
When Other Flowers Fade Asters Are Just Getting Started
Asters step in just as summer colour starts to wane, flooding borders with late-season blooms. They’re also a valuable nectar source for pollinators and later a seed larder for birds.
Comments (0)
Be the first to comment.