
 English
  Polski
  Deutsch
  Nederlands
  Svenska
  Norsk
Norsk  Dansk
Dansk  Français
  Italiano
  Español
  Português
  Slovenčina
  Suomi
Suomi  Gaeilge
 How to Fertilise Aloe Vera Properly So It Grows Faster and Develops Big Leaves
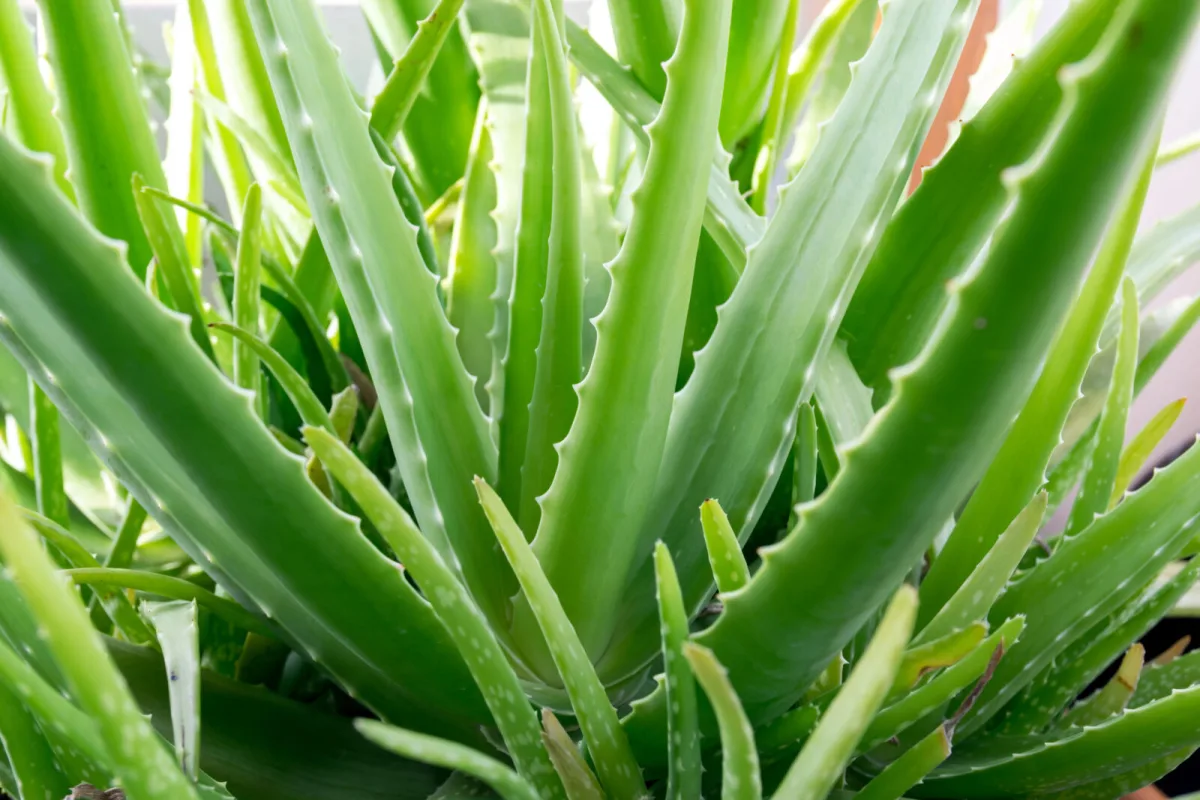
Aloe vera can sit on a windowsill for a long time, keep richly green leaves, and still add new ones only very slowly. Young offsets appear rarely and the plant seems to stall. At that point many people reach for fertiliser, but with aloe it’s often true that trying too hard can do more damage than a slight lack of nutrients.
Aloe is a succulent that’s used to managing both water and nutrients. Too much fertiliser can damage the roots, weaken the plant, and slow growth. If you want to encourage firm, fleshy leaves, the key is choosing the right type of feed, diluting it properly, and above all not overdoing how often you apply it.
The best fertiliser for aloe and why less nitrogen is better
The safest choice is usually a liquid fertiliser formulated for cacti and succulents. These products tend to be gentler and typically lower in nitrogen, which suits aloe well. The plant then grows more compactly and forms sturdier leaves, rather than stretching and becoming soft.
With aloe, more is not better. Gentle dosing is the surer route to a visible improvement.
How to dilute fertiliser to avoid root burn
It’s practical to use about half the dose the manufacturer recommends on the label, mixed into 1 litre of water. If you truly haven’t fertilised your aloe in a long time, start even more cautiously, even with just a quarter of the recommended amount. The plant gets a light boost and you can watch whether it responds with new growth and firmer leaves.
When to feed and how to apply fertiliser correctly
Never pour fertiliser into completely dry potting mix. First, lightly moisten the substrate with plain water. The combination of a dried-out root ball and a nutrient solution can mean too high a concentration right at the roots, which is a common reason for damage to fine feeder roots.
Only then use the diluted feed and apply it so any excess water can drain away. The pot must have drainage holes, because aloe tolerates constantly wet soil far worse than a short dry-down.
How often to fertilise during the year
During active growth, feeding about once every 6 to 8 weeks is usually enough. There’s no need to add nutrients with every watering; aloe doesn’t require regular high doses.
In winter, when growth naturally slows or almost stops, cut back fertilising significantly, or skip it entirely. During its resting period, excess nutrients would only put extra strain on the roots.
A gentle homemade fertiliser aloe usually tolerates well
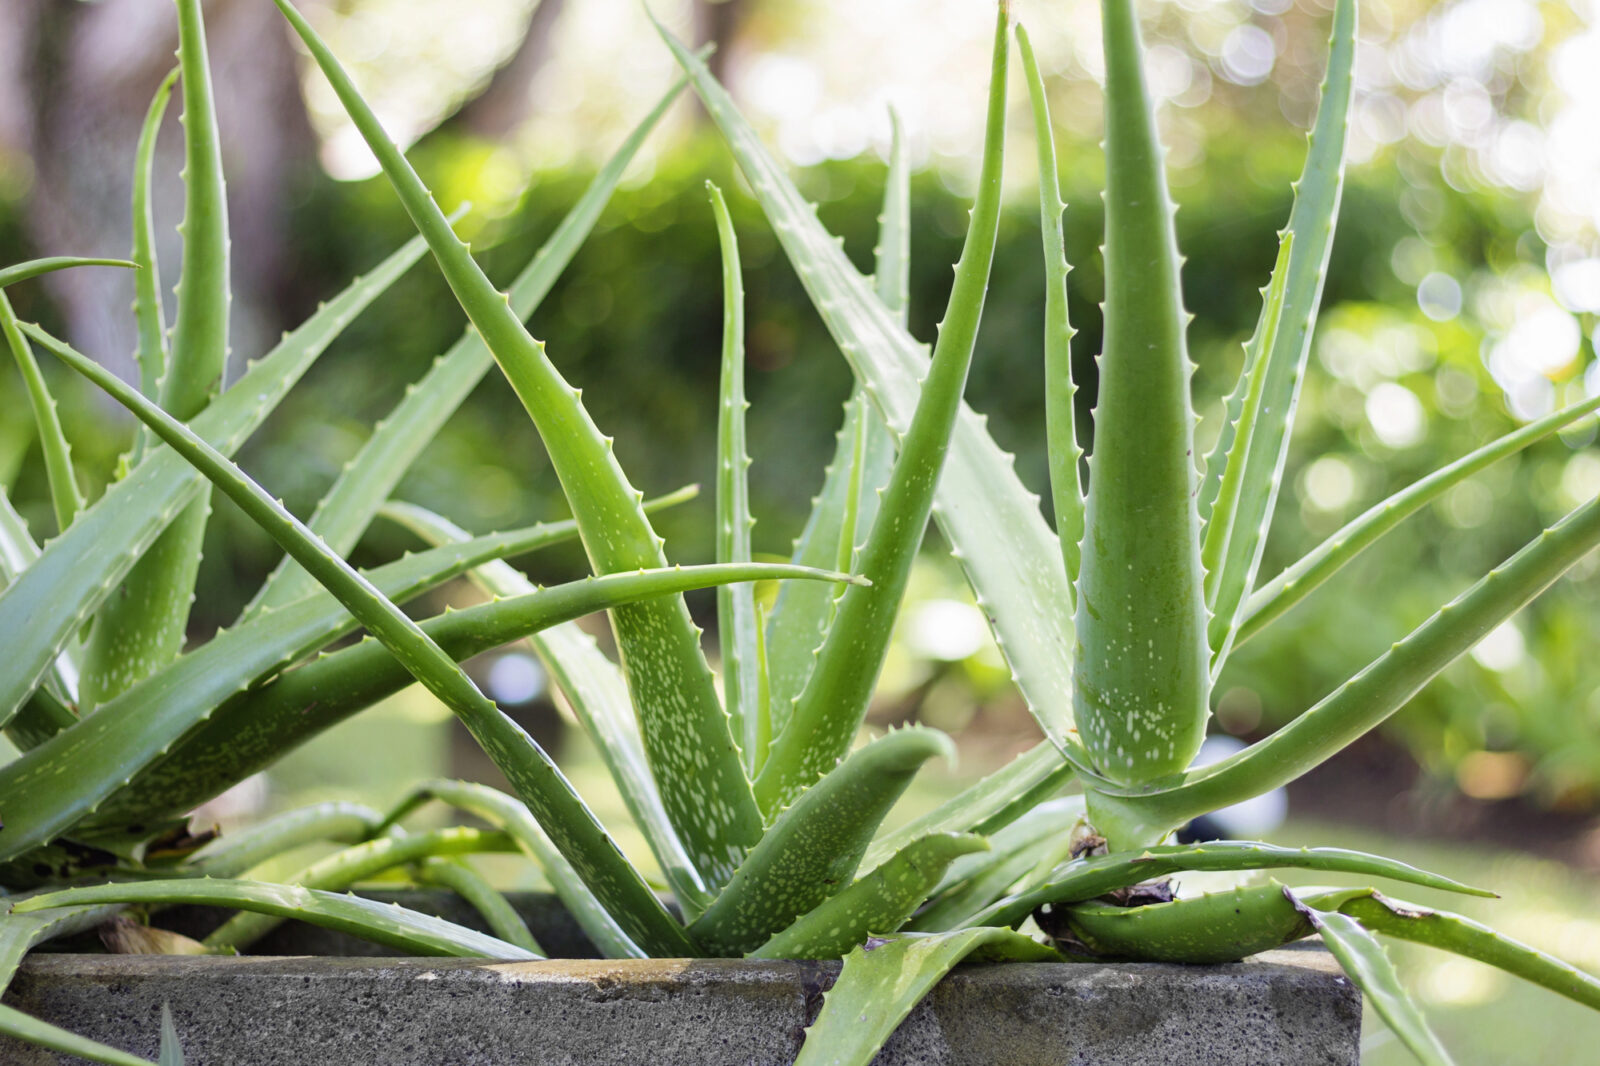
If your aloe has enough light, an airy succulent mix, and correct watering but still stalls, you can try a gentle natural drench during the season. A safer homemade option is often described as a vermicompost tea, made from quality worm compost. The nutrients are in a milder form and, when properly diluted, the risk of overfeeding is lower than with various kitchen experiments.
Vermicompost tea: a simple method
Stir 1 tablespoon of quality vermicompost into 1 litre of water, mix well, and leave it to stand for about 12 to 24 hours. Then strain the liquid through a fine sieve or cloth. For a smaller or younger plant, it’s best to dilute the solution again with the same amount of water. Use it in place of a regular watering on slightly moist substrate, never onto completely dried roots.
Faster growth isn’t just about fertiliser: fix the conditions first
A common mistake is treating slow growth automatically with feeding. Even the best fertiliser won’t help if aloe is missing the basics. For good growth it mainly needs plenty of light, a free-draining succulent substrate, a pot with good drainage, and sensible watering. Only then does gentle feeding make sense.
Light determines whether aloe will produce new leaves
Aloe prefers a bright spot. With too little light, growth slows and new leaves may appear only minimally. If the plant has been in low light for a long time, move it closer to the window gradually so it can adapt to stronger sun and the leaves aren’t damaged by a sudden change.
Watch out for overwatering: it’s often a bigger problem than drought
Let the potting mix dry out well between waterings, and don’t allow water to sit in the outer pot or at the bottom of the container. Long-term wet soil often leads to root problems, which then show up as aloe not growing even though it looks fine at first glance.
What to avoid and how to tell you’ve overfed
With aloe it’s not recommended to add coffee grounds, tea leaves, or other organic scraps to the pot. These materials can hold moisture, which increases the risk of waterlogging in a succulent. More important than ideas like this are the right soil, good light, and restrained watering.
Overfeeding can produce the opposite effect than you expect. Typical signs include brown leaf tips, weakened or damaged roots, a white crust on the surface of the substrate, and an overall decline in vitality. The white crust is often the result of built-up mineral salts from water or fertiliser, so a higher dose definitely doesn’t mean faster growth.
A simple rule for beautiful aloe with firm leaves
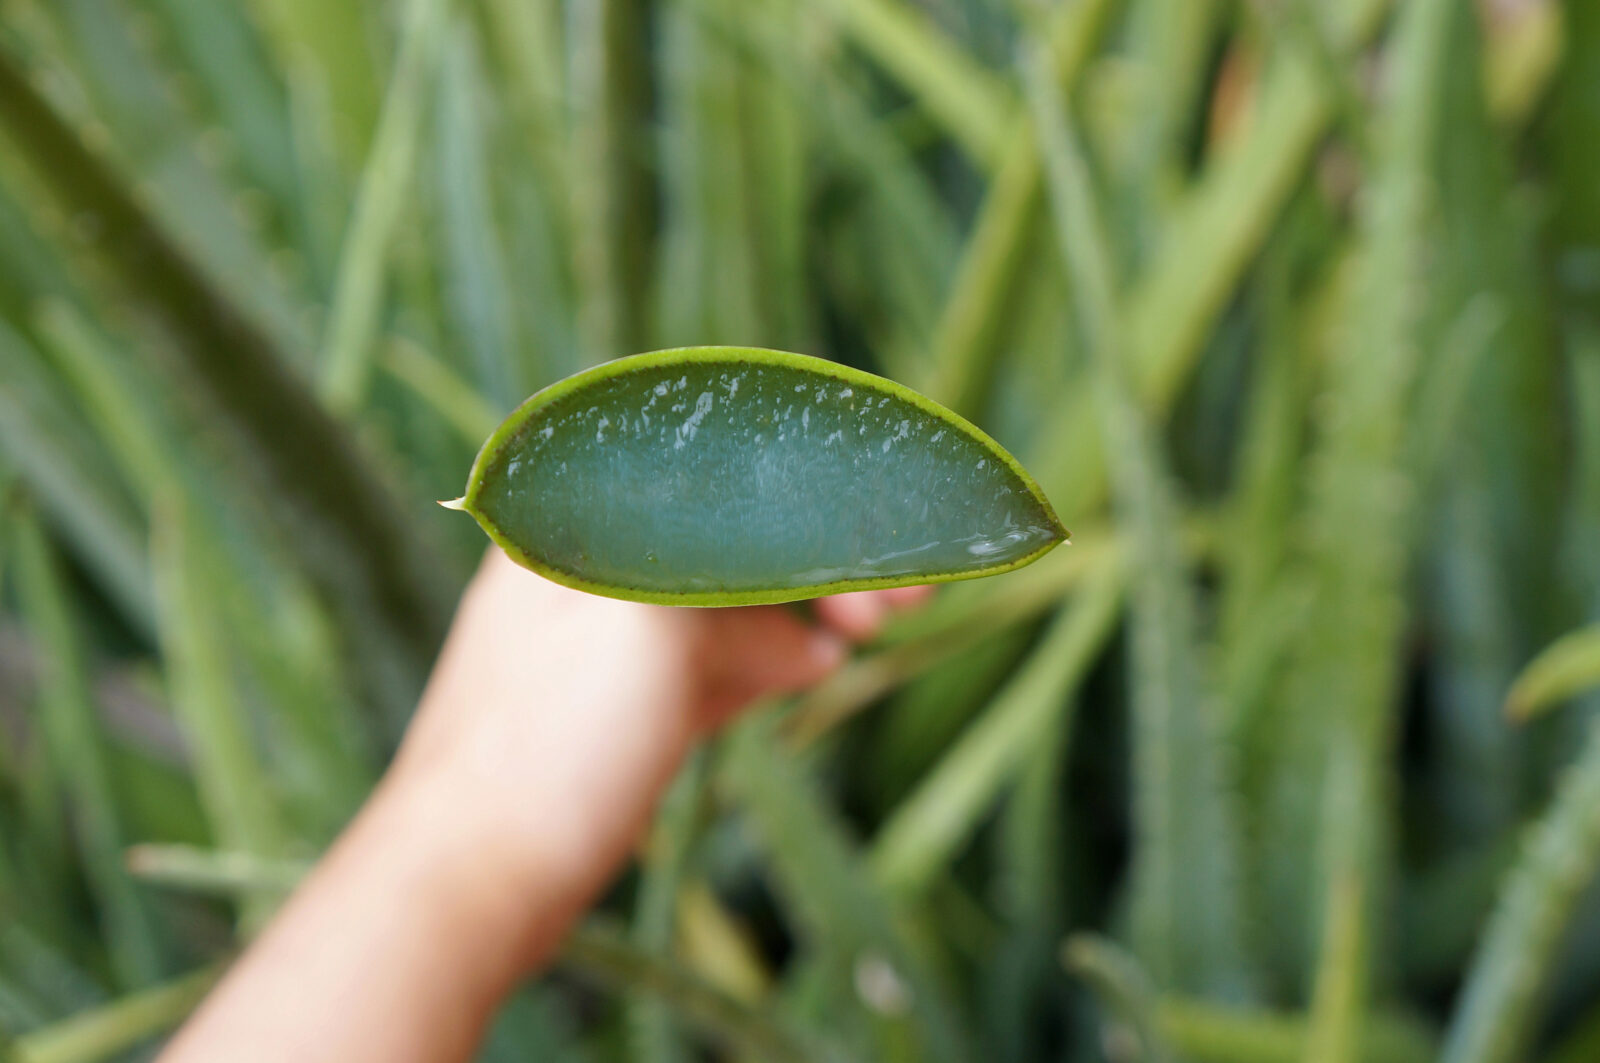
If you want your aloe to start growing again after a period of stagnation, don’t begin with a big dose of fertiliser. First check the light, how free-draining the mix is, and whether you’re overwatering. When conditions are right, add a small amount of liquid cactus and succulent fertiliser during the growing period, ideally at half strength.
With aloe, it pays to follow the principle of less rather than more. With a little patience, new young leaves will gradually emerge from the centre, firm, fleshy, and well coloured.
Source: Aloe Vera Care Tips, Humico, Pestrazahrada.cz

A lover of nature, gardens, and everything that moves, blooms, or grows. He literally grows everything, from herbs to rare species, and he enjoys caring for animals just as much. In his work, he connects modern technology with tried-and-tested grandmotherly methods and is happy when both paths lead to the same goal.
Related articles
Don’t Prune Hydrangeas in October
Tidying the garden in autumn is tempting, but October pruning can cost your hydrangeas next year’s flowers. Only two light interventions make sense this time of year; everything else is best left until the right season.
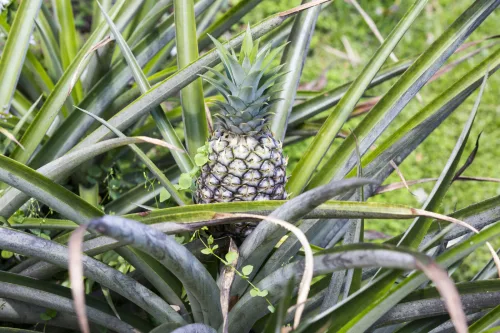
A Pineapple Top Will Root in Two Weeks, but Success Depends on the Step Most People Skip
Don’t throw away the leafy crown when you cut a pineapple. With the right prep, light, warmth and careful watering, you can root it and grow a houseplant that may eventually fruit.
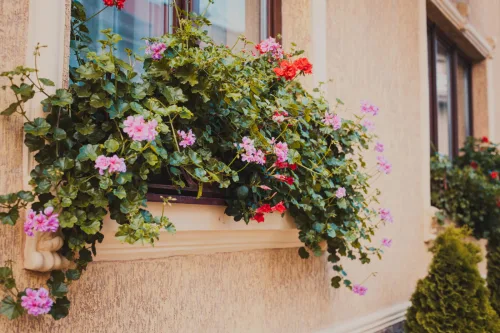
Overwintering Geraniums in a Box Ensures Stronger Growth and More Abundant Spring Bloom
Many people throw balcony geraniums away after the season, even though they can overwinter very well. Stored correctly in a box in cool, dark, dry conditions, they’ll come back stronger and flower generously in spring.
Comments (0)
Be the first to comment.