
Grow Garlic at Home Without a Garden Using a Plastic Bottle

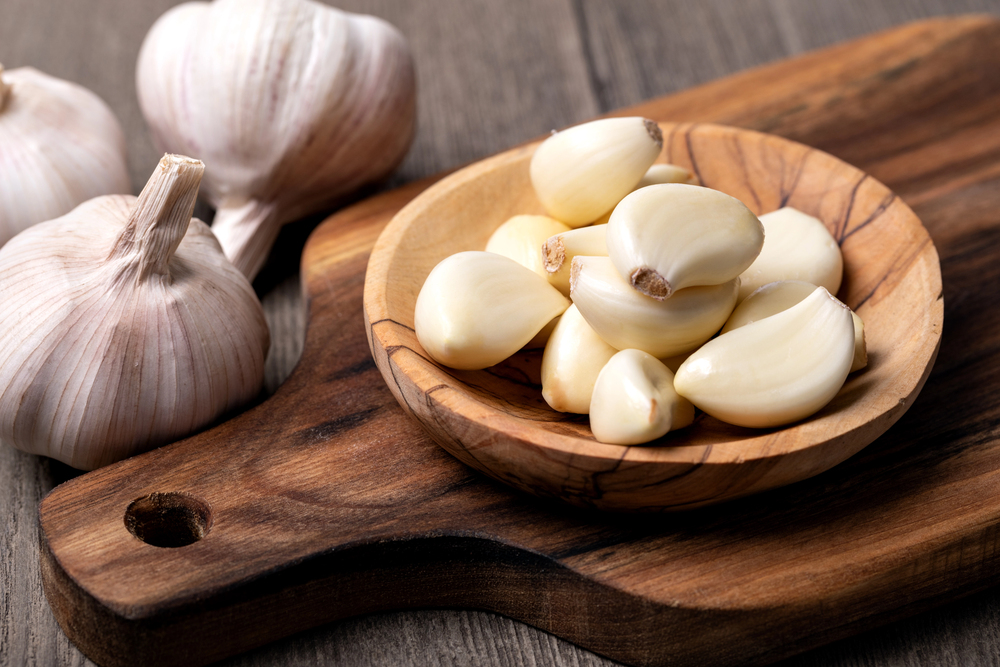
Growing garlic doesn’t have to mean waiting months before the plant really gets going. This popular at-home method uses an ordinary plastic bottle and water, helping garlic quickly form roots and fresh green shoots. It’s especially handy when you want seedlings ready to transplant into potting mix soon, while also making good use of bottles that might otherwise end up as waste.
The principle is simple: whole garlic bulbs are held in holes cut into the side of the bottle so the root end just touches the water. The garlic takes exactly what it needs from the water to kick-start growth, and you can often see changes within a few days. After a short time, the bulb is separated into cloves and the pre-started seedlings are transplanted into compost, where they continue growing in the usual way.
What to prepare in advance
Before you begin, gather a few clean plastic bottles, healthy garlic bulbs, a marker to lay out the holes, and a sharp tool for cutting, such as a snap-off craft knife. Work carefully so the holes are neat and the garlic sits securely. You’ll also need a spot where the bottles can stand steadily and the garlic will get plenty of light, ideally on a windowsill.
Choosing the right garlic is crucial. Use firm, mould-free bulbs with no soft patches. The healthier your starting material, the faster roots will form and the better the cloves will establish after transplanting.
Preparing the bottle and holes for the garlic
On each bottle, mark three medium-sized circles with a marker. Adjust the size to the particular bulb, because it needs to sit in the hole without slipping inside. Then carefully cut out the holes along your markings. If the edges are too sharp or jagged, they can bruise the garlic, so it pays to cut slowly and accurately.
Next, remove the outer layer of dry papery skin from the bulb so it’s easier to check its condition and handle. Trim only the very tips at the top of the cloves; this is more of a light opening than a deep cut. The aim is to encourage growth, not to damage the clove.
How to position the garlic in water properly
Fill the bottles with water so the level reaches the root end of the garlic. Place one bulb into each hole. Pay attention to orientation: the root plate should face down, and that part should be the one touching the water. If you submerge the garlic too deeply, you increase the risk of rot. If it doesn’t reach the water, roots will form more slowly.
After just one day, you can often spot the first tiny roots. A few days later, green shoots appear and the root system develops quickly.
In the first few days, keep an eye on the water. If it starts to smell or turn cloudy, change it, as fresh water helps keep things clean. Place the garlic in bright light so the shoots don’t become long and weak, and the plant has energy for further growth.
When to remove the garlic and what to do next
Once the roots are clearly visible and the shoots look vigorous—usually after about five days—you can remove the garlic from the water. Carefully split the bulb into individual cloves. Peel the skin from each clove so the seedling establishes more easily after transplanting and roots can move into the compost faster. Take care not to break the roots, which are delicate at this stage.
Plant each pre-started clove into a suitable potting mix. Water thoroughly after planting, then grow on as you would with ordinary garlic. Sensible watering is especially important in the first few days while the roots adjust to soil. With good light and without overwatering, the plants should carry on growing without much trouble.
The results and why this method works
The main advantage of this method is fast pre-sprouting and easy root monitoring. Water gives the garlic instantly available moisture, and you can see exactly when it’s ready to move into compost. In good conditions, you can have viable seedlings within about 30 days, which is useful for anyone who wants to speed up the start of the season and grow garlic at home with fewer losses.
If you repeat the process, you can prepare new seedlings regularly and have garlic ready more often, without starting from scratch every time. All you need are clean bottles, healthy bulbs, and a little patience during the first days in water.
Source: To je nápad, Terrace Garden, Pestrazahrada.cz

A lover of nature, gardens, and everything that moves, blooms, or grows. He literally grows everything, from herbs to rare species, and he enjoys caring for animals just as much. In his work, he connects modern technology with tried-and-tested grandmotherly methods and is happy when both paths lead to the same goal.
Related articles
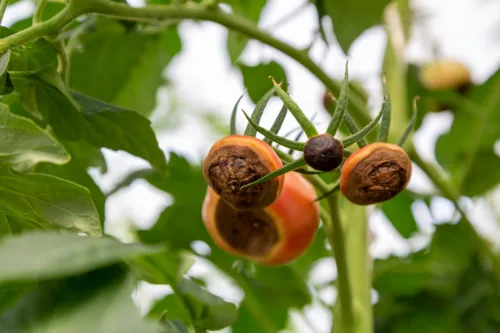
Black Spots on Tomatoes Alarm Growers but It’s Not a Disease
Dark, sunken patches on the blossom end of tomatoes look like a serious disease, but they’re usually a physiological disorder called blossom end rot. The key is steady moisture and sensible feeding so calcium can reach developing fruit.
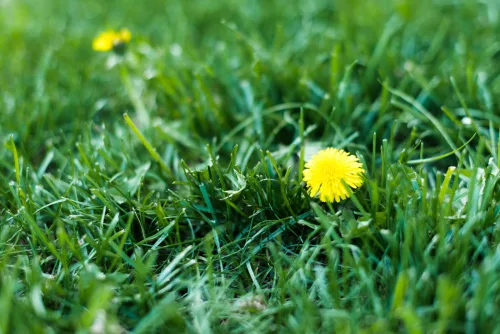
Ten Proven Steps to a Thick Lawn Without Unnecessary Expense
A dense, deep-green lawn isn’t about luck or pricey products—it’s about consistent, season-long habits. Follow these proven steps to thicken turf, improve rooting, and boost drought and weed resistance.
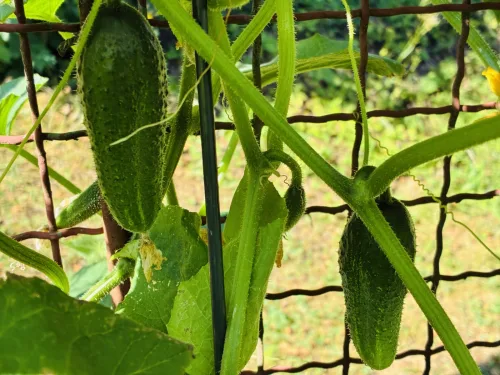
Pickling cucumbers are one of the most rewarding vegetables, with big harvests and great flavor
Pickling cucumbers are easy to grow and incredibly productive when given warmth, moisture, and rich soil. With the right variety and regular picking, you’ll enjoy crisp cucumbers for salads as well as jars.
Comments (0)
Be the first to comment.