
 English
  Polski
  Deutsch
  Nederlands
  Svenska
  Norsk
Norsk  Dansk
Dansk  Français
  Italiano
  Español
  Português
  Slovenčina
  Suomi
Suomi  Gaeilge
 Don’t Cut Sedums in Autumn, Those Dry Flowerheads Have a Purpose
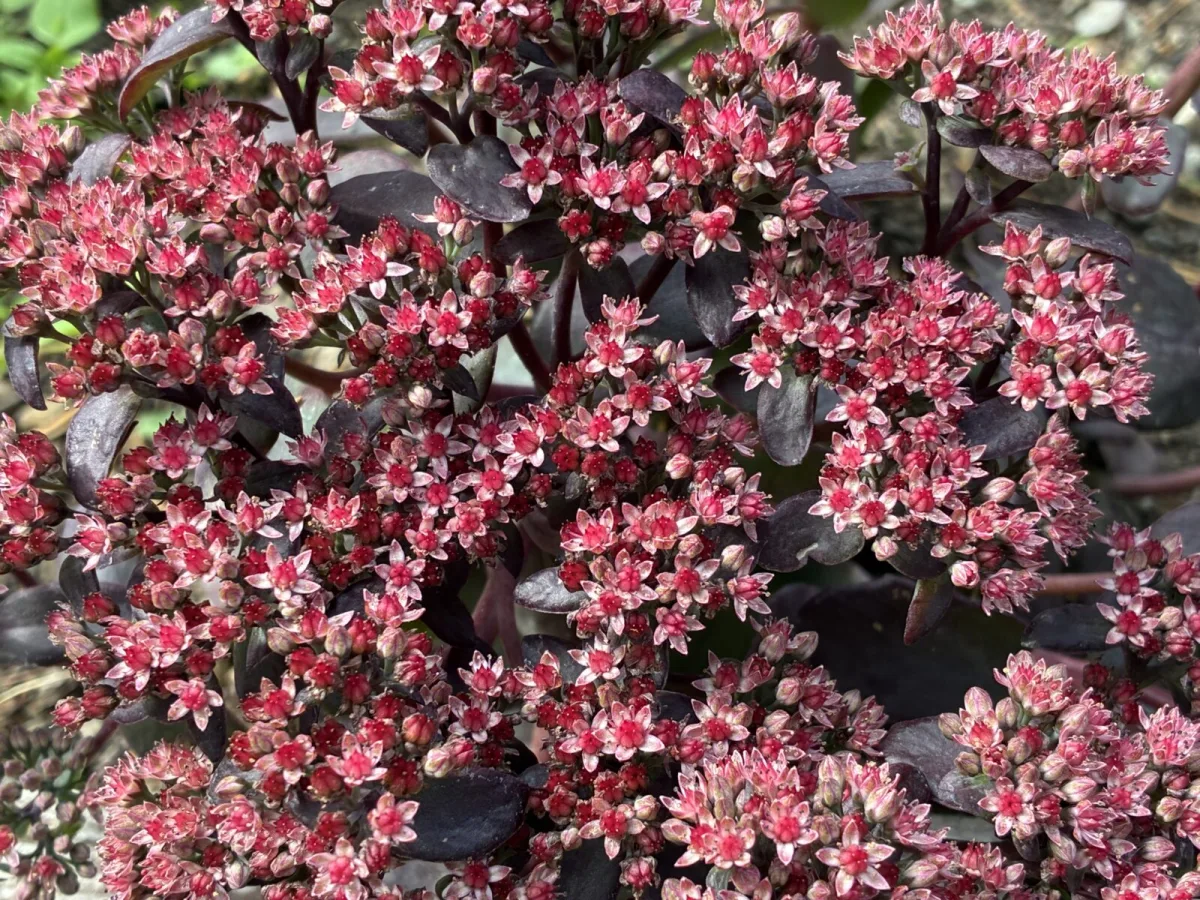
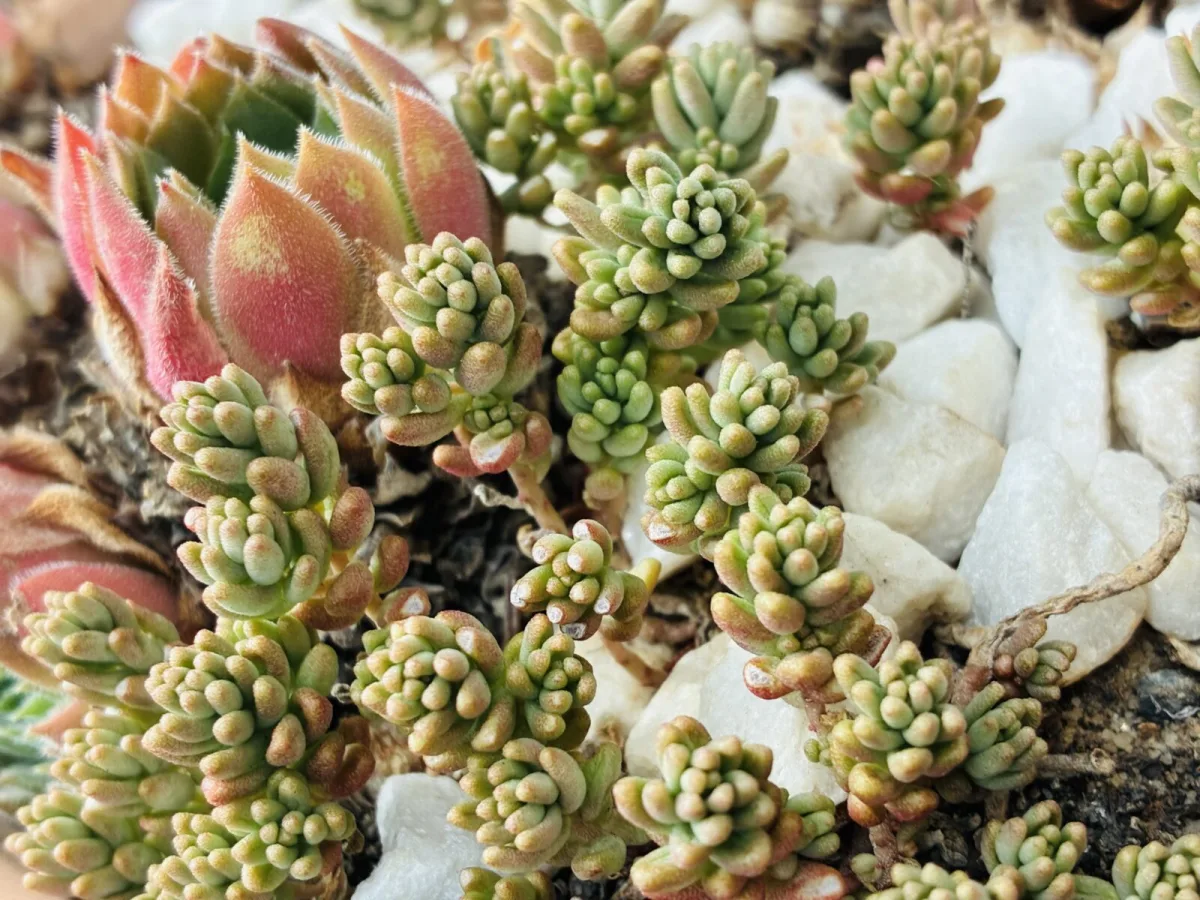
Sedums are succulent plants with fleshy leaves that manage water exceptionally well. Garden forms produce flat, nectar-rich flowerheads, making them a magnet for bees, bumblebees and other pollinators. In practice you’ll come across two main groups. The first is the taller border sedums, now often placed in the genus Hylotelephium, which really come into their own in late summer and autumn. The second group is the low, true sedums—known as stonecrops—which spread into mats and work well as groundcover.
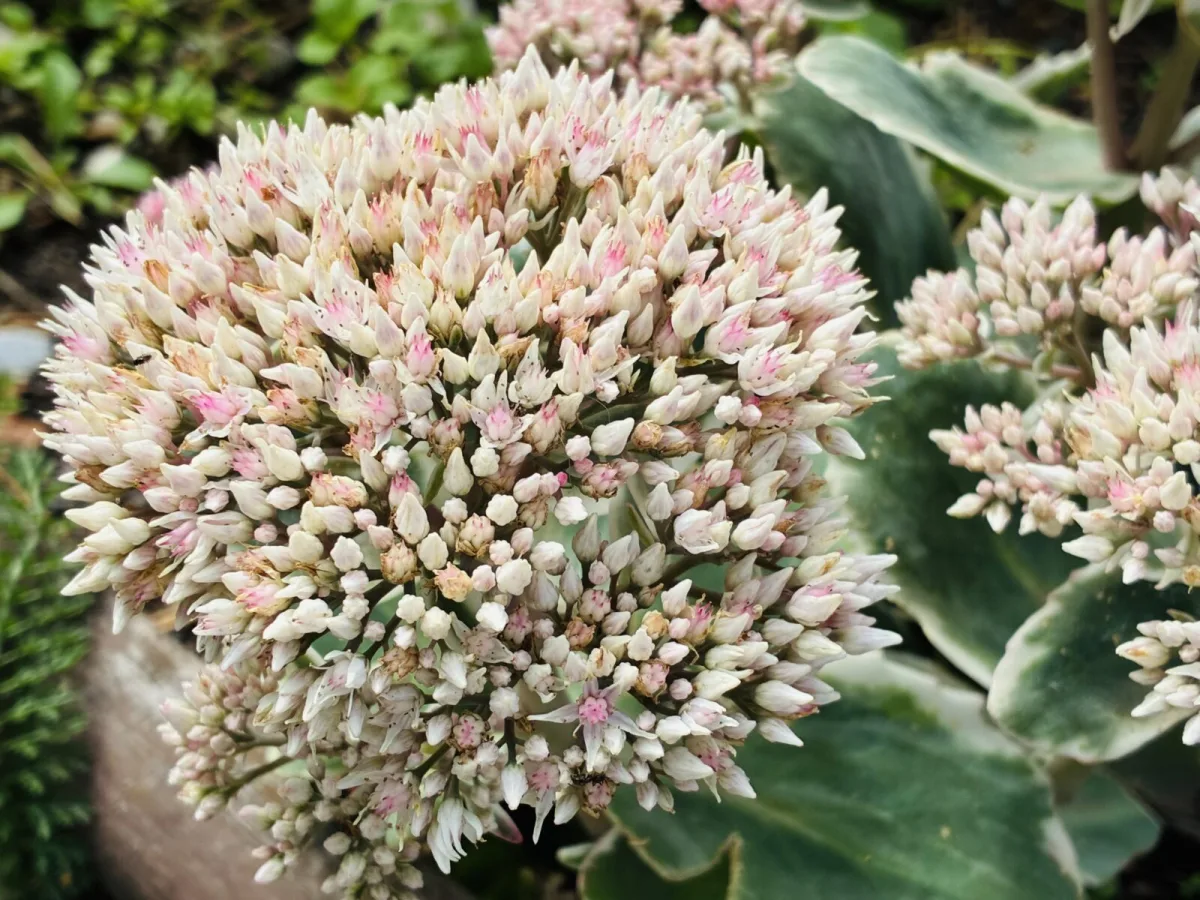
Border sedums are decorative from spring onwards. Their grey-green leaves can be striking on their own, and some cultivars carry purple tones too. The flowerheads start out green, gradually turn pink, and from August they open fully. It’s worth leaving the spent heads in place, because they look impressive in winter—especially when dusted with hoar frost. You can also cut and dry them, or use them for long-lasting arrangements in a vase.
Where sedums grow best
Border sedums, or Hylotelephium
For taller sedums, the keys are sun and free-draining soil. They’re ideal where it’s dry and other perennials struggle. Because they’re usually not extremely tall, they look best towards the front of a border, or planted in larger drifts where their blooms create a strong block of colour. They pair beautifully with ornamental grasses—for example fine feather grass—or with plants that have contrasting flower shapes, so the planting doesn’t look monotonous.
Low stonecrops for dry spots, paving gaps and containers
Mat-forming sedums come from dry, rocky habitats, so they need excellent drainage and as much light as possible. They’re superb tucked into gaps between stepping stones, in gravel areas, on dry walls, or as a planting layer on green roofs where the growing medium is shallow. In containers, terracotta window boxes and pots work particularly well because they dry out faster. Some more tender kinds are grown as houseplants and only go outside for the summer.
How to plant sedums properly
Border sedums are best planted in spring or summer so they can root well before winter. Dig a hole roughly the same depth and width as the original pot. Improving drainage is crucial, so it pays to mix grit or coarse sand into the soil, and you can also add a little coarser material to the bottom of the hole. Water thoroughly after planting, but once established, reduce watering sharply, because waterlogging harms them more than drought.
For stonecrops in containers, drainage is even more important. Add a generous proportion of grit, gravel or perlite so roots never sit in water. If you’re growing sedums in a window box, choose a container with drainage holes and don’t overdo it with a saucer where water can linger.
Care through the year and tried-and-tested tips
Pruning and maintenance of border sedums
Don’t rush to cut them back in autumn. Seedheads and dry flowerheads are ornamental, and in winter they also play a practical role by providing shelter for insects and giving the crown some protection from frost. The ideal time to cut back is February to March, when you can see small new rosettes and emerging shoots at the base. Then cut the old stems down and lightly top-dress around the plant with well-rotted compost or aged manure—but don’t overdo the feeding.
The so-called Chelsea chop to stop flopping
Taller sedums can sometimes splay open in the second half of summer, leaving the centre exposed and looking untidy. One of the simplest fixes is a late-May intervention known as the Chelsea chop. Cut some stems down low, which encourages a more compact shape, reduces flopping, and often delays flowering slightly. If you want a more natural look, shorten only about a third of the stems so the plant flowers in several waves.
Caring for potted stonecrops
In the right conditions, low sedums are almost maintenance-free. The main rule in winter is don’t water and don’t let the pot turn into a soggy sponge. If prolonged rain is forecast, move containers to a sheltered spot, such as under an eaves overhang or into an unheated lean-to.
Propagating sedums step by step
Dividing clumps of Hylotelephium
If border sedums become too large, or you want extra plants, the quickest method is division. Do it in spring. Carefully lift the entire clump, split it into several sections, and replant immediately in a new position. Water after replanting to settle the soil around the roots. In practice, dividing once every three to four years is usually enough.
Cuttings and offsets in stonecrops
Mat-forming sedums are easy to propagate from offsets or cuttings. In spring or summer, tip the plant out of its pot or gently lift it in the border and separate side pieces that come away with a small section of stem. Pot each offset into a small pot with a very free-draining mix and let it root. With some types, you can even split the plant into two halves and replant both, as they regenerate quickly.
Most common problems and how to prevent them
Sedums usually aren’t troubled by pests or diseases; the bigger issue is cold, waterlogged soil. In winter especially, it’s risky if water sits around the roots. That’s why drainage, the right growing medium and—when grown in containers—the option to shelter plants from persistent rain are essential. If a border sedum collapses outwards, the cause can also be overly rich soil or too much feeding. In that case, it’s better to skip compost mulches for a year or two and focus on tighter growth with a late-May cutback. Sedums also lose their sturdiness if they don’t get enough sun.
How to choose sedums when buying
Before you buy, check the eventual height and spread, because differences between cultivars can be significant and the wrong choice can mean the plant won’t sit well in your border scheme. In the garden centre, inspect the plant for damaged stems, suspicious leaf spots or signs of rot at the base. With container plants, it’s important that the compost hasn’t been kept permanently wet.
Cultivars and species worth knowing
Popular border cultivars of Hylotelephium
Reliable choices include the cultivar Herbstfreude, with fresh green succulent leaves and summer blooms in a salmon pink that shift into orange-red tones in autumn. Also very striking is Carl, known for its abundant deep-pink flowerheads on sturdy, upright stems. Fans of dark foliage often choose Purple Emperor, whose leaves deepen in colour over time; in summer it produces pink buds that open into paler flowers. In the winter garden, the dry flowerheads coated in frost look exceptionally decorative.
Stonecrops for groundcover and containers
For quickly greening dry areas, Sedum reflexum is a great choice—a tough species with year-round attractive foliage and yellow flowers that draw in pollinators in summer. For hot, dry sites, paving gaps and roofs, Sedum dasyphyllum is often recommended; it thrives even in a minimal layer of substrate and can turn purplish in winter. Distinctive silvery foliage is offered by Sedum spathulifolium Cape Blanco, though in cooler regions it may need winter protection. Indoors, the trailing Sedum morganianum Burrito works well as a houseplant in a bright spot out of harsh midday sun, and it can spend summer outdoors.
Common growing questions
Why sedum flops open in the middle
With older clumps, splaying is fairly common. The trigger is often overfeeding or very fertile soil, which drives lush but weaker growth. It helps to reduce nutrient input, give the plant more sun, and use a late-May cutback to keep it compact.
When to cut back sedum
In autumn, leave the flowerheads on the plant—they’re decorative and useful for the garden in winter. Cut back at the end of winter or early spring, typically in February or March, as soon as new shoots appear at the base.
Source: Gardeners World, Proven Winners , Pestrazahrada.cz
Related articles
Drought tolerant fruit trees for Czech gardens that handle heat and winter frosts
Warmer summers and longer dry spells are changing what can be grown in Czech gardens. With the right variety and a sunny, sheltered spot, olives, pomegranates and figs can cope with heat, drought and even winter cold.
Thuja hedges are on the way out gardeners are choosing a shrub that shrugs off frost and drought and never looks dull
Thuja may be a long-standing classic, but today’s hedges are increasingly built from more varied shrubs that look better through the seasons. One standout choice is ninebark, prized for its toughness, colour and easy care.
Autumn planted grapevines bud earlier the most common mistake happens before they even go in the ground
Planting grapevines in November can give them a head start in spring, as roots can still establish in warm soil. Success depends mainly on proper planting depth and reliable winter protection.
Comments (0)
Be the first to comment.